Aligning the Setup
Step-by-Step Video for the full process
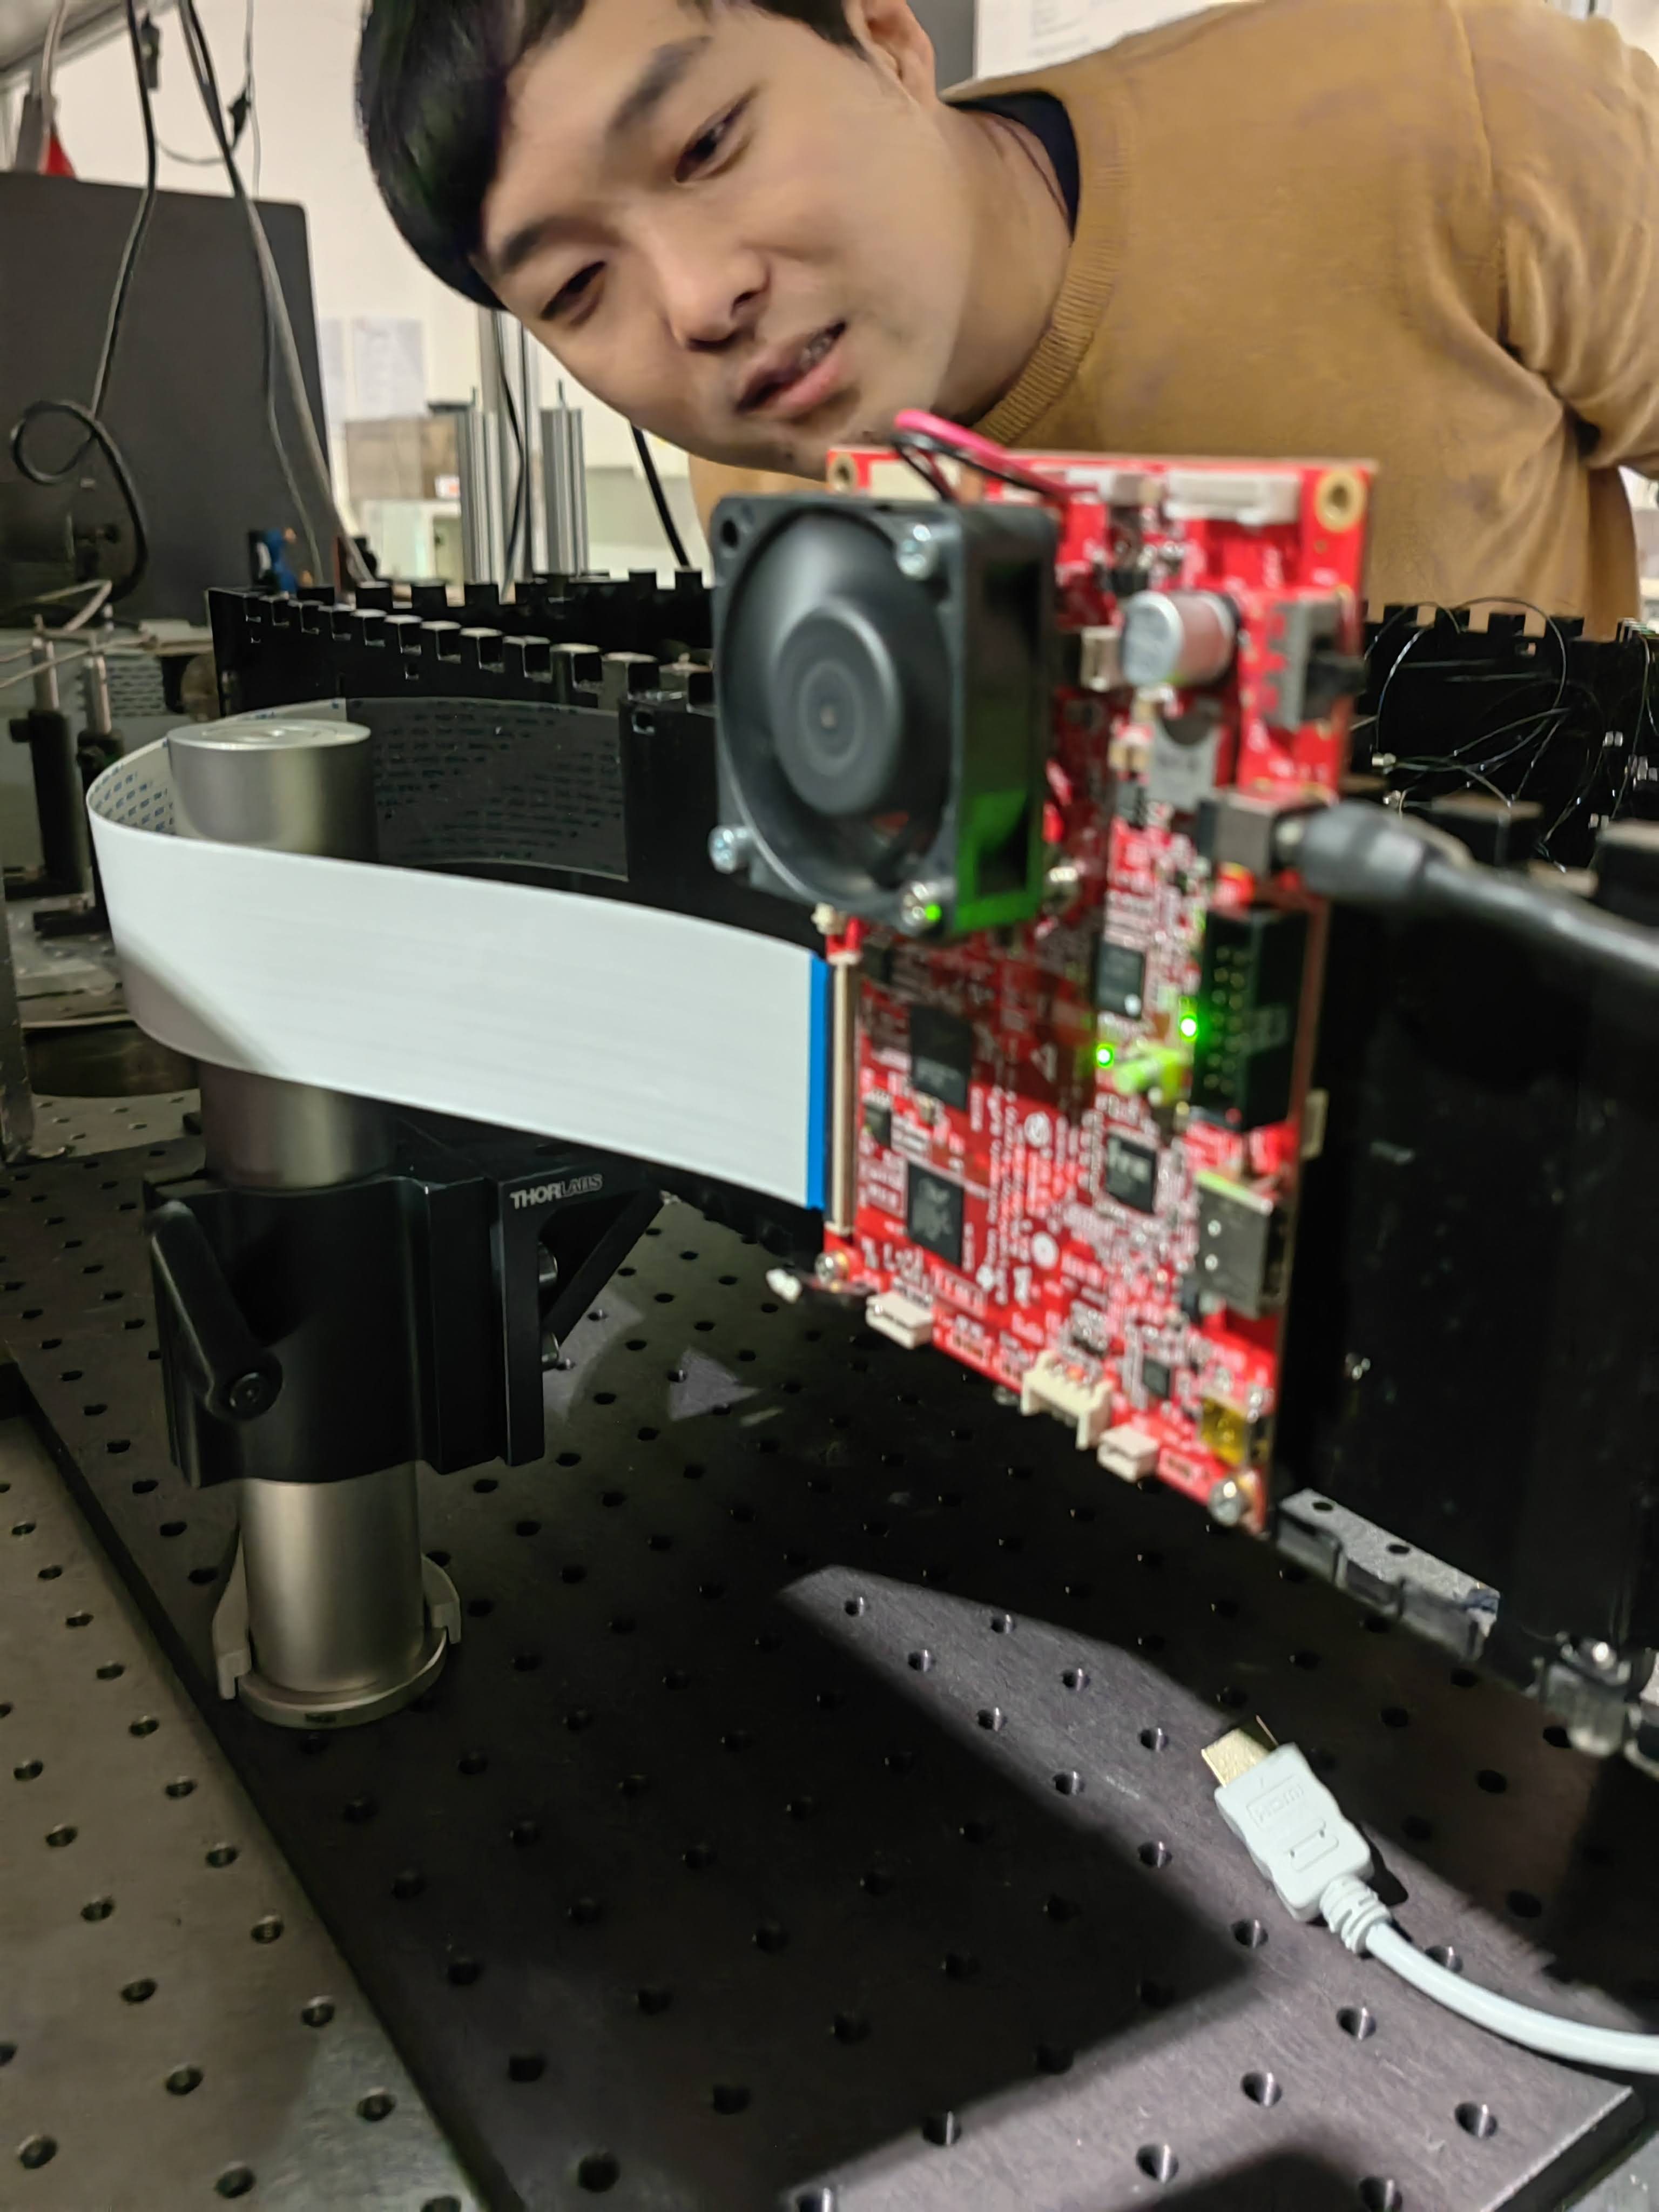
Step-by-Step in Pictures
-
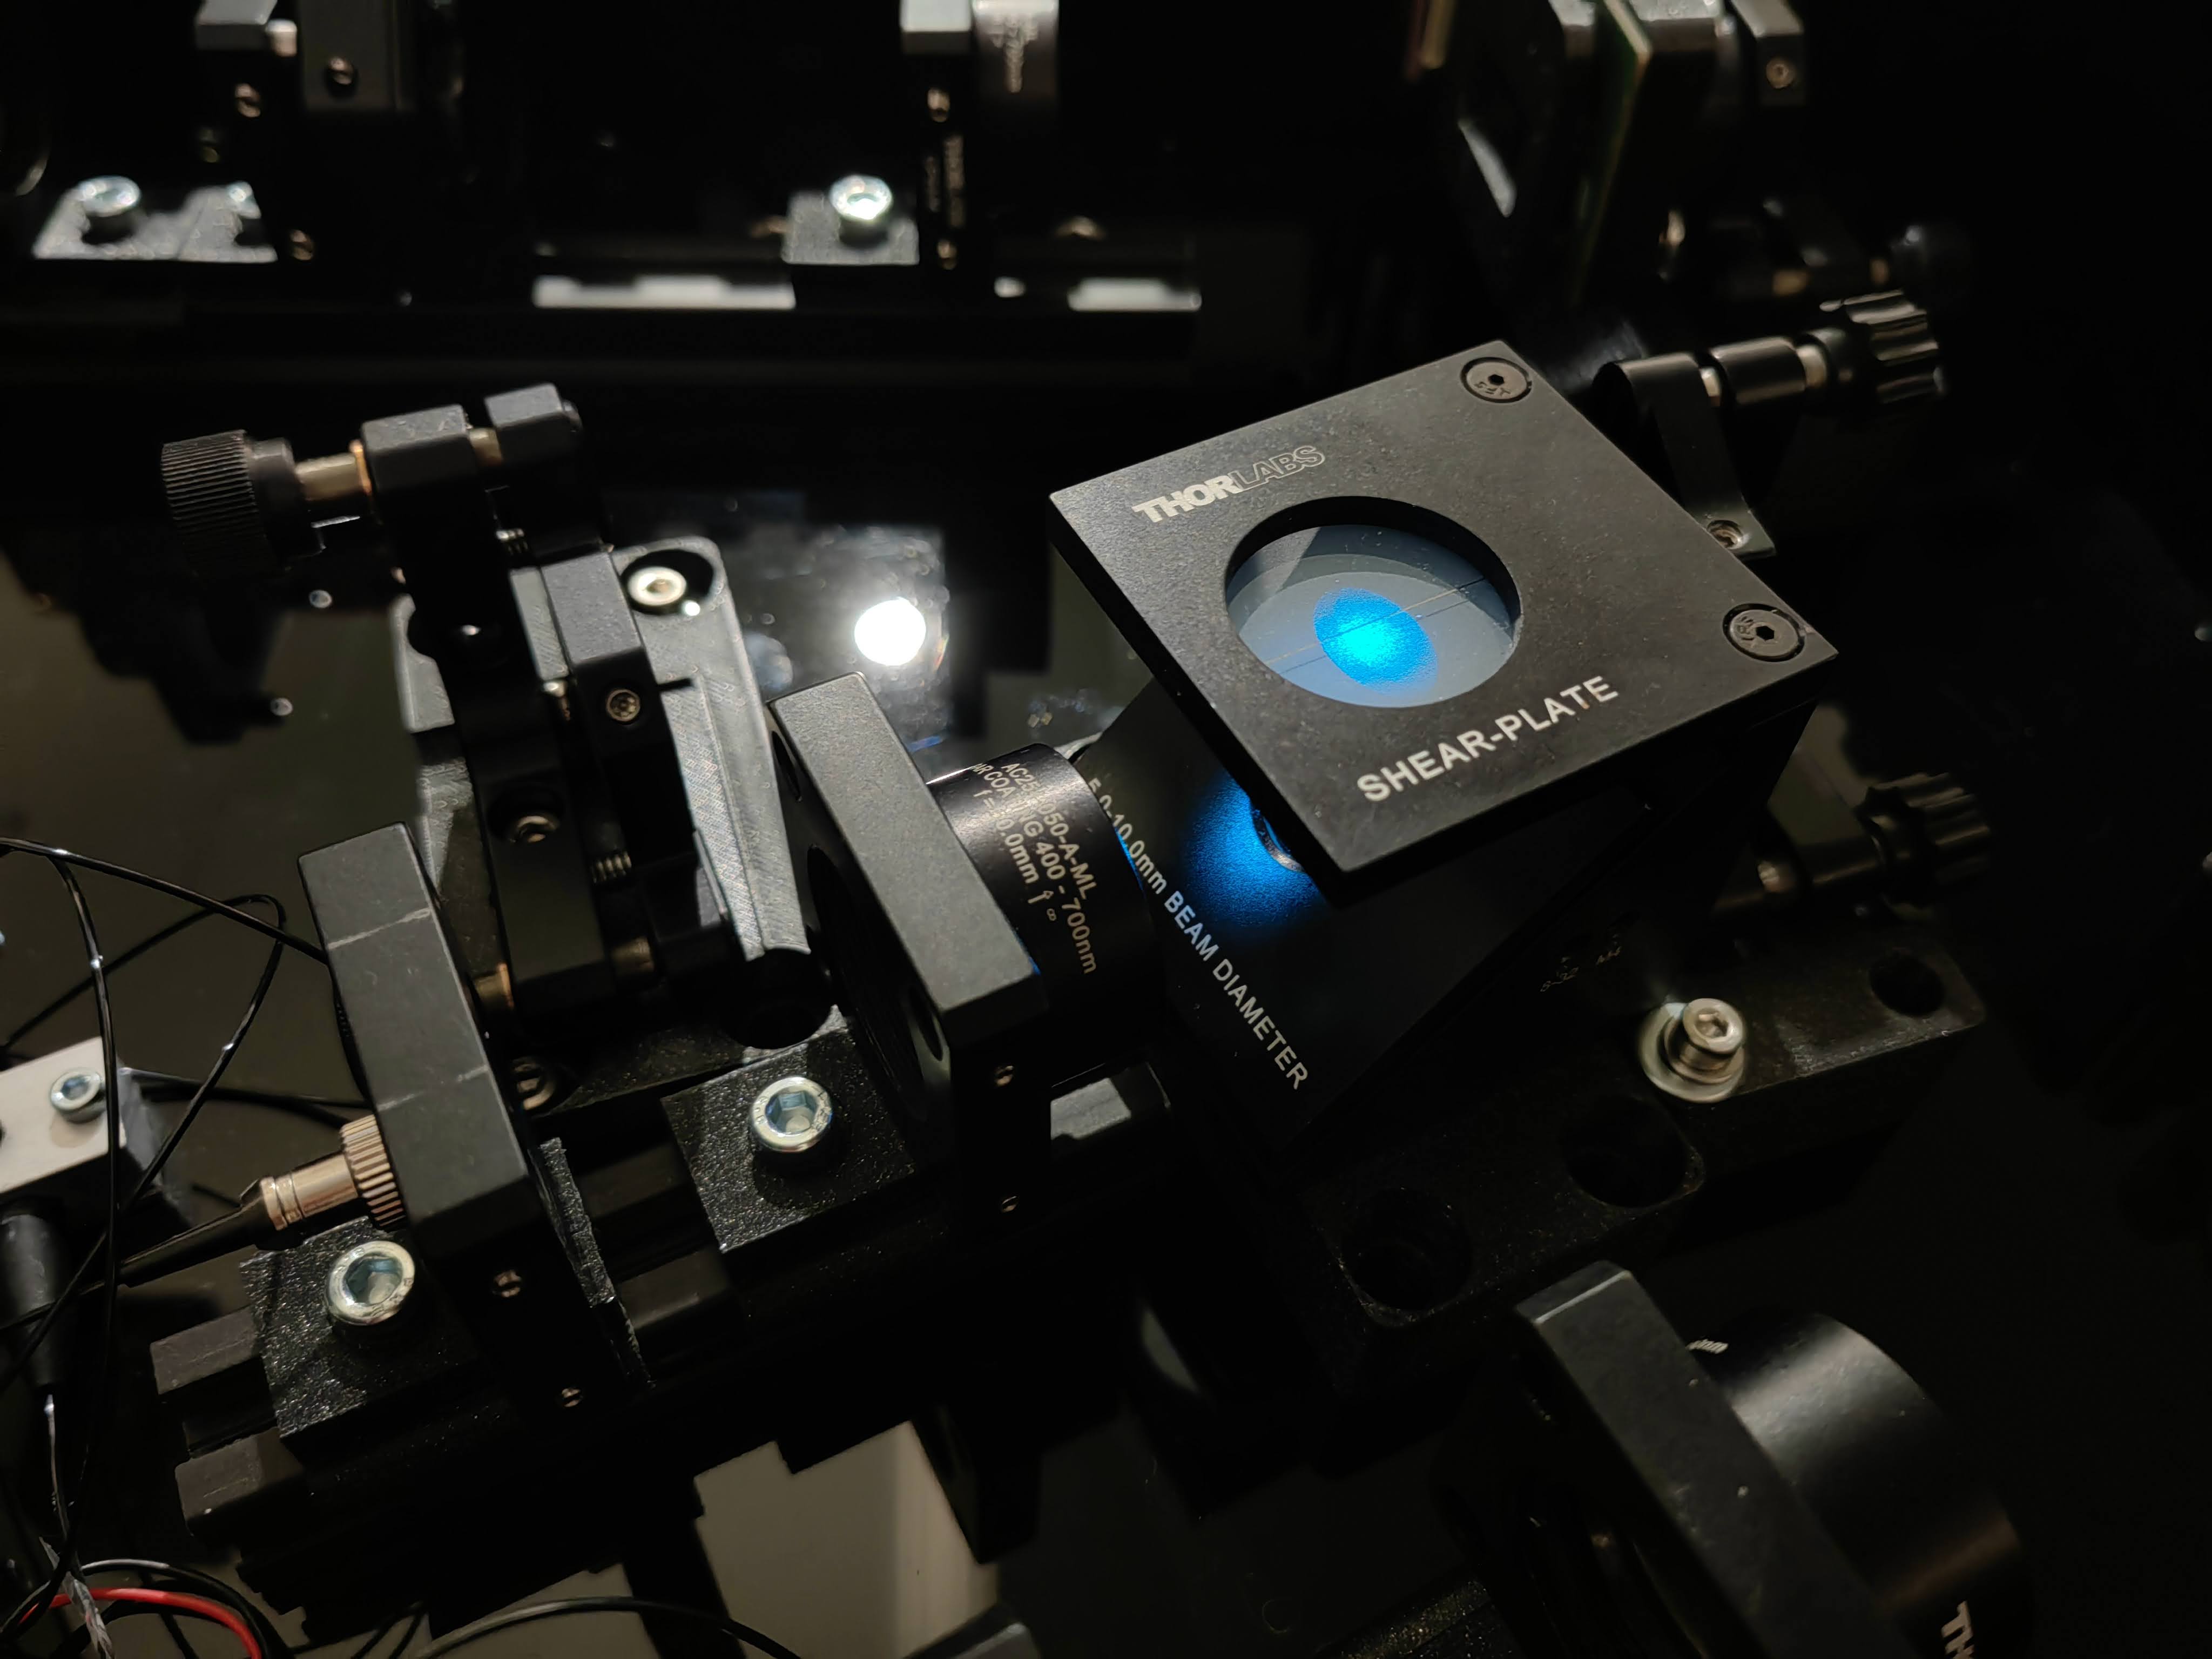
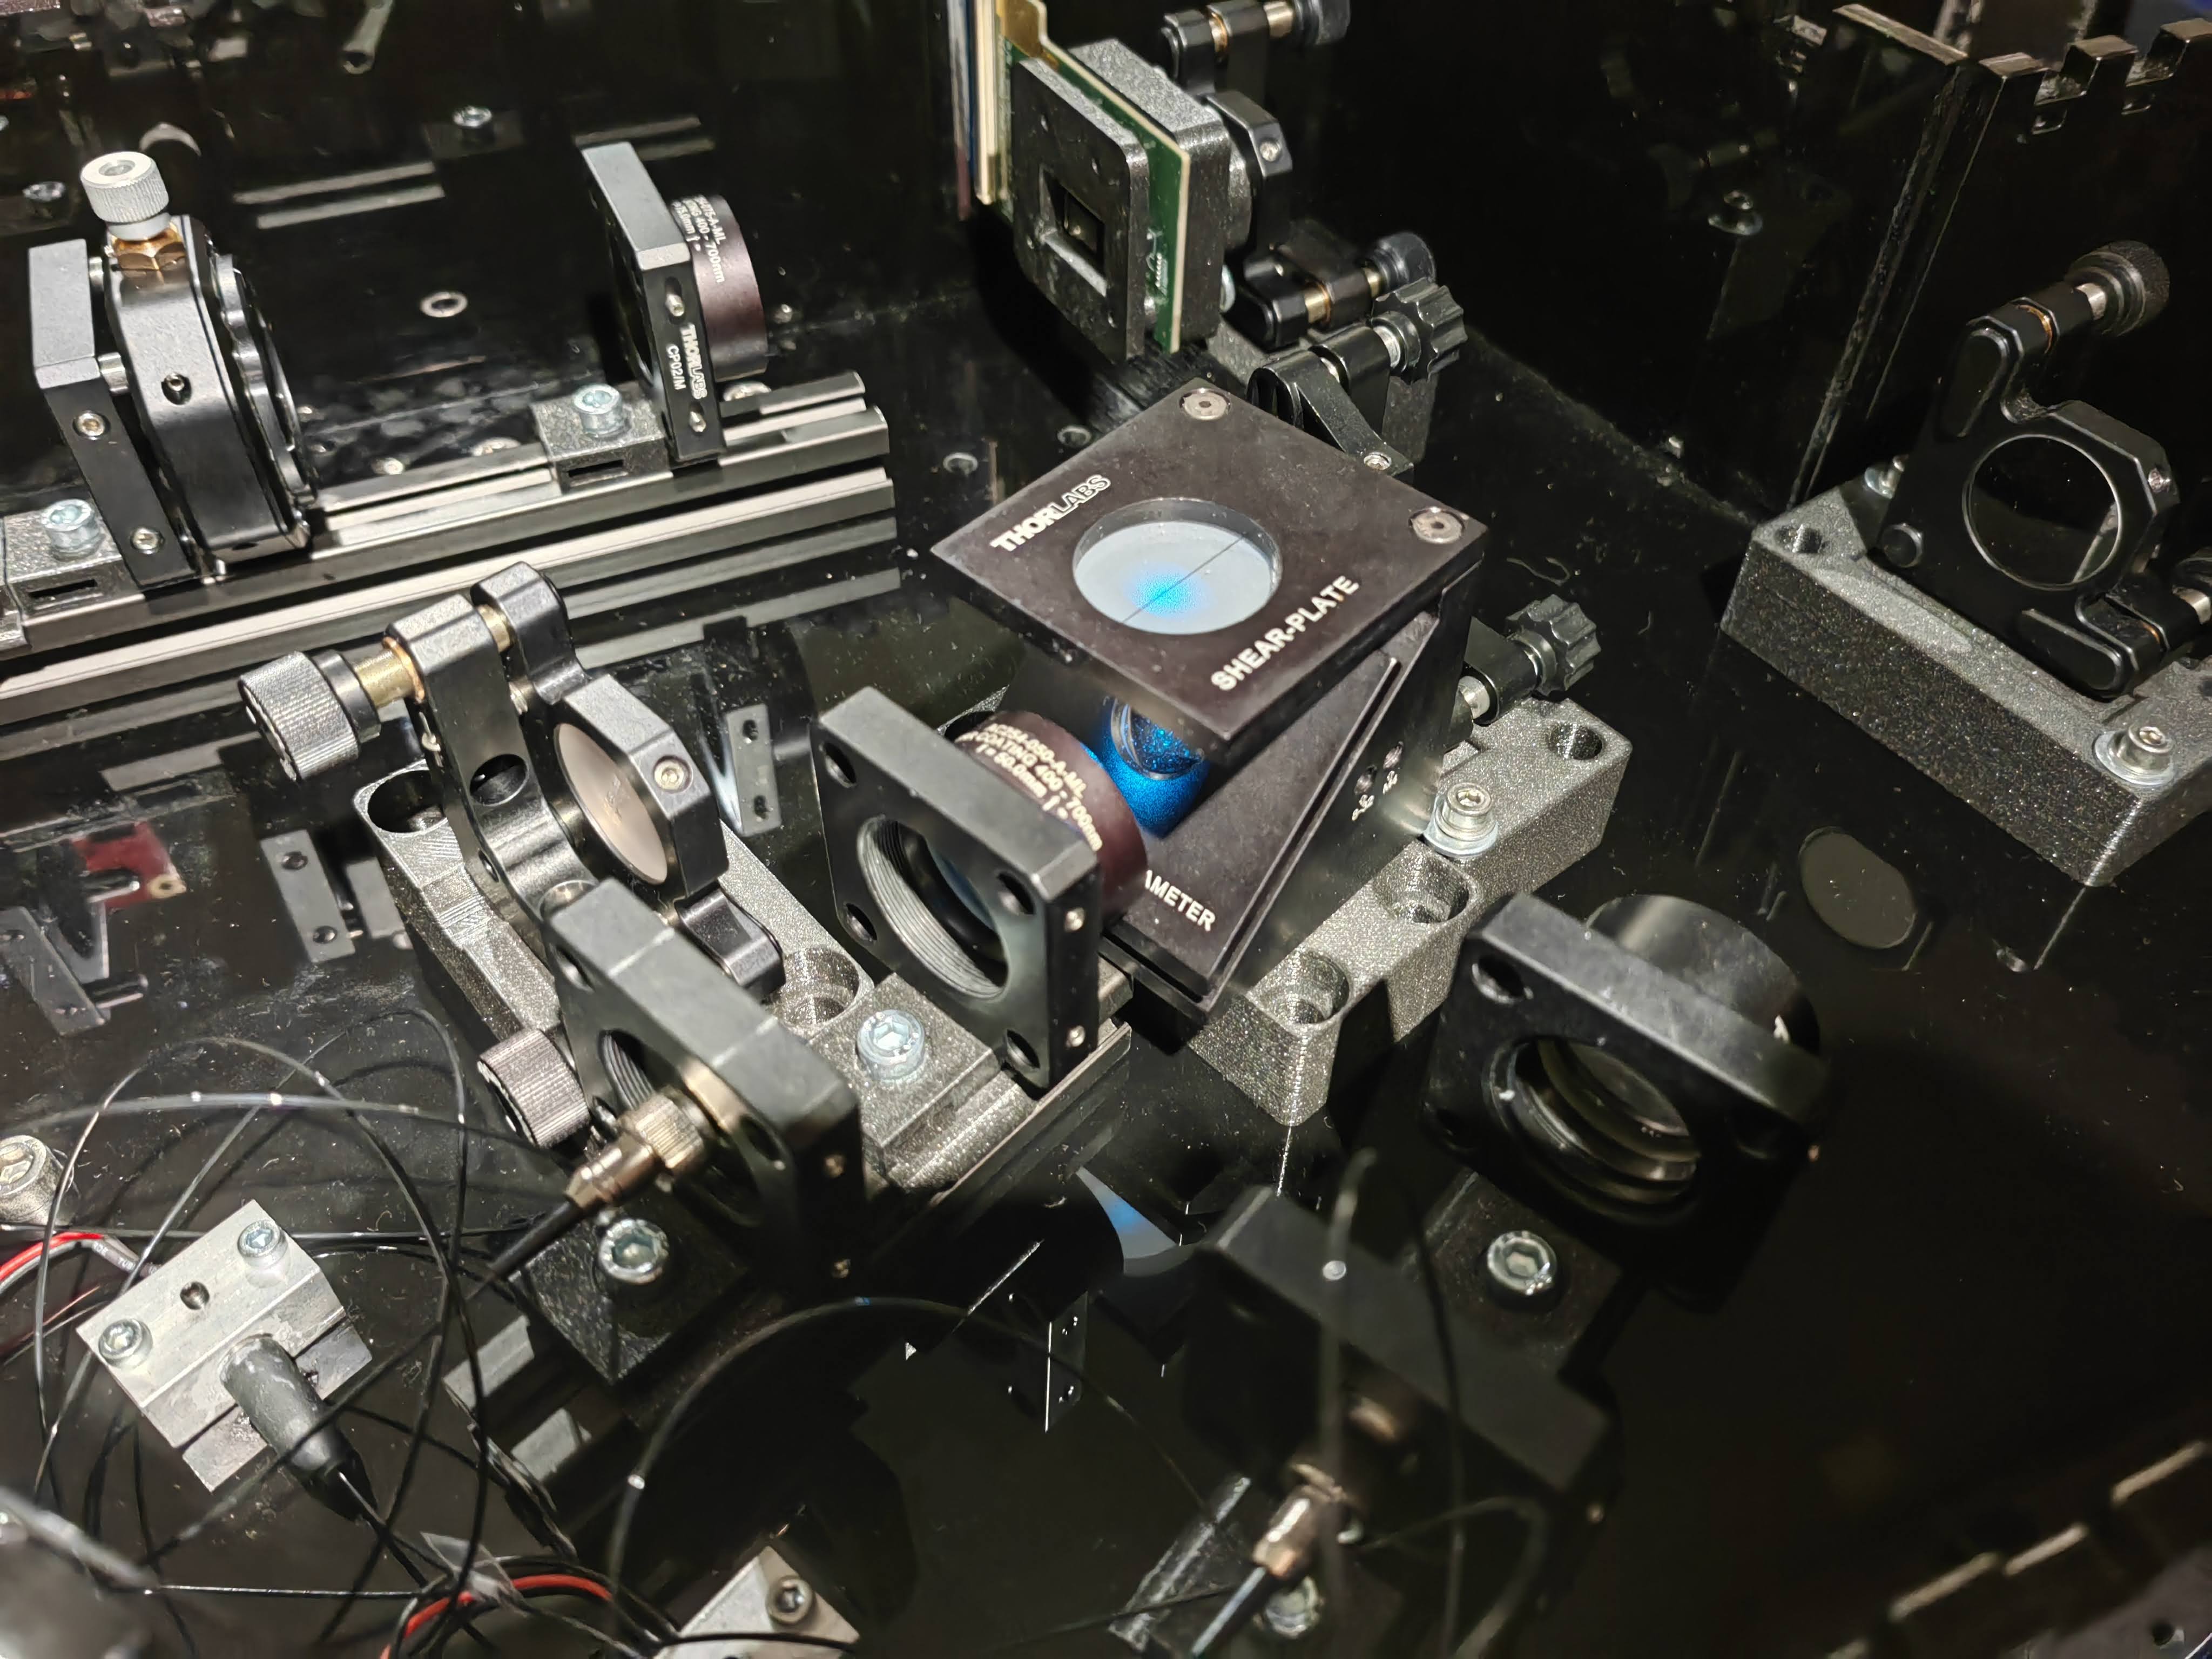
Collimating the laser The collimation of the laser is checked with shear plate, place the shear plate in front of the laser lens, slightly move the lens until interference pattern shown on the shear plate with correct rotation
-
Directing the beam onto DMD Both lasers should shoot roughly in the center of the first mirrors, then the beam is directed to the combine mirror. The red beam passes tightly besides the blue laser mirror, therefore, the red laser beam will be partially blocked by the mirror. Rotate the combine mirror until both laser beam illuminate onto the DMD chip.
-
Heading the beam path parellel to the optical axis
-
Aligning the telescope Use a laser pointer and place it after the telescope pointint to the DMD Maybe with the laser pointer start from the BFP make more sense? 1. Collimation can be checked with Tube lens + second telescope lens, 2. The Laser need to focus again on the DMD.
-
Adjusting the tube lens position After the telescope nicely adjusted, the laser beam should focus in the center of the back focal plane of the objective, placing a cosair target at the objective revolver to check the beam, if is not centered, slightly move the xy translation stage of the tube lens to center the beam. After that, turn the objective back and check the output beam, it should be collimated and direct straightly towards up.
-
Insert the Fourier mask
Timelapse of the aligning process of the SIMMO
Pictured Tutorial Step-by-Step
Prepare the optical table
We use the Nikon TiE2 to adapt the SIMMO. In principle any microscope body can be used for the super-resolution attachement. The any thing to keep in mind is the final sampling of the SIM pattern in the sample-plane and on the detector respectively.

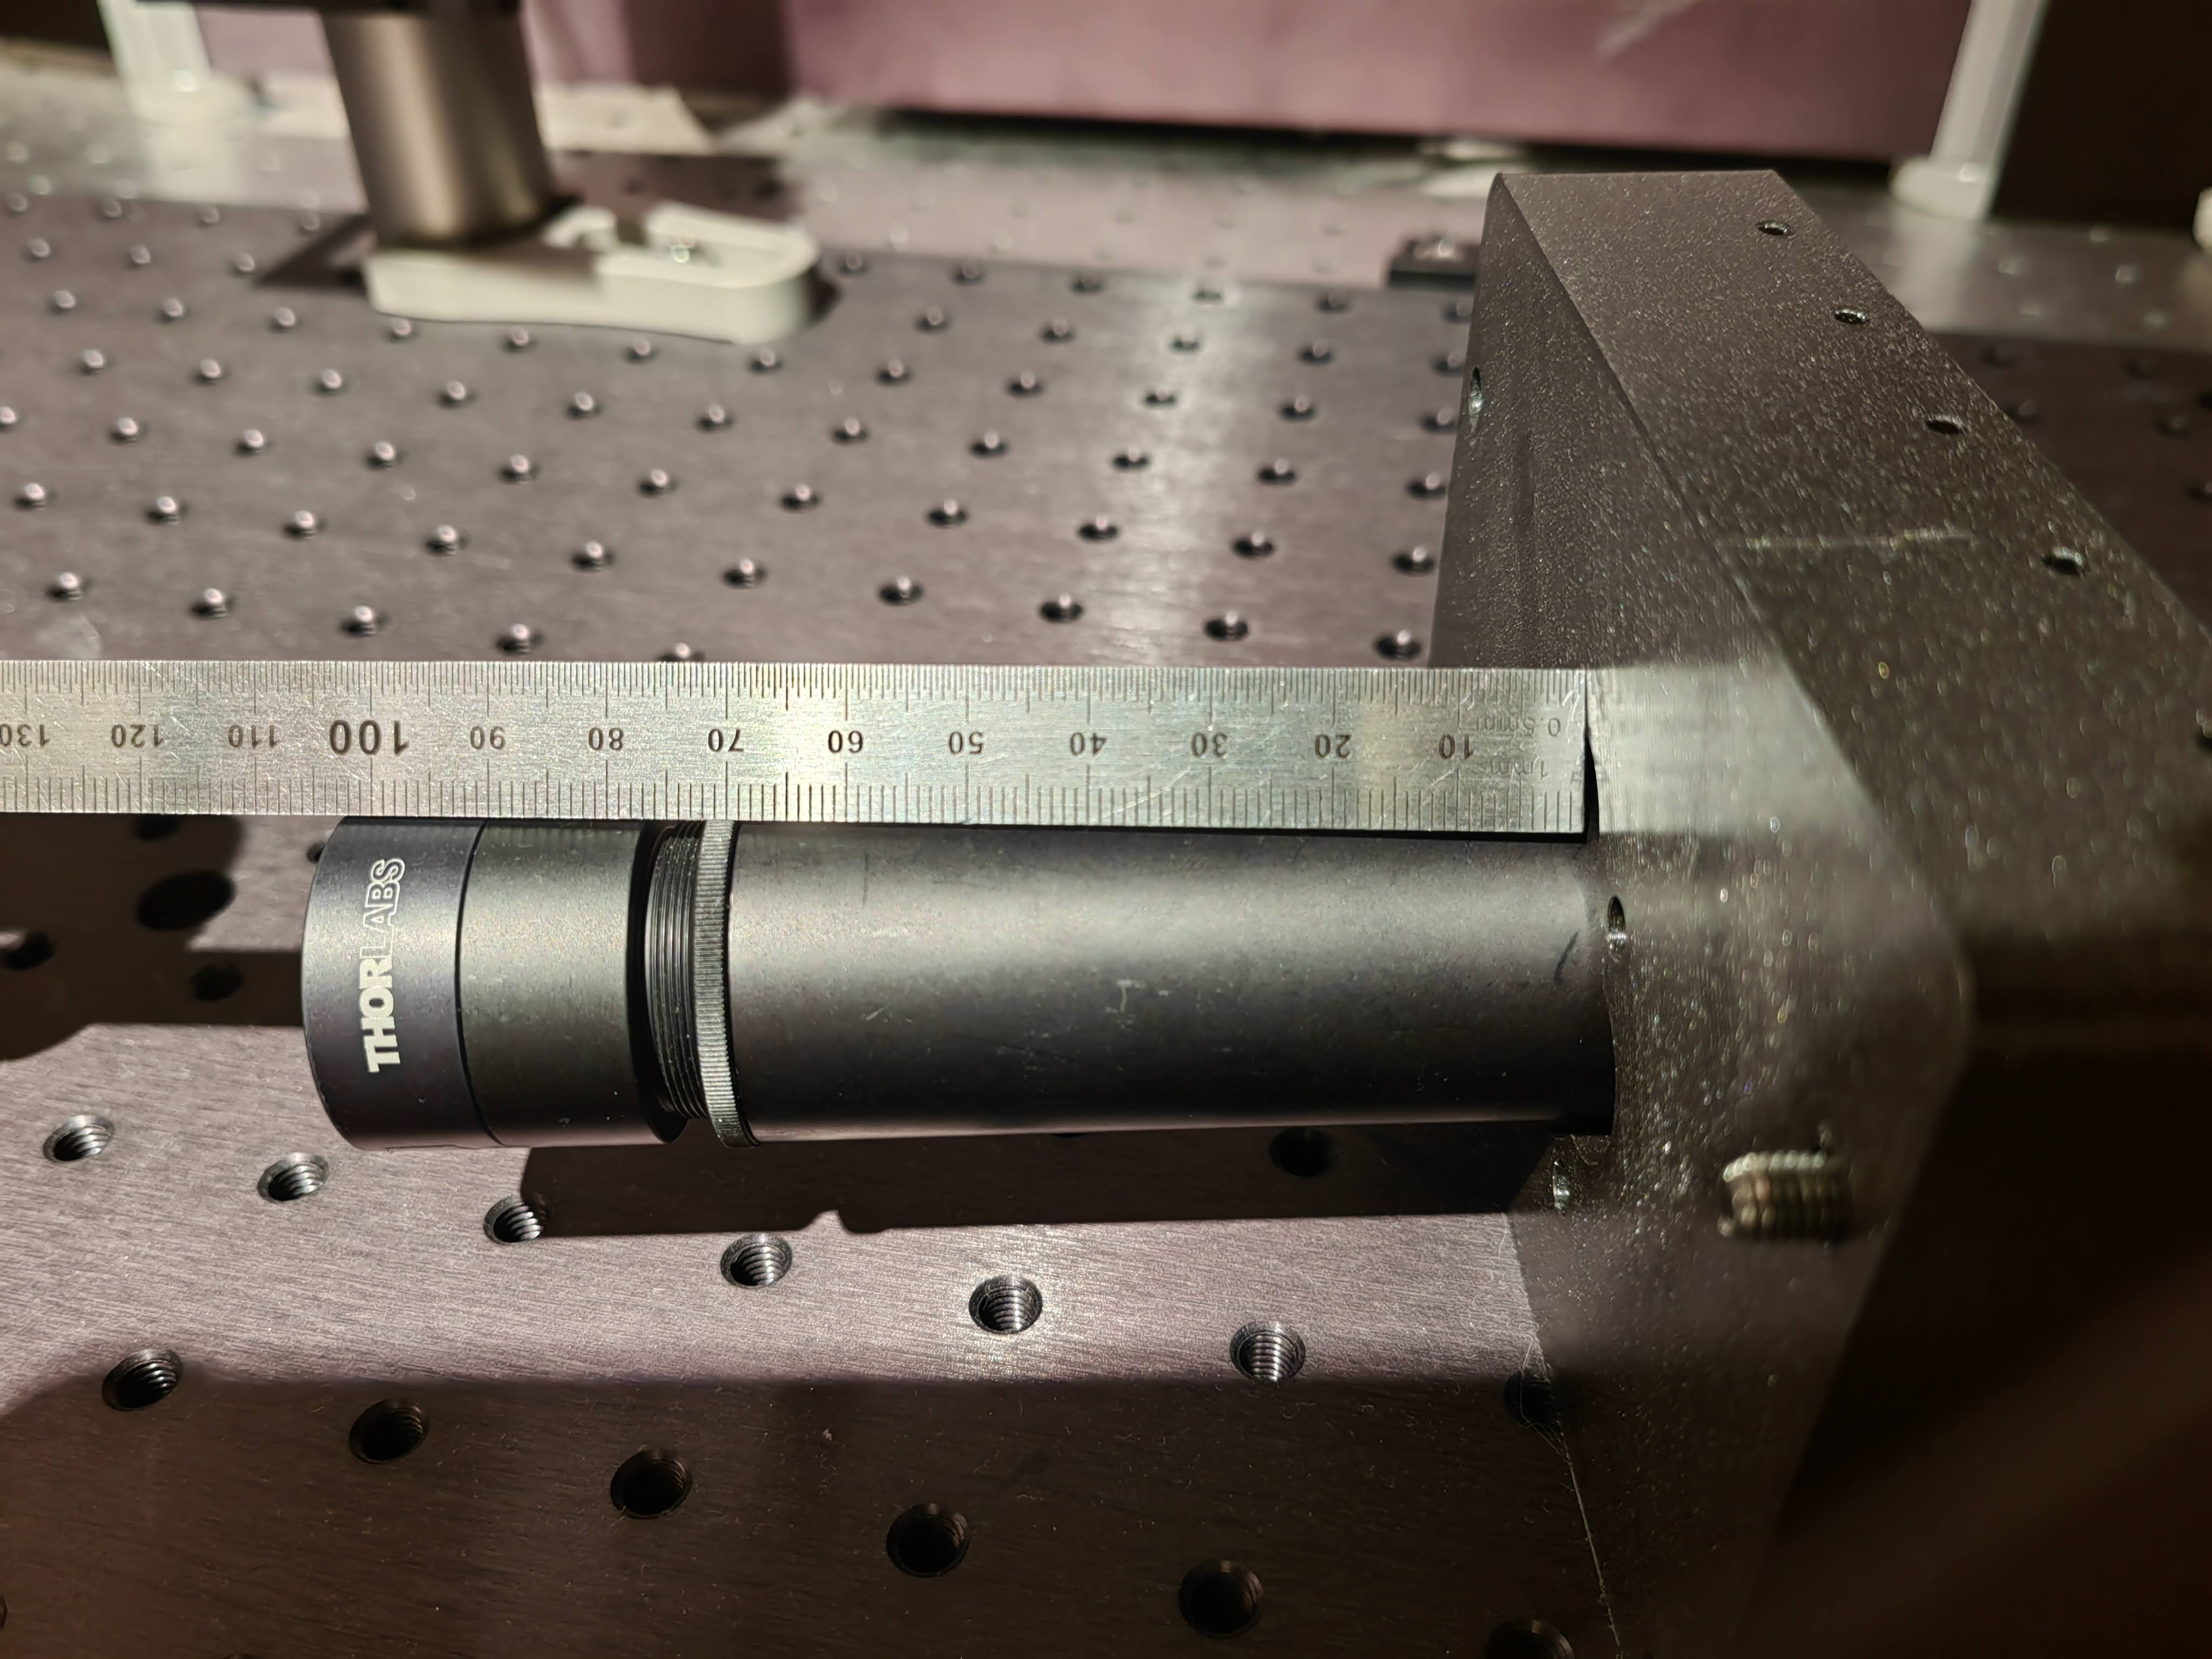
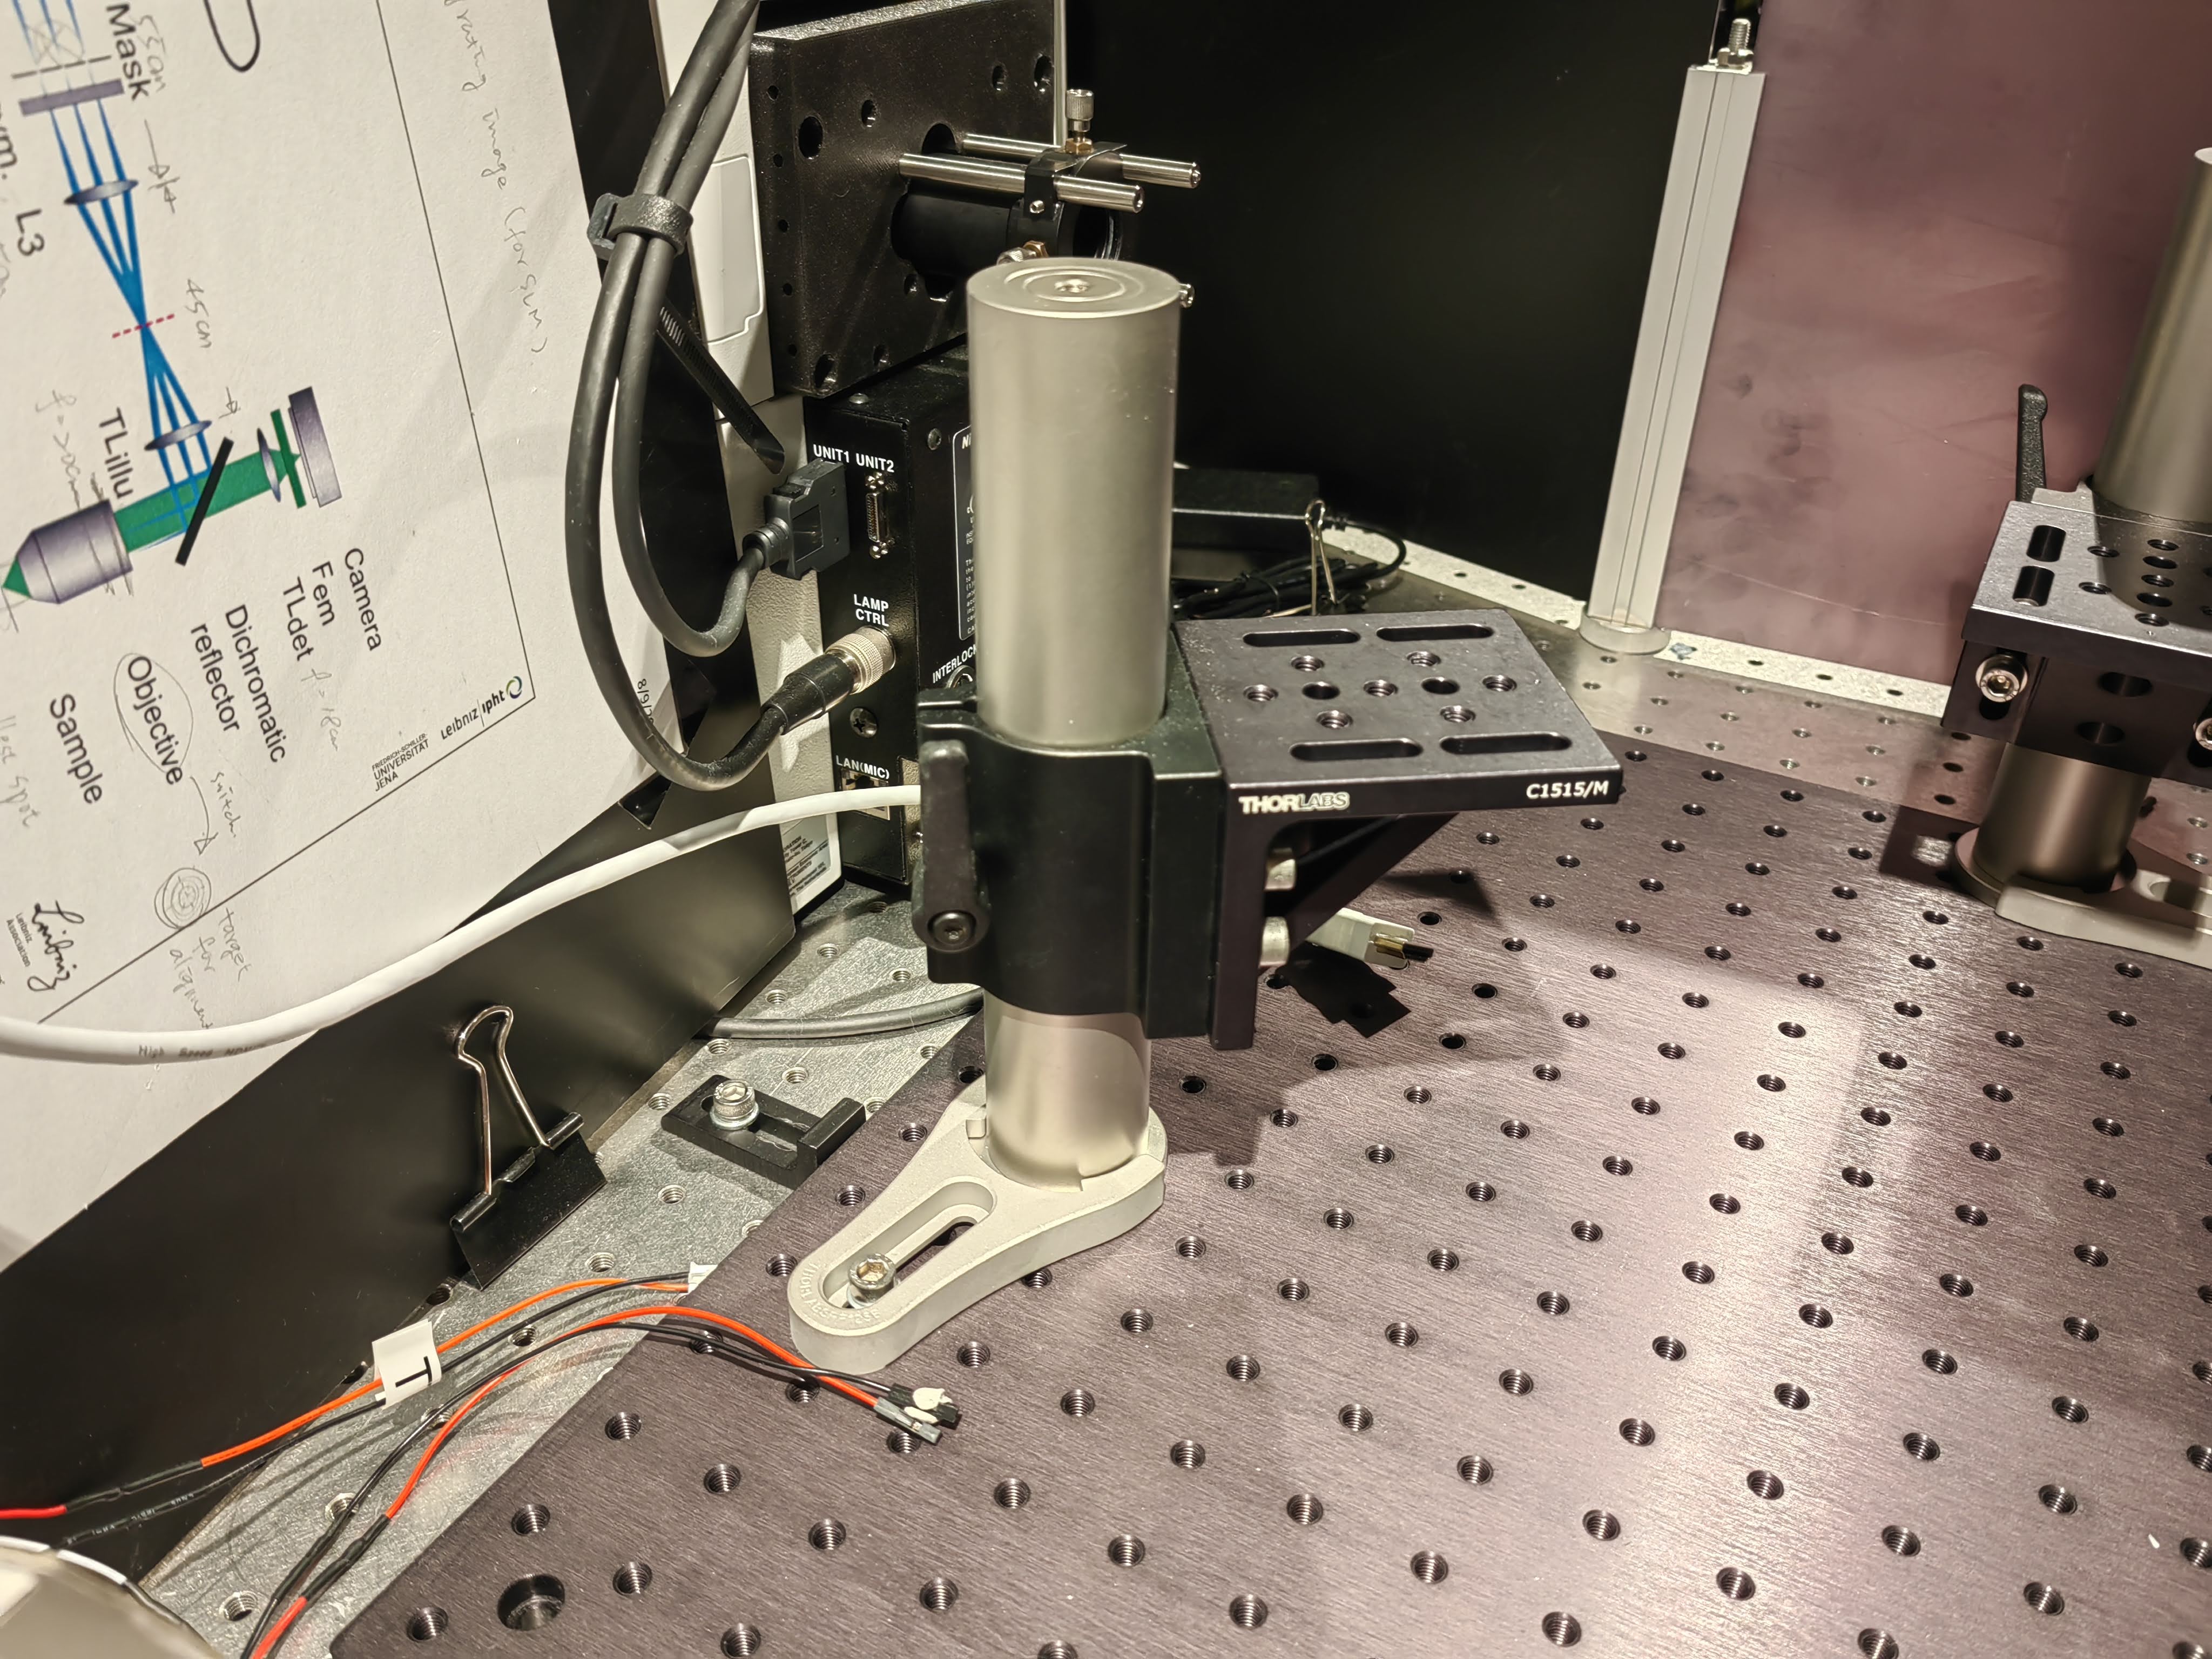
We prepare the microscope adapter plate with the tubelense (f=200mm) that acan be translated in XY to compensate slight angle variations w.r.t. how the SIM beams are hitting the dichroic
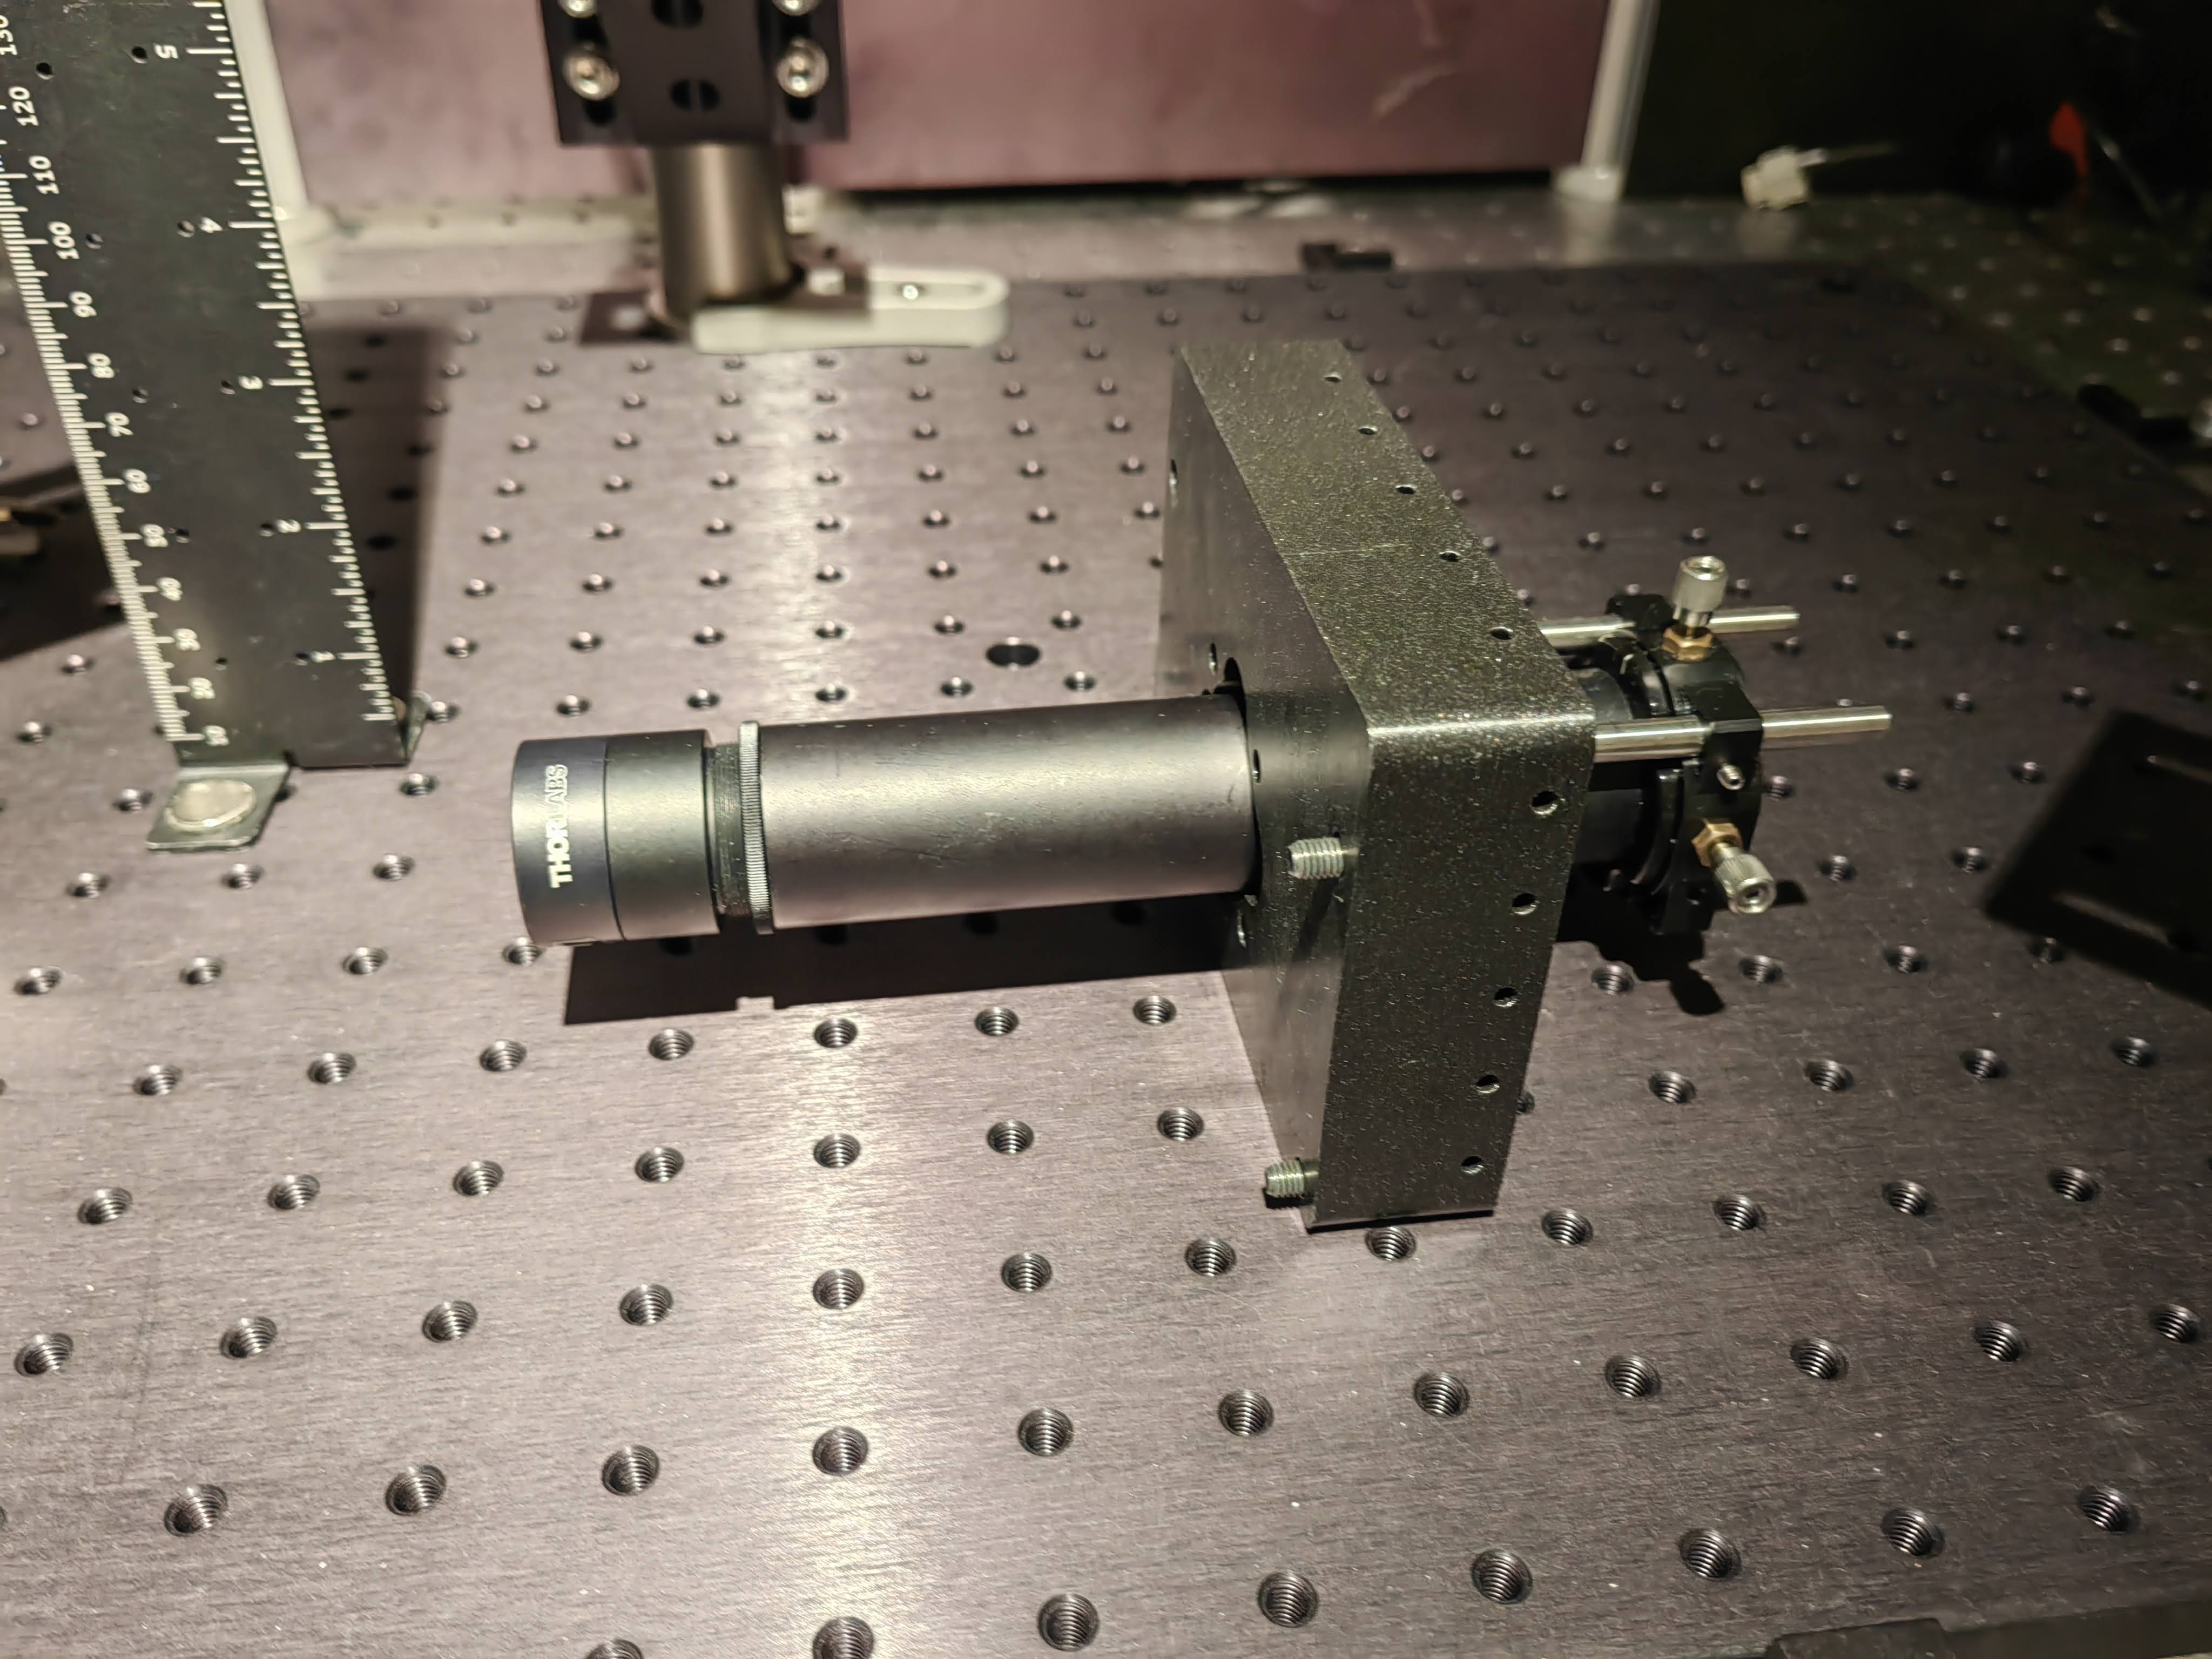
Ensure the tube lens is properly distant from the microscope body. In our case 100mm, so that it's 200mm from the last lens of the fourier-filtering telescope
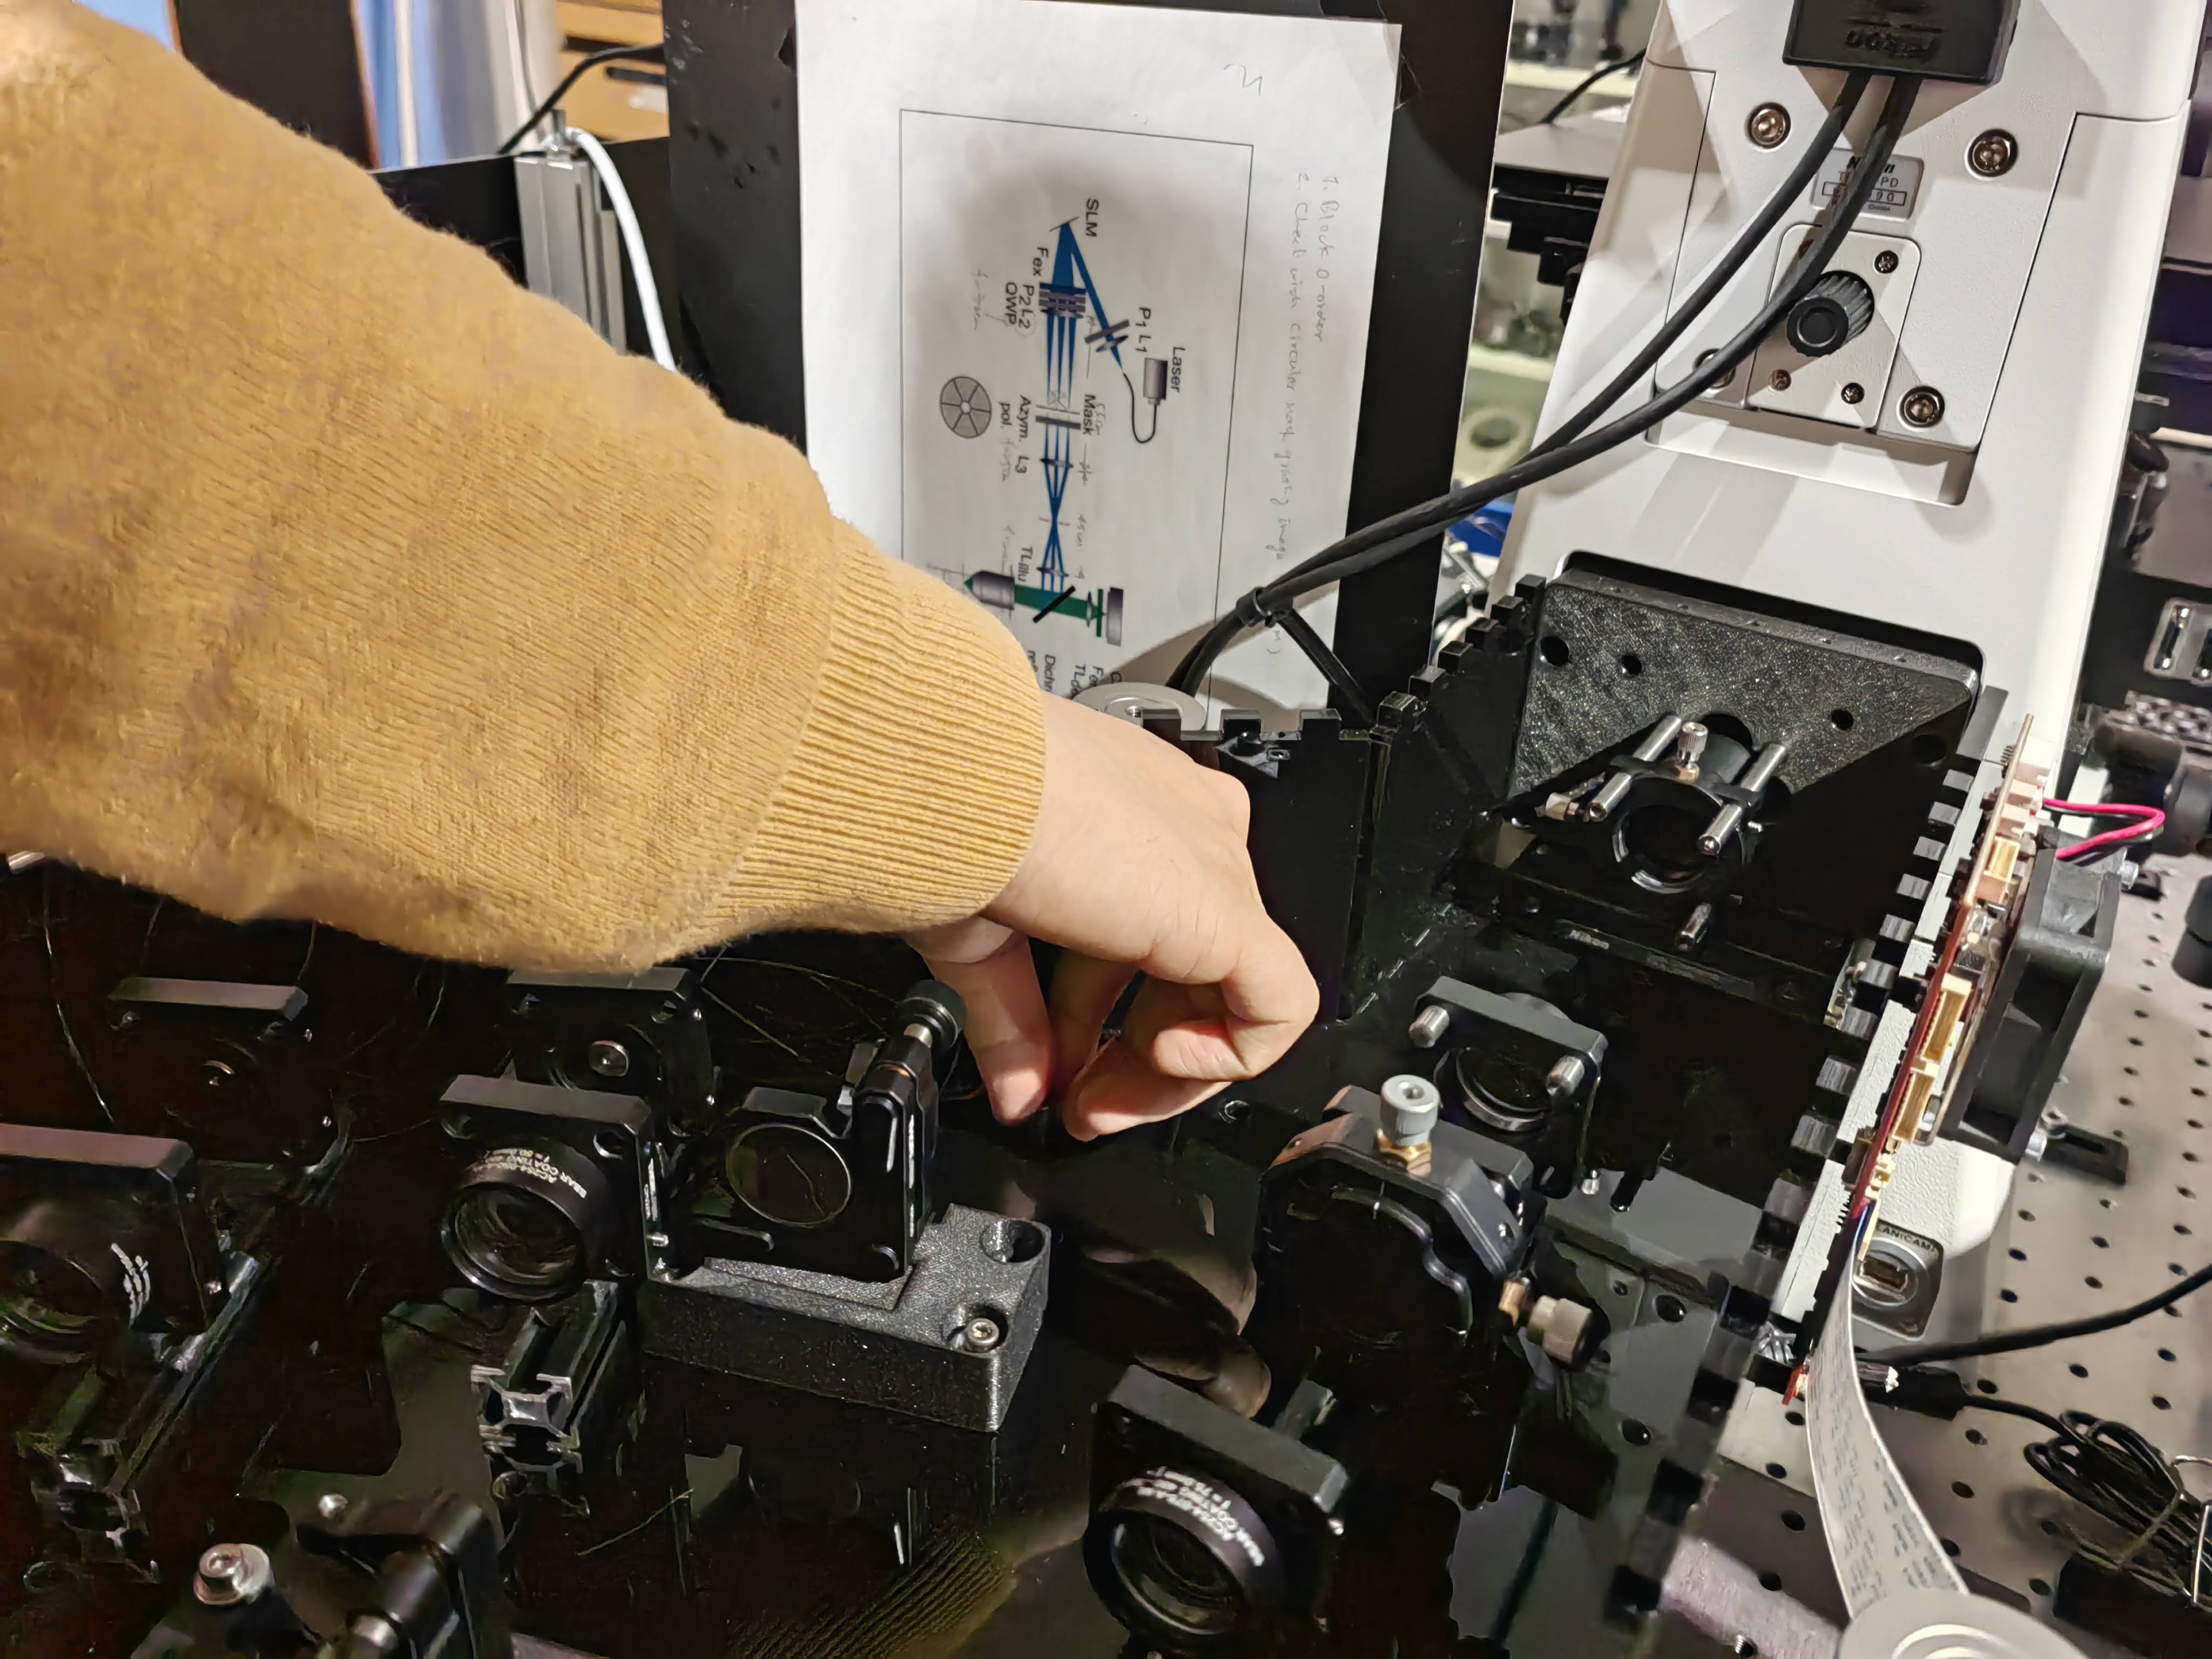
This is the final assembly that is now slided inside the Nikon body
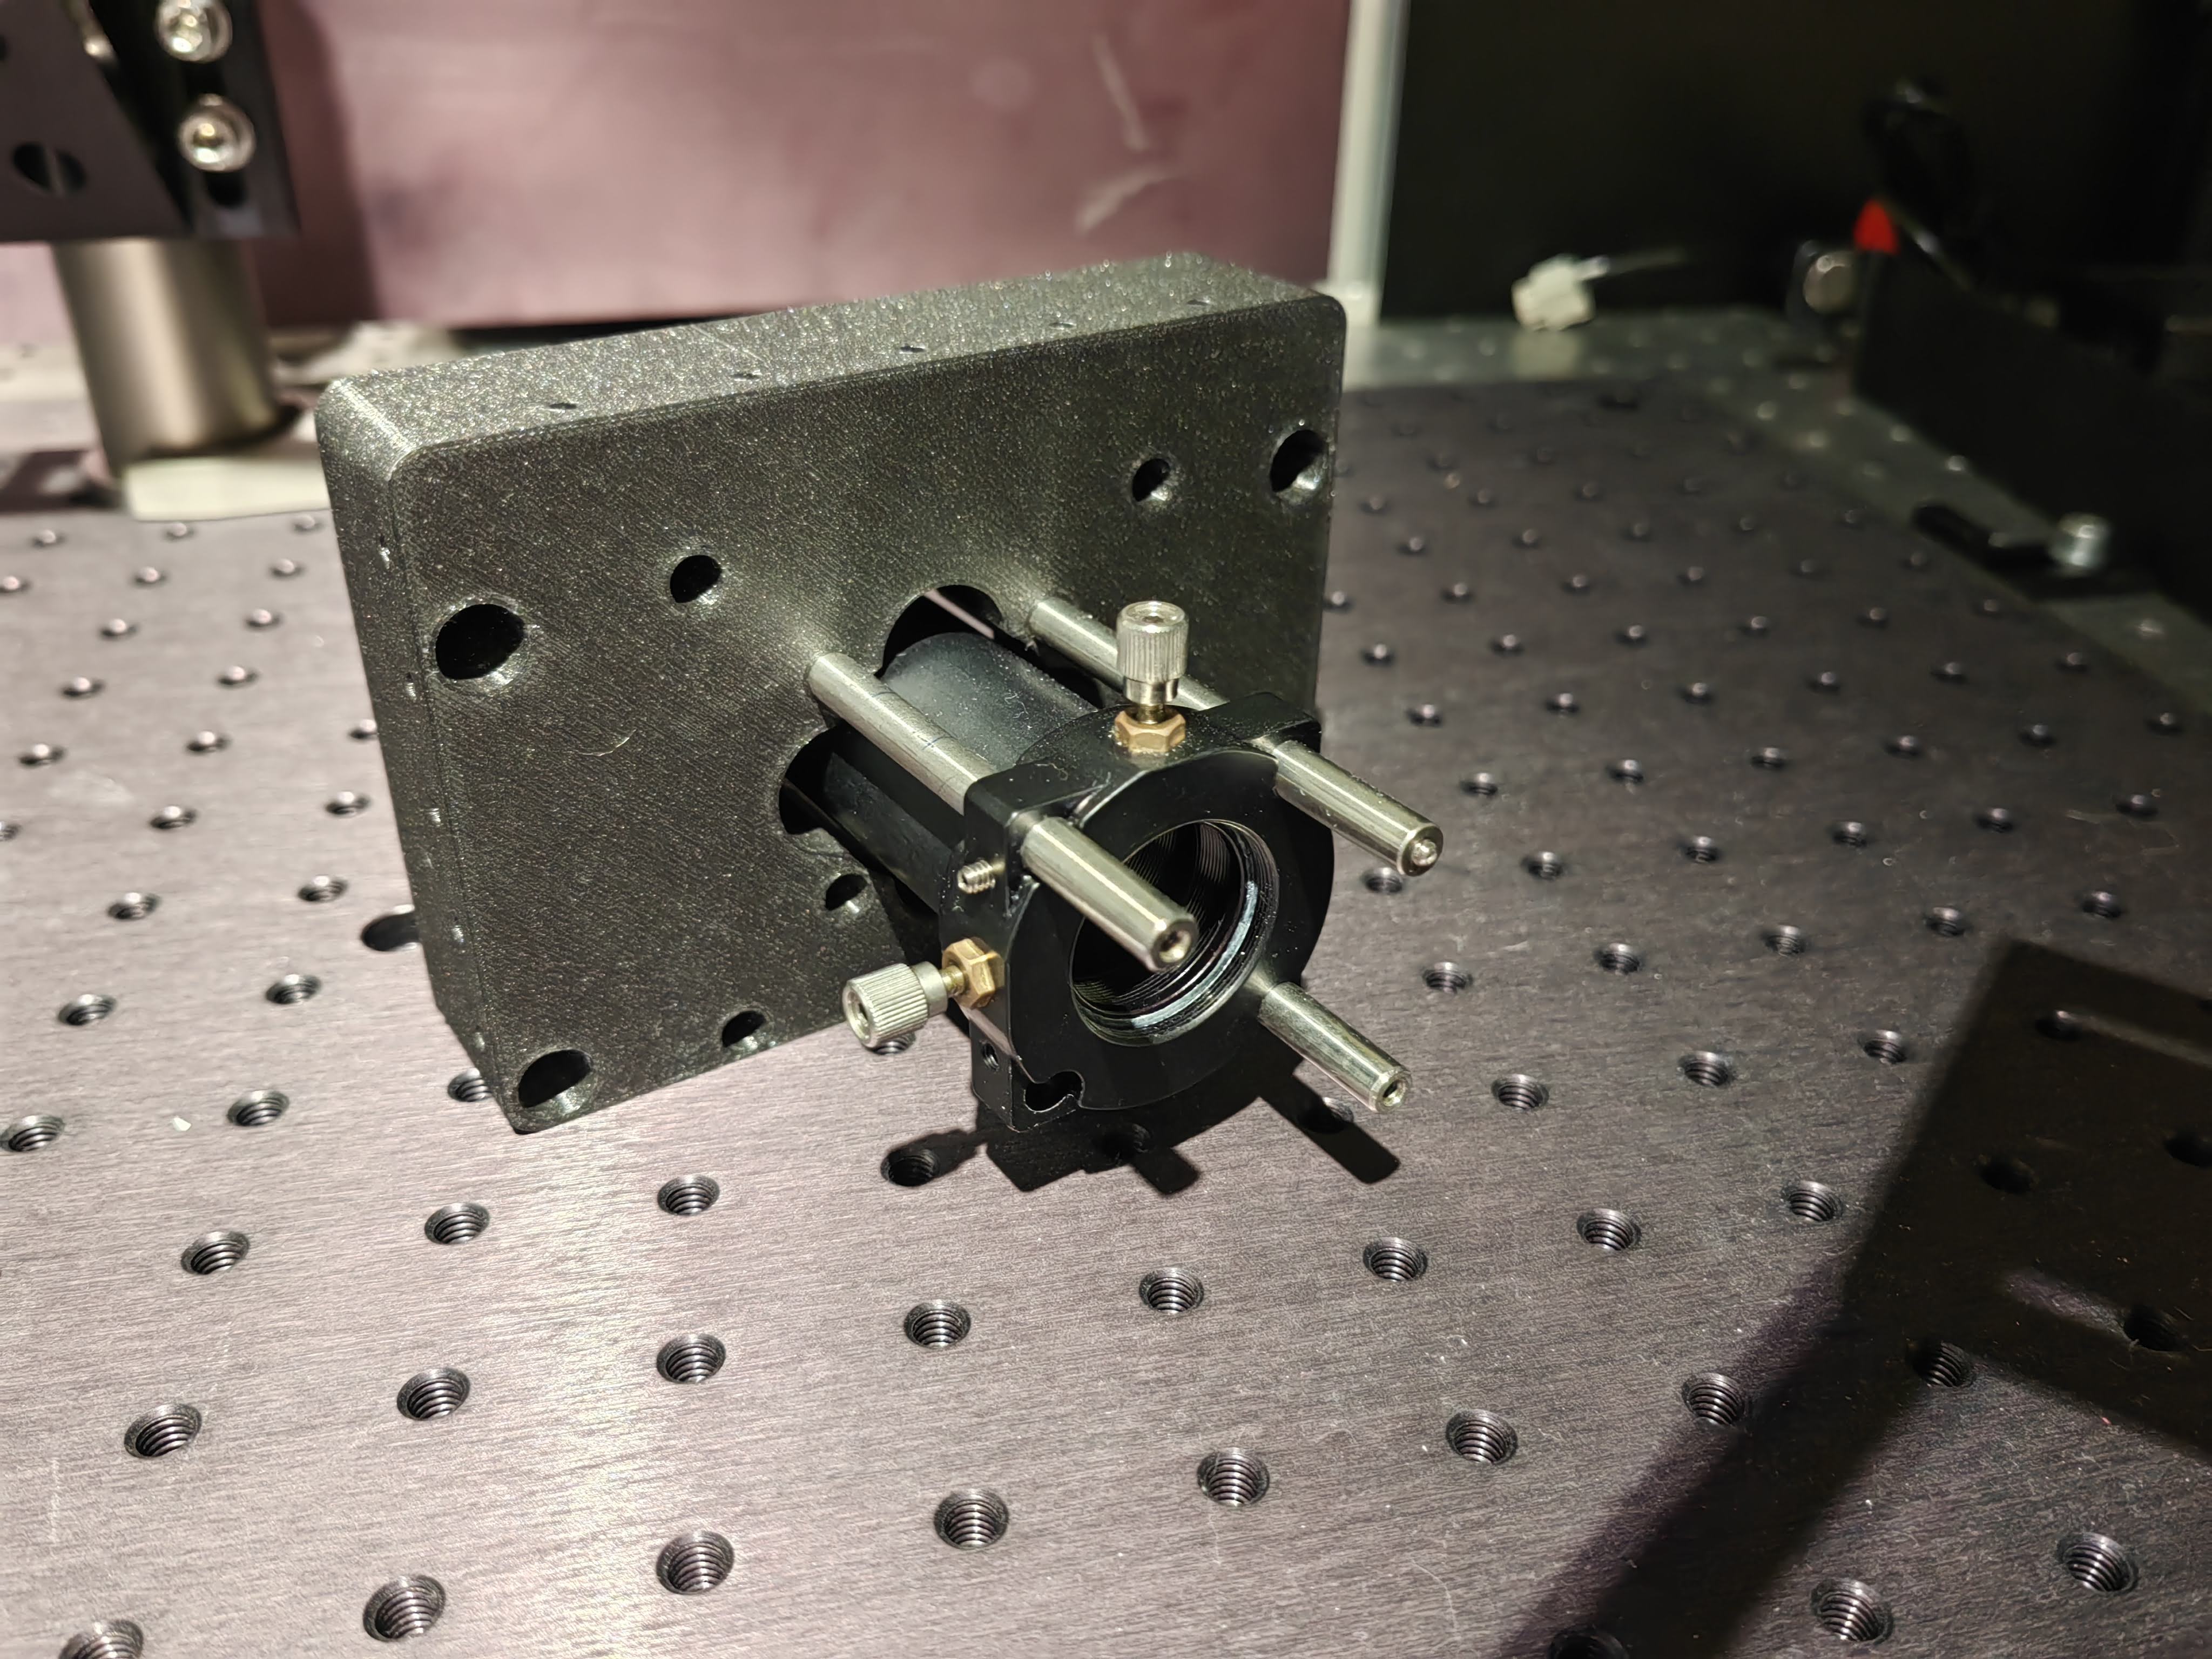
This is how the assembly looks like before fixing it with the screws
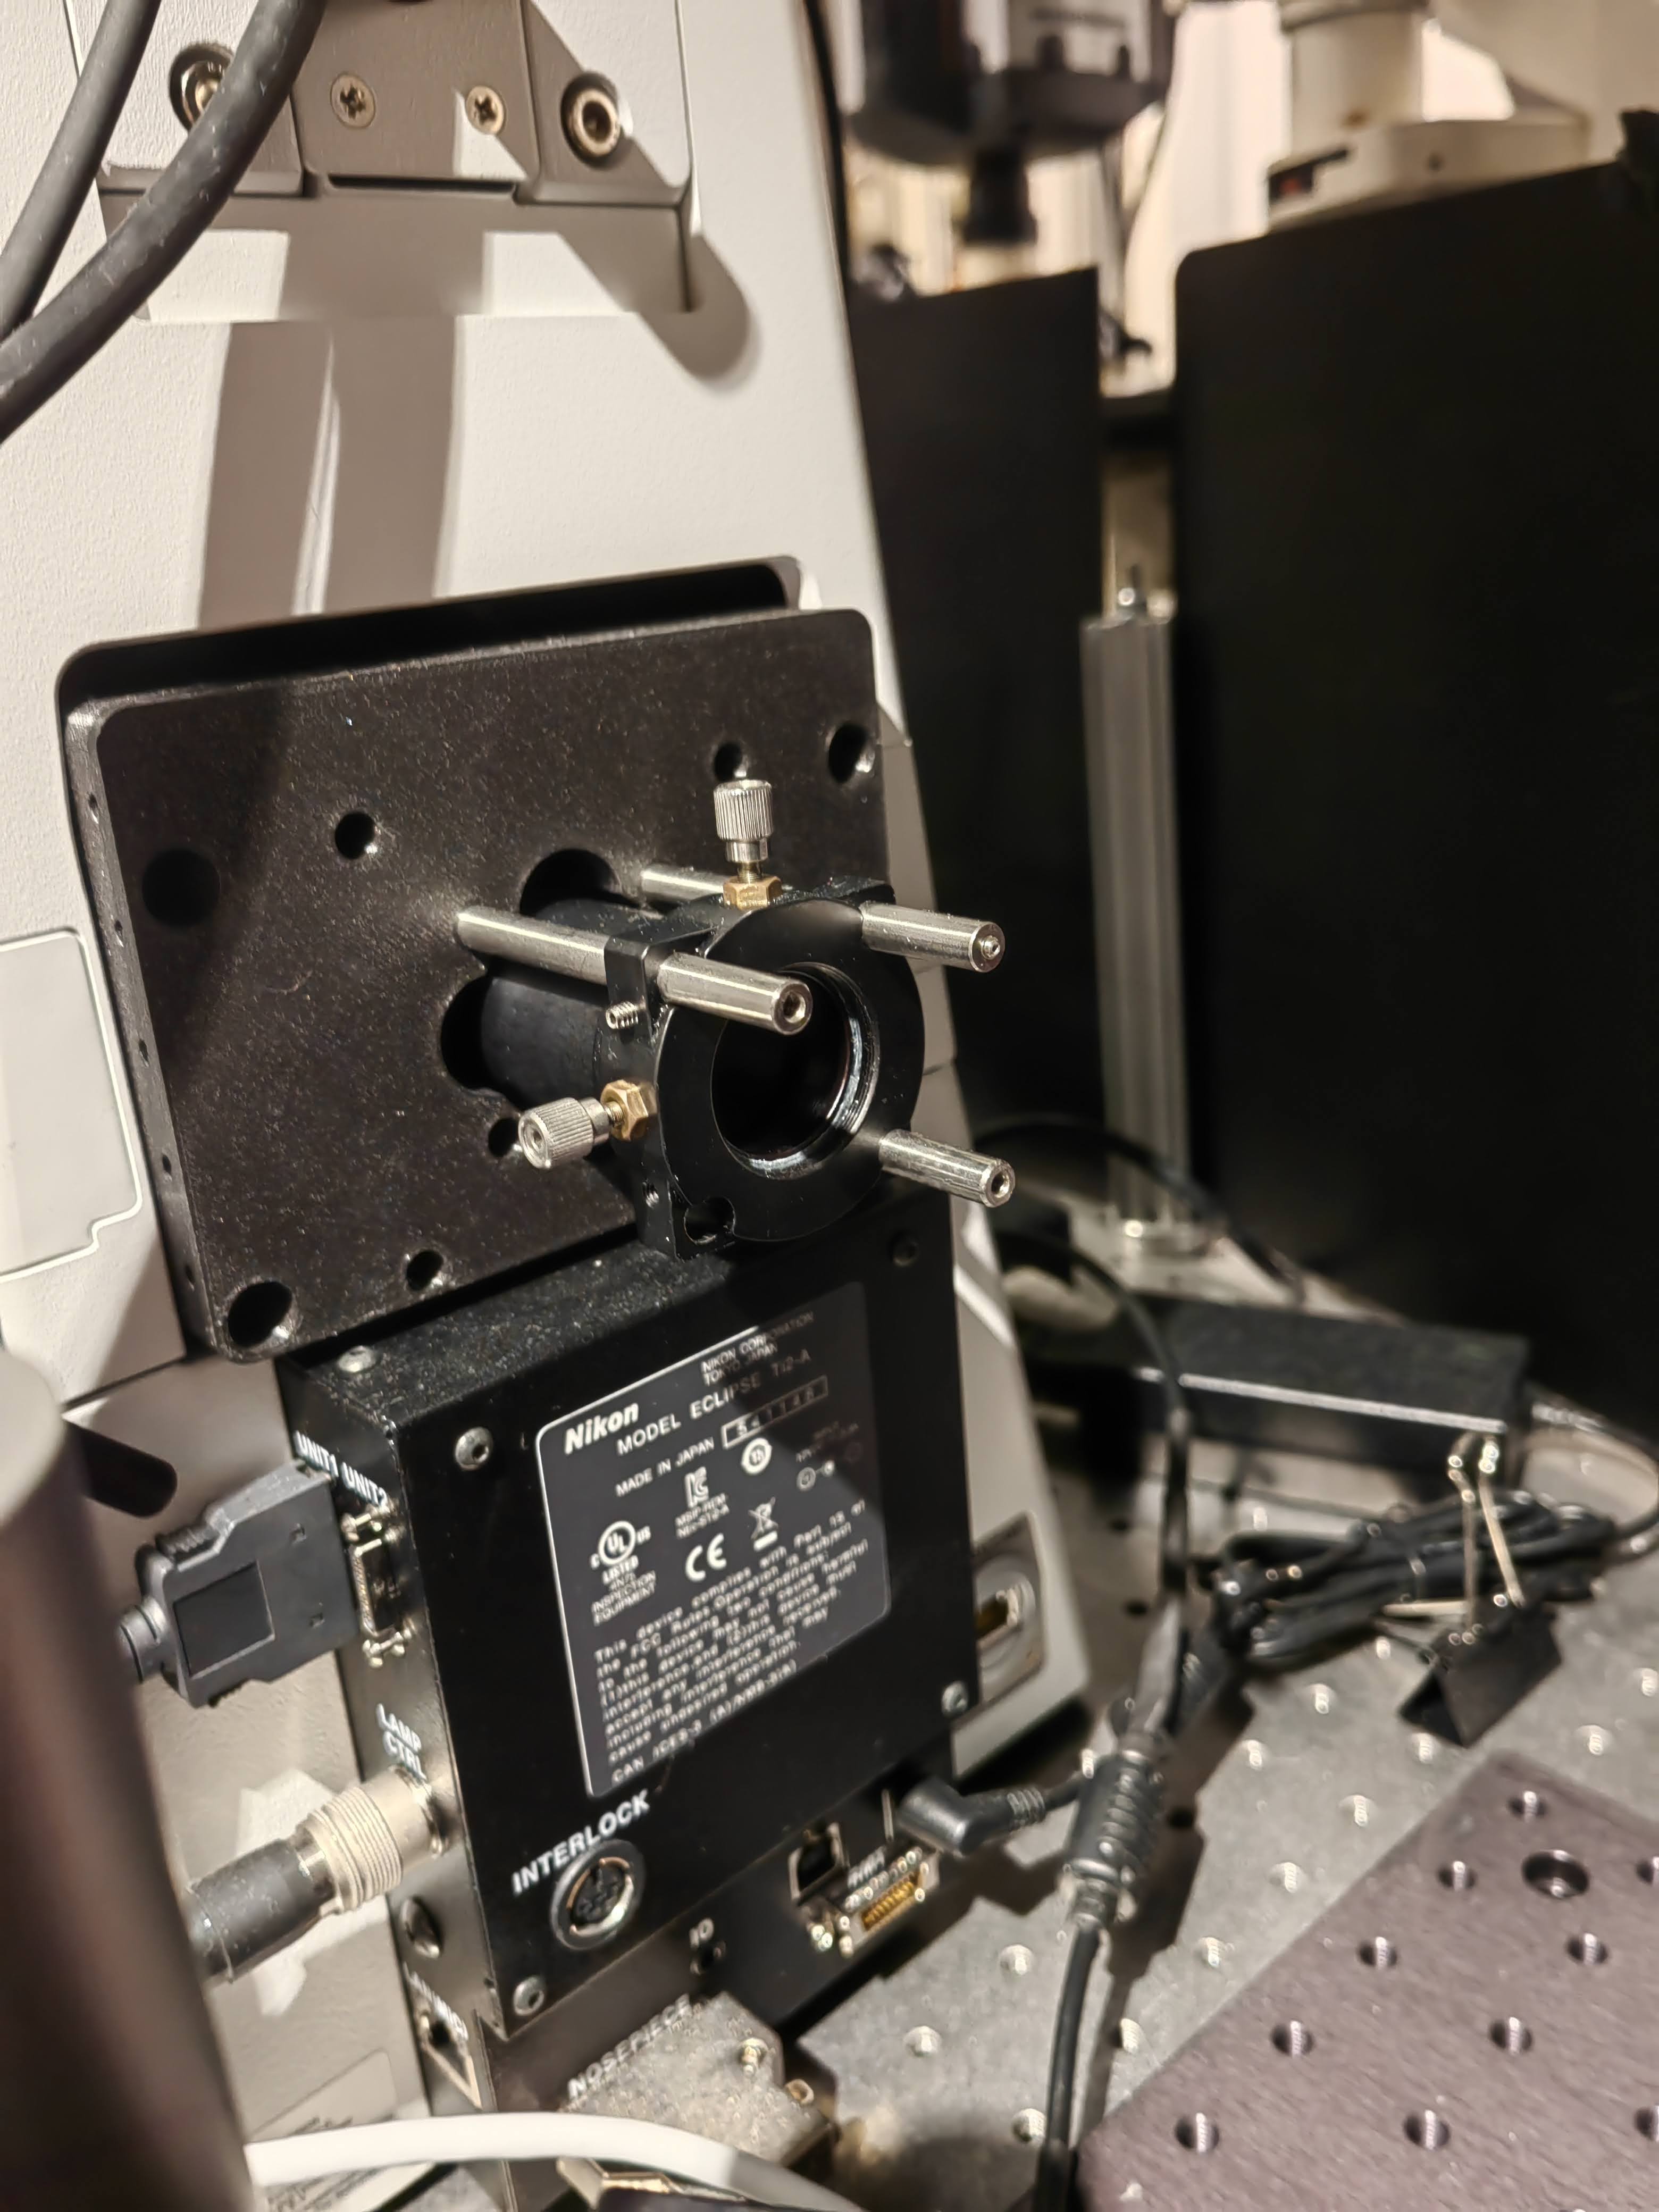
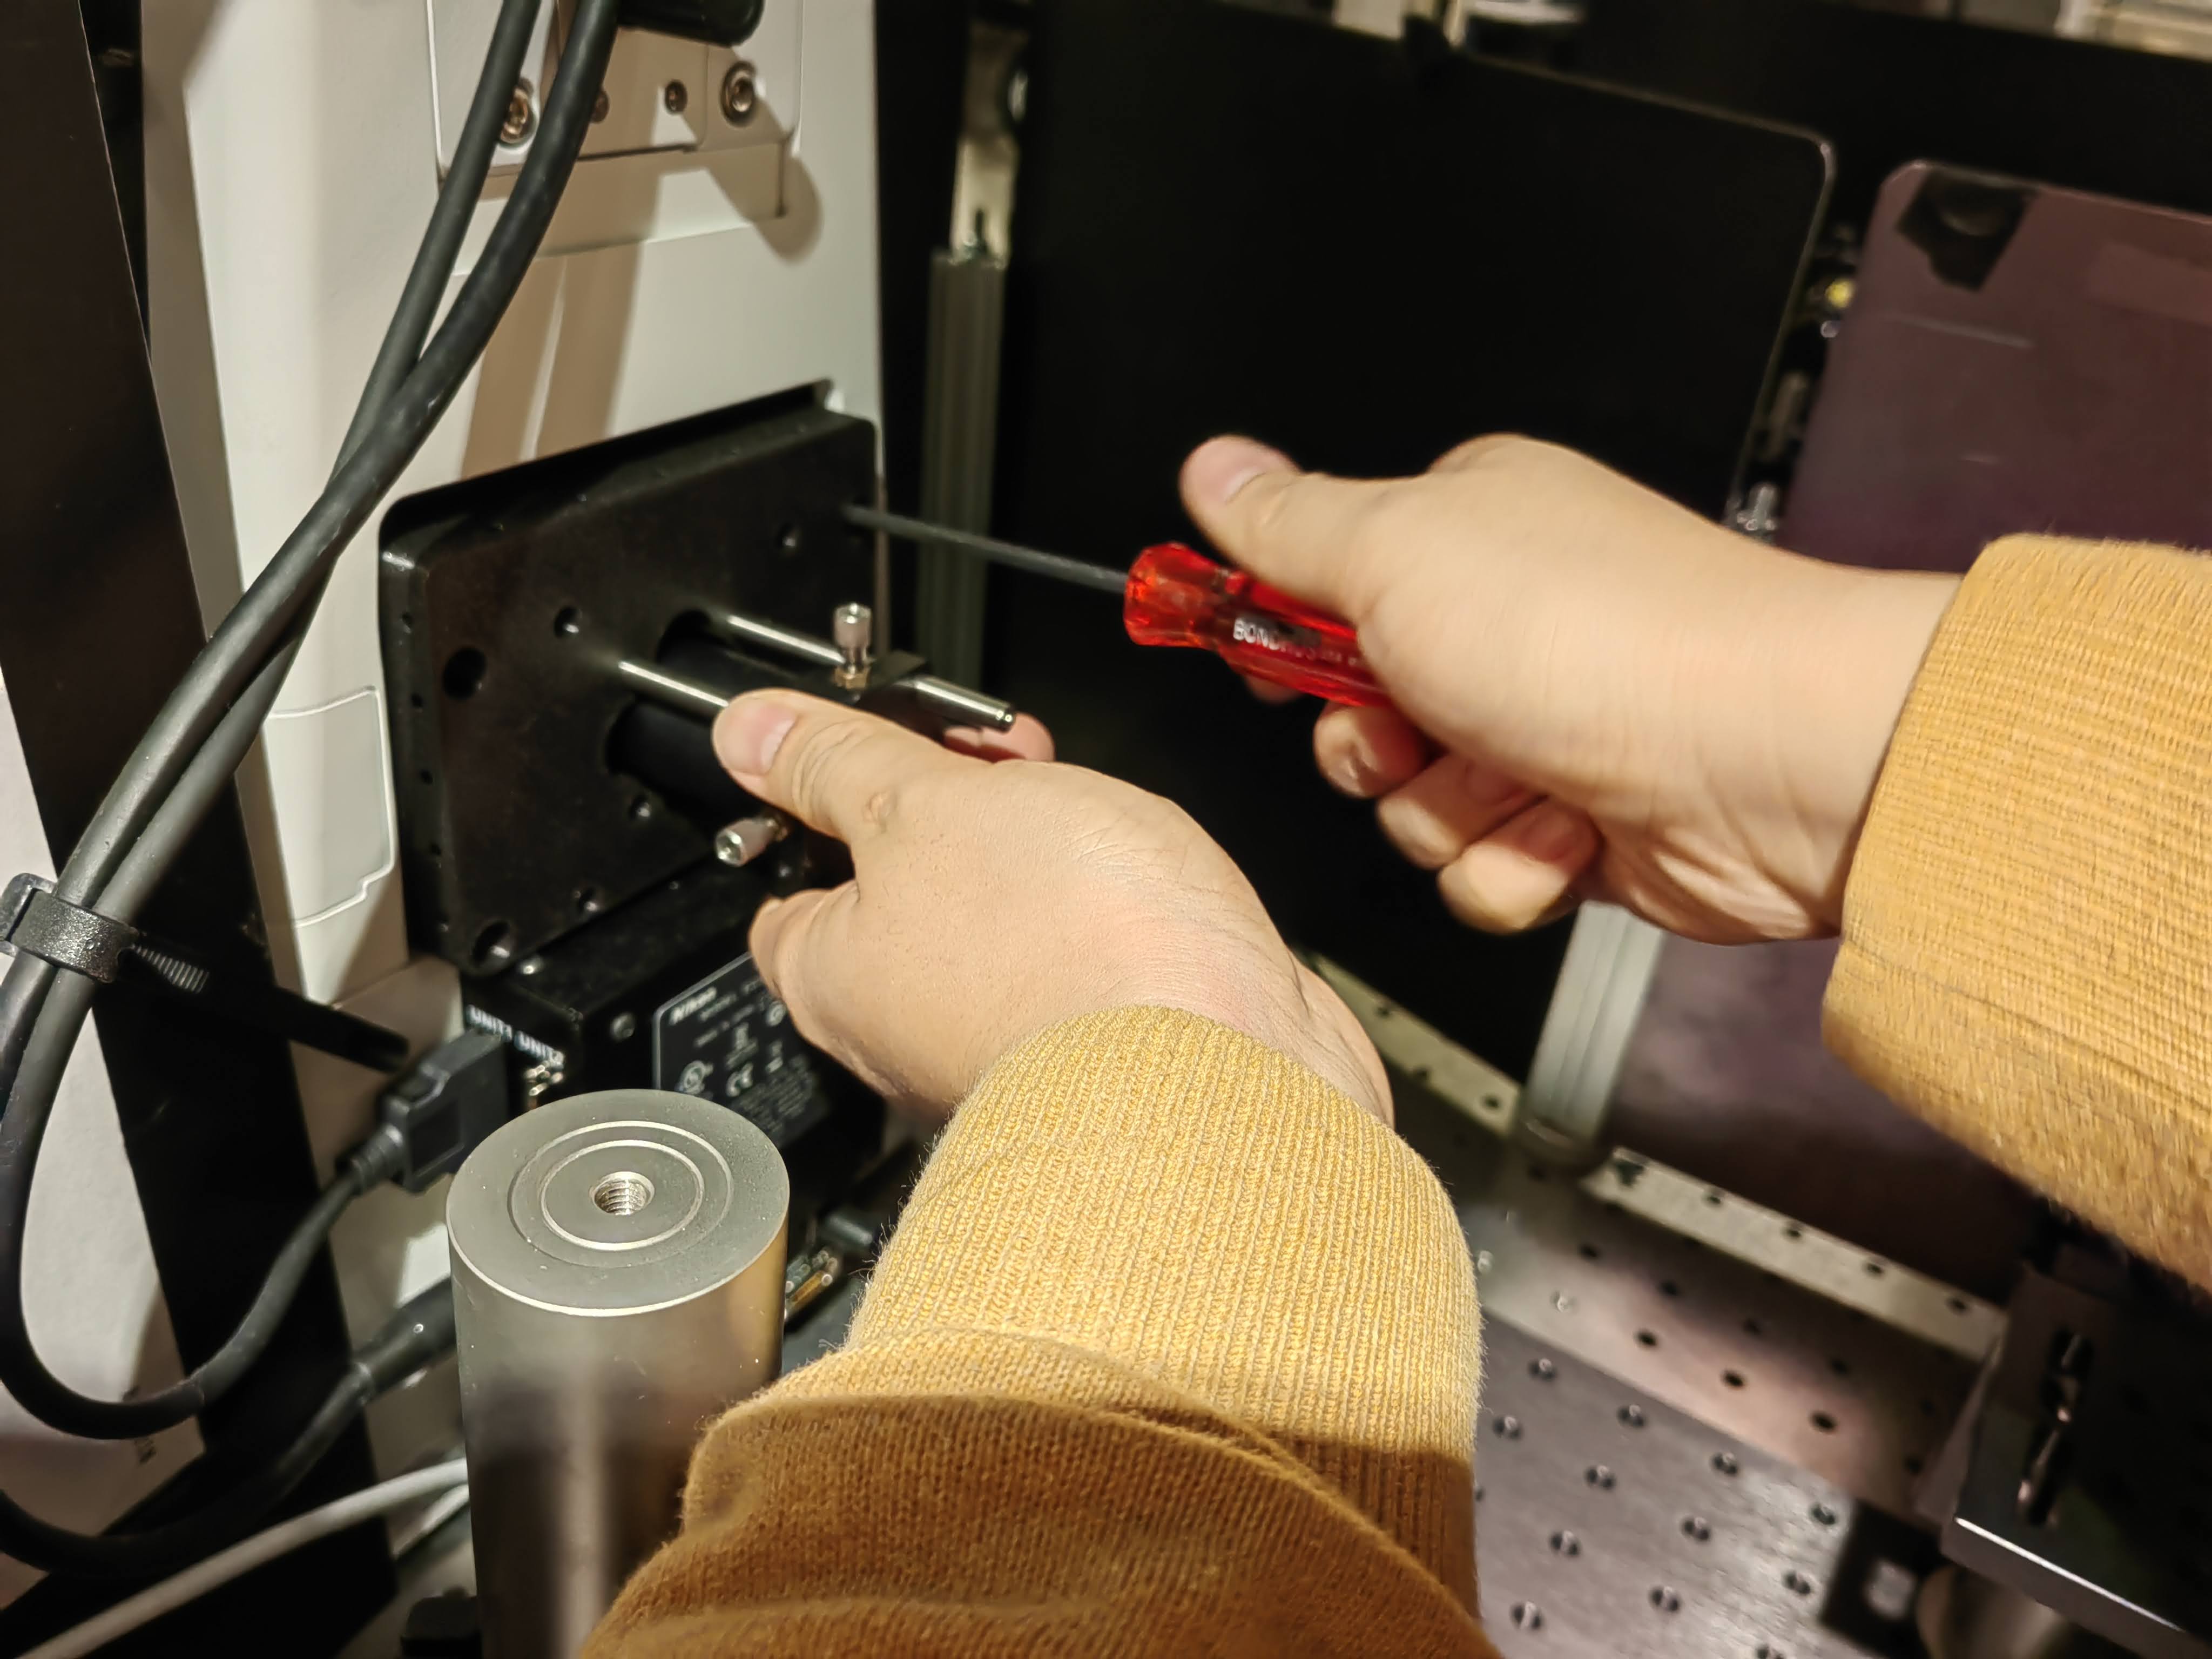
We use the screws, provided by the Nikon body and ensure a proper stand. Also make sure that the Nikon body is properly mounted on the table. We use Thorlabs feeds for that.
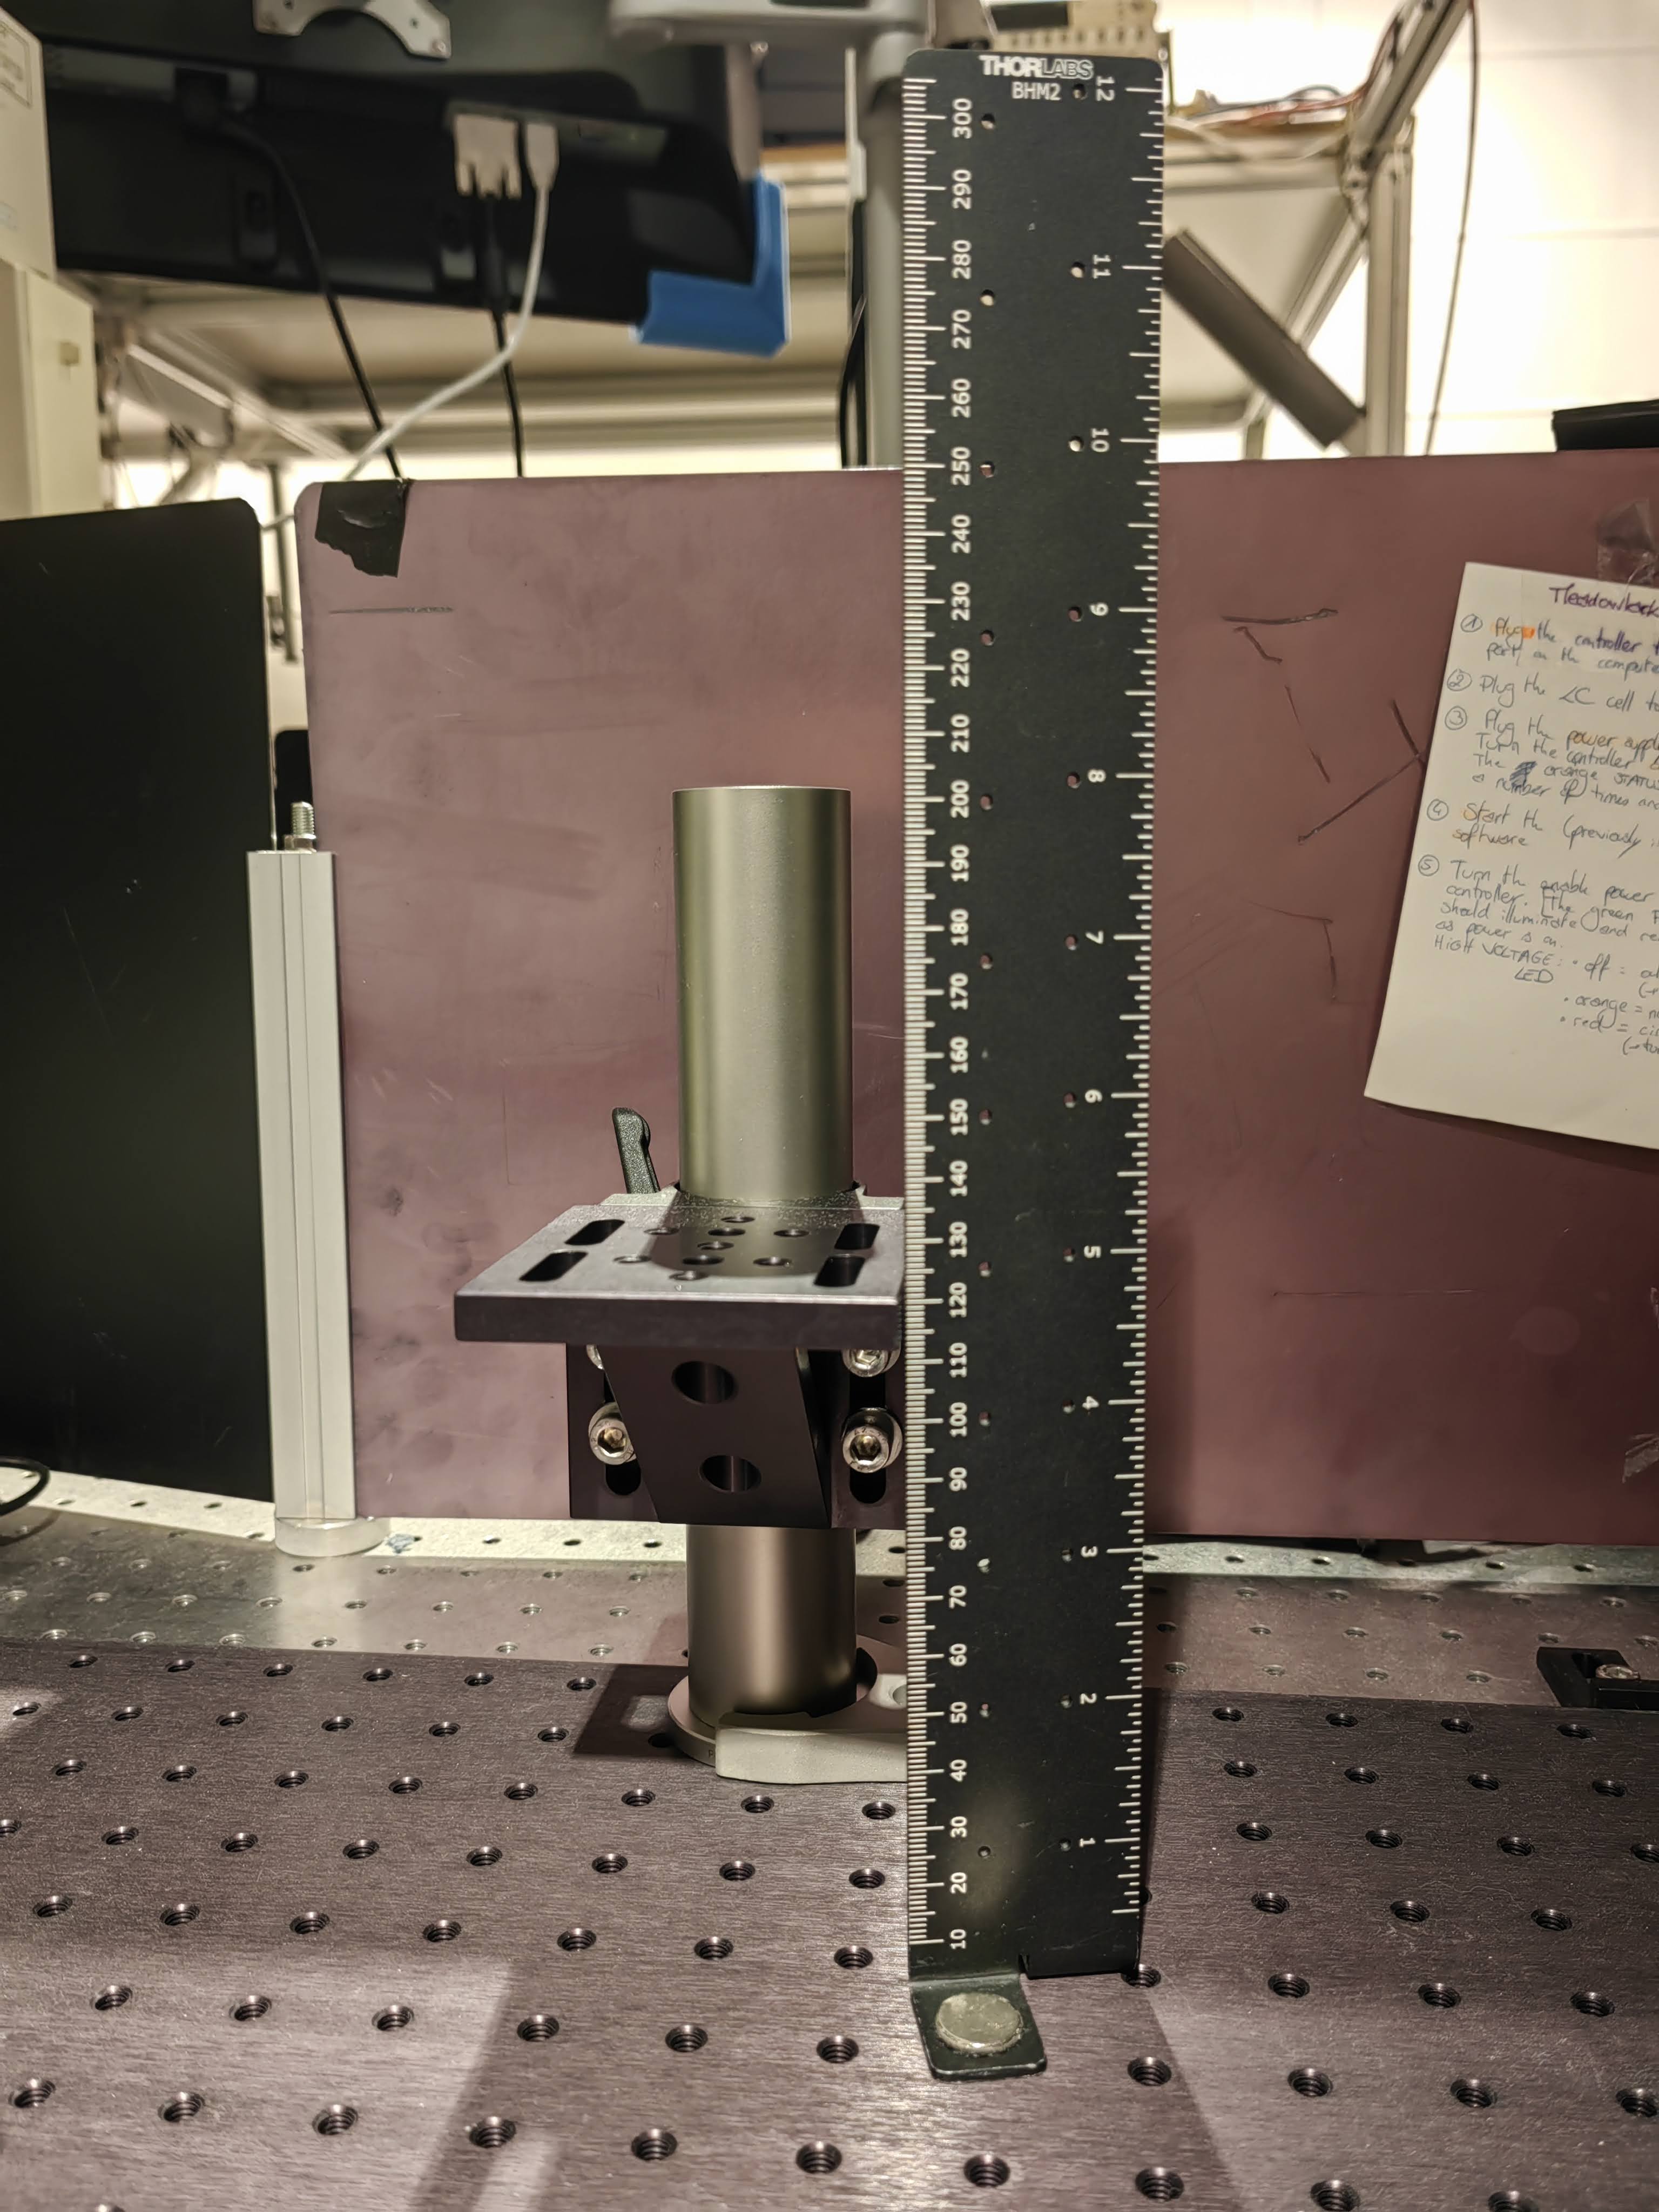
Now it's time to mount the optical pillars that will hold the SIMMO laser cut assembly in the next step.
The holding brackets are moved to be 110mm above the optical table's surface, such that the exiting SIM beams are perpendicular to the entry-port of the Nikon body. They should enter the infinity port in the center of the microscope.
Algining the Fourier-filtering telescope
We now need to align the two lenses (f=50mm) that form the telescope for the Fourier mask. For this we use a special DIY machined laser assembly that mounts a 532 nm laser pointer into the center of an SMA cabe. The laser is collimated and defines our optical axis. We could use an off-the-shelf laser pointer with a 3D printed housing, too.
The CAD files will come soon (file an issue or write use if we forgot - sorry!)
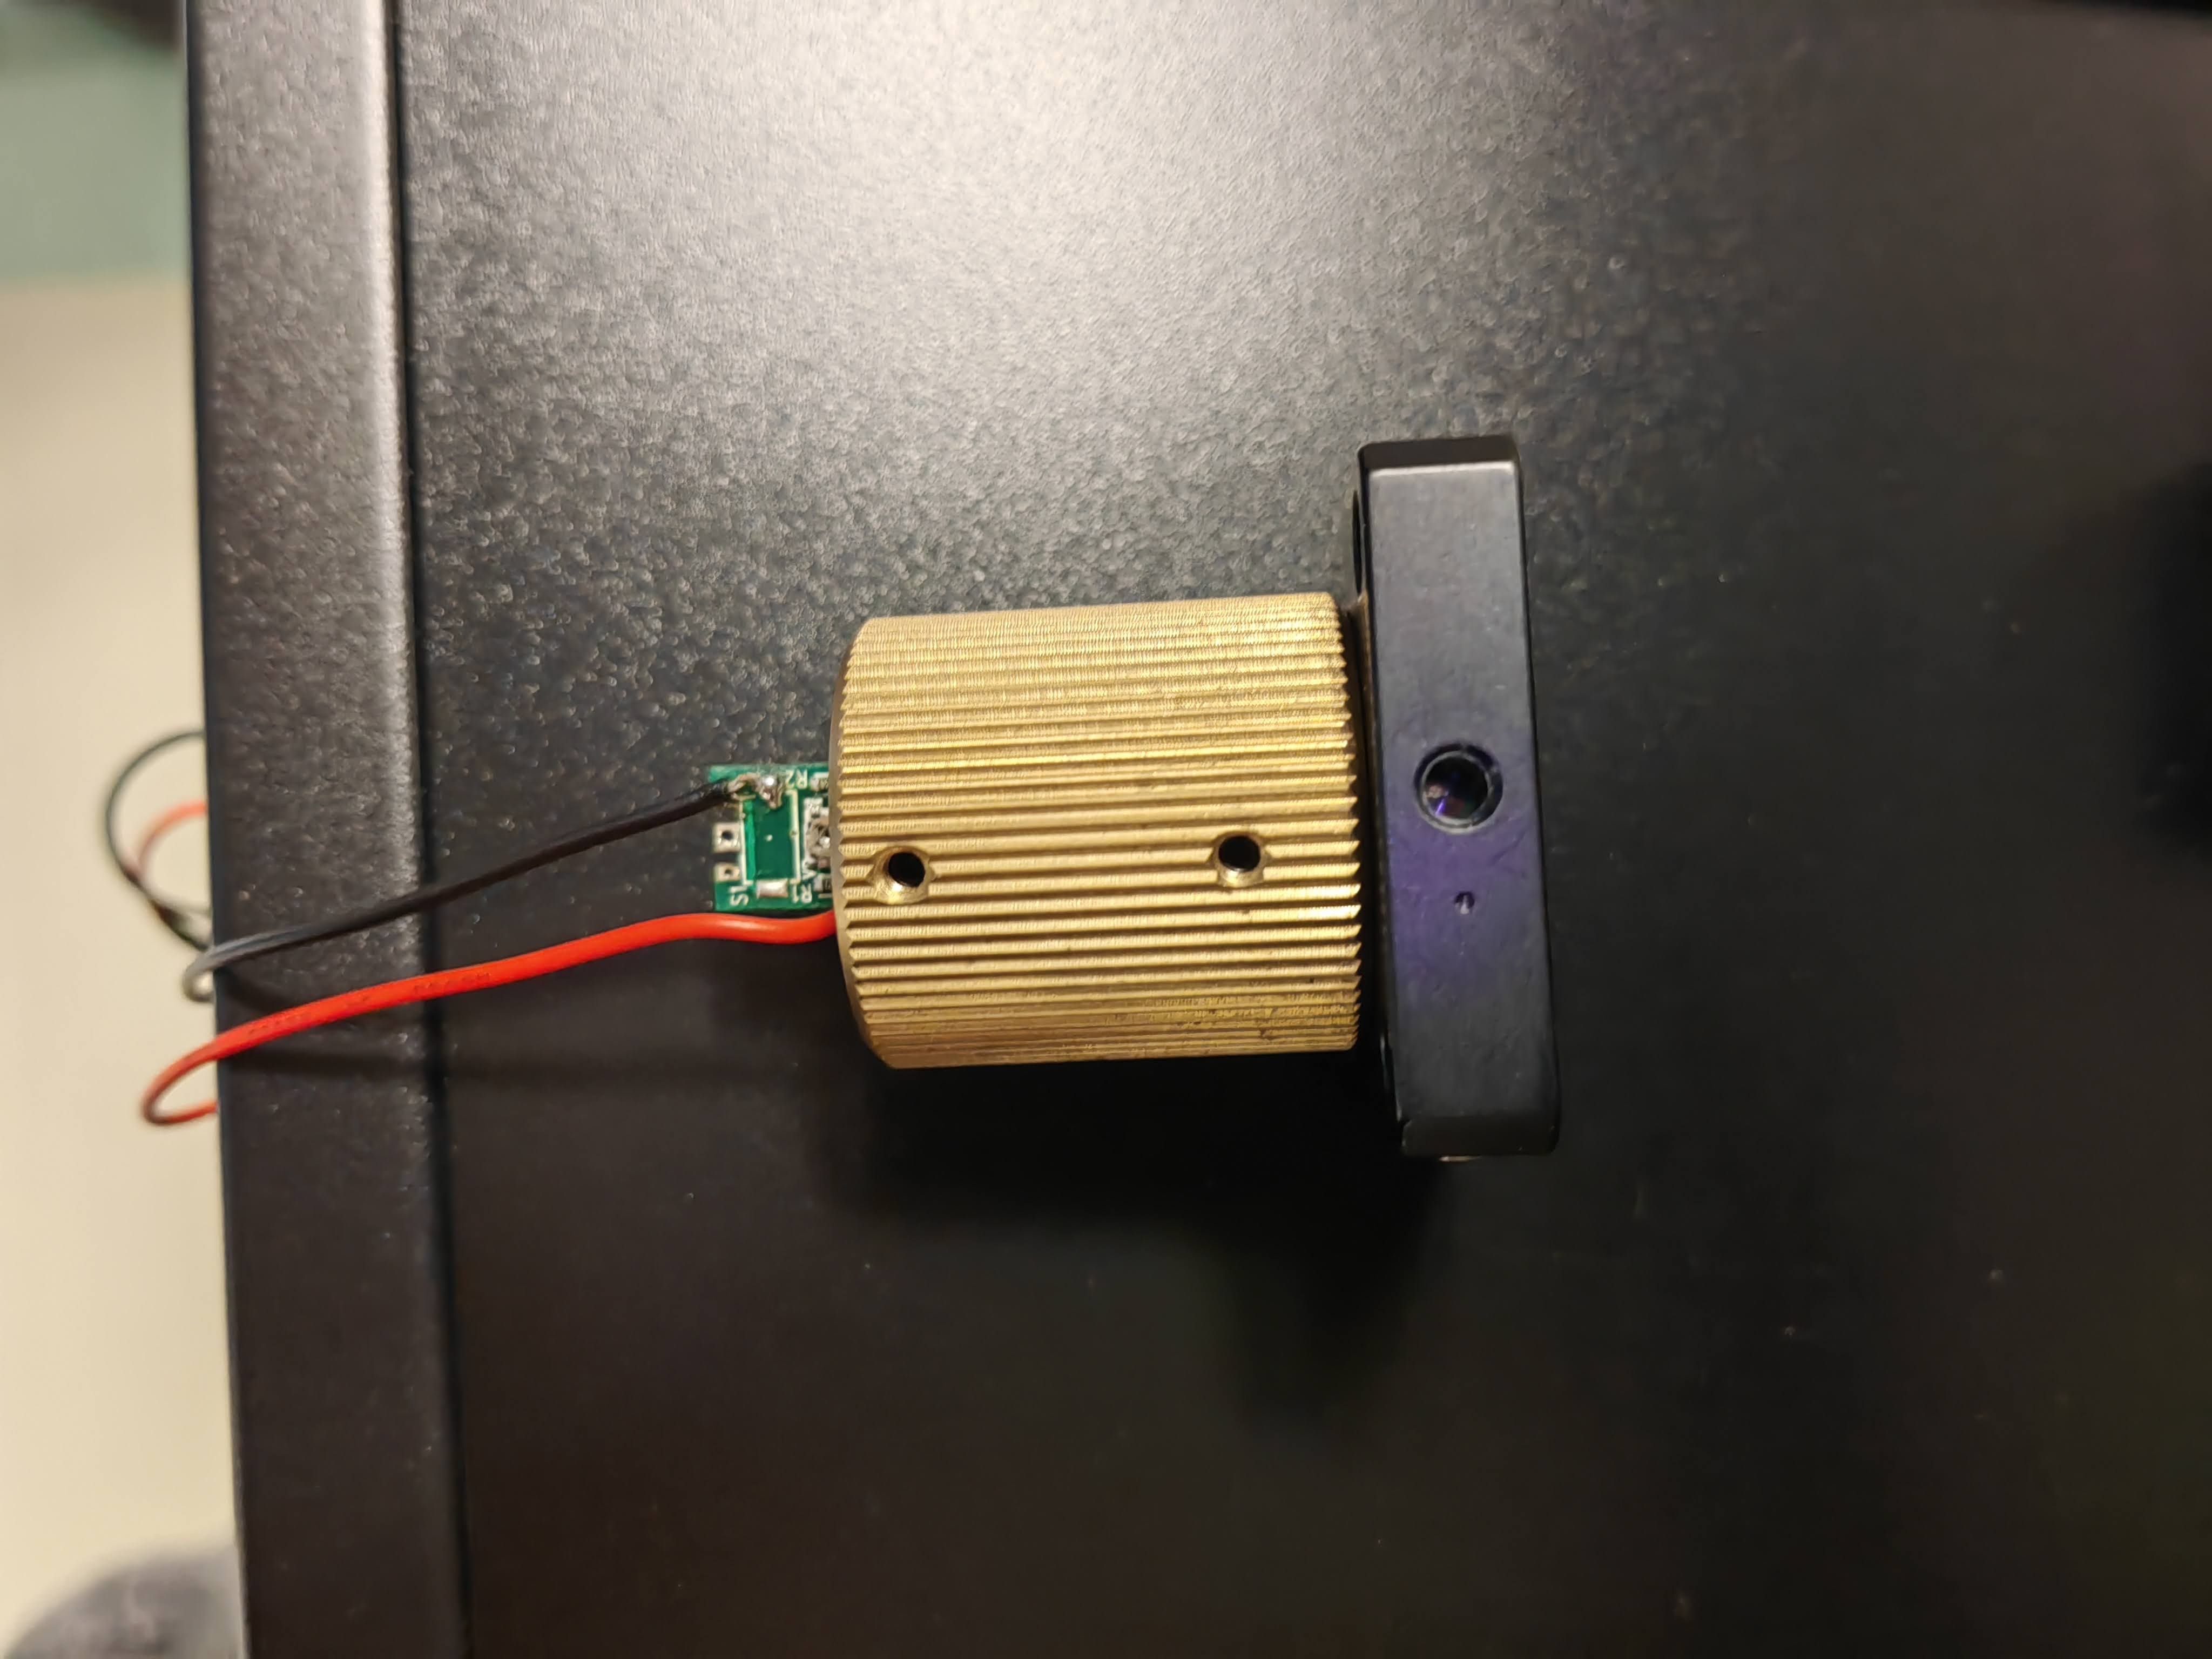
The device is screwed in the left position of the Fourier telescope and keep both lenses inside the holder. A little mirror helps us to deflect the laser towards the ceiling, where the laser beam has to keep the same diameter. In that case, the distance between the two lenses (~100mm) ensures that the beam remains collimated.
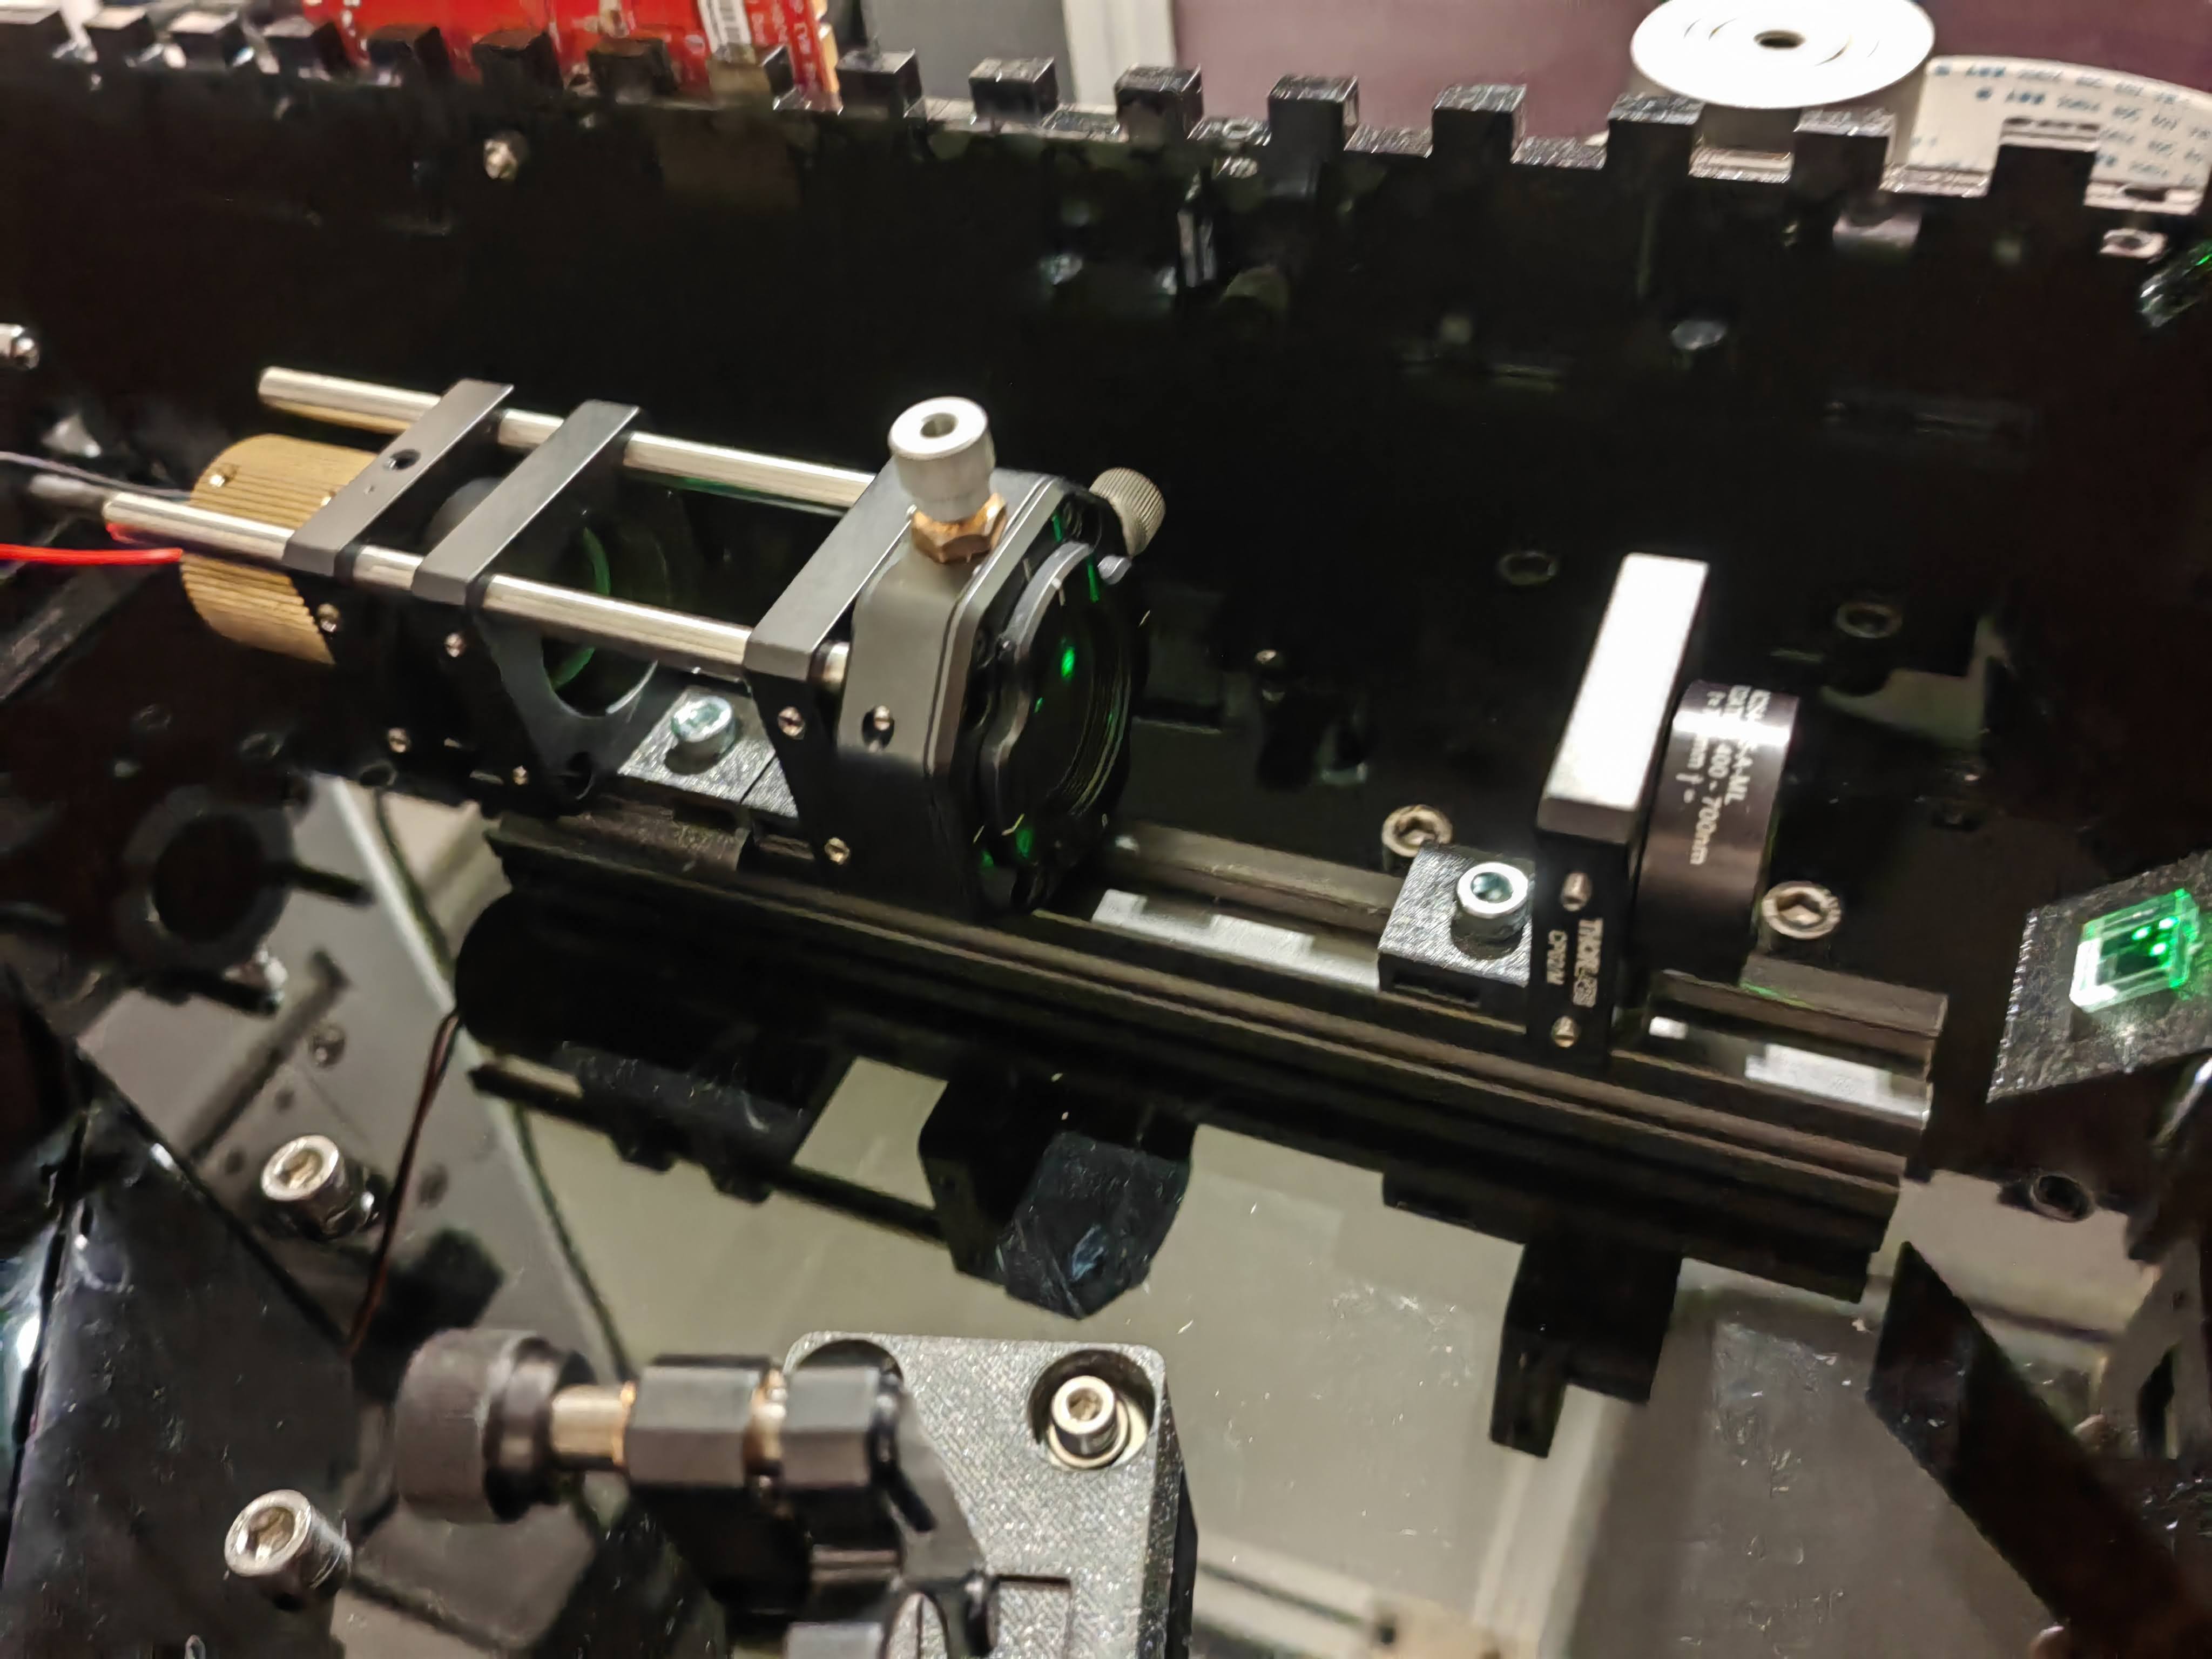
The result can be observered here:
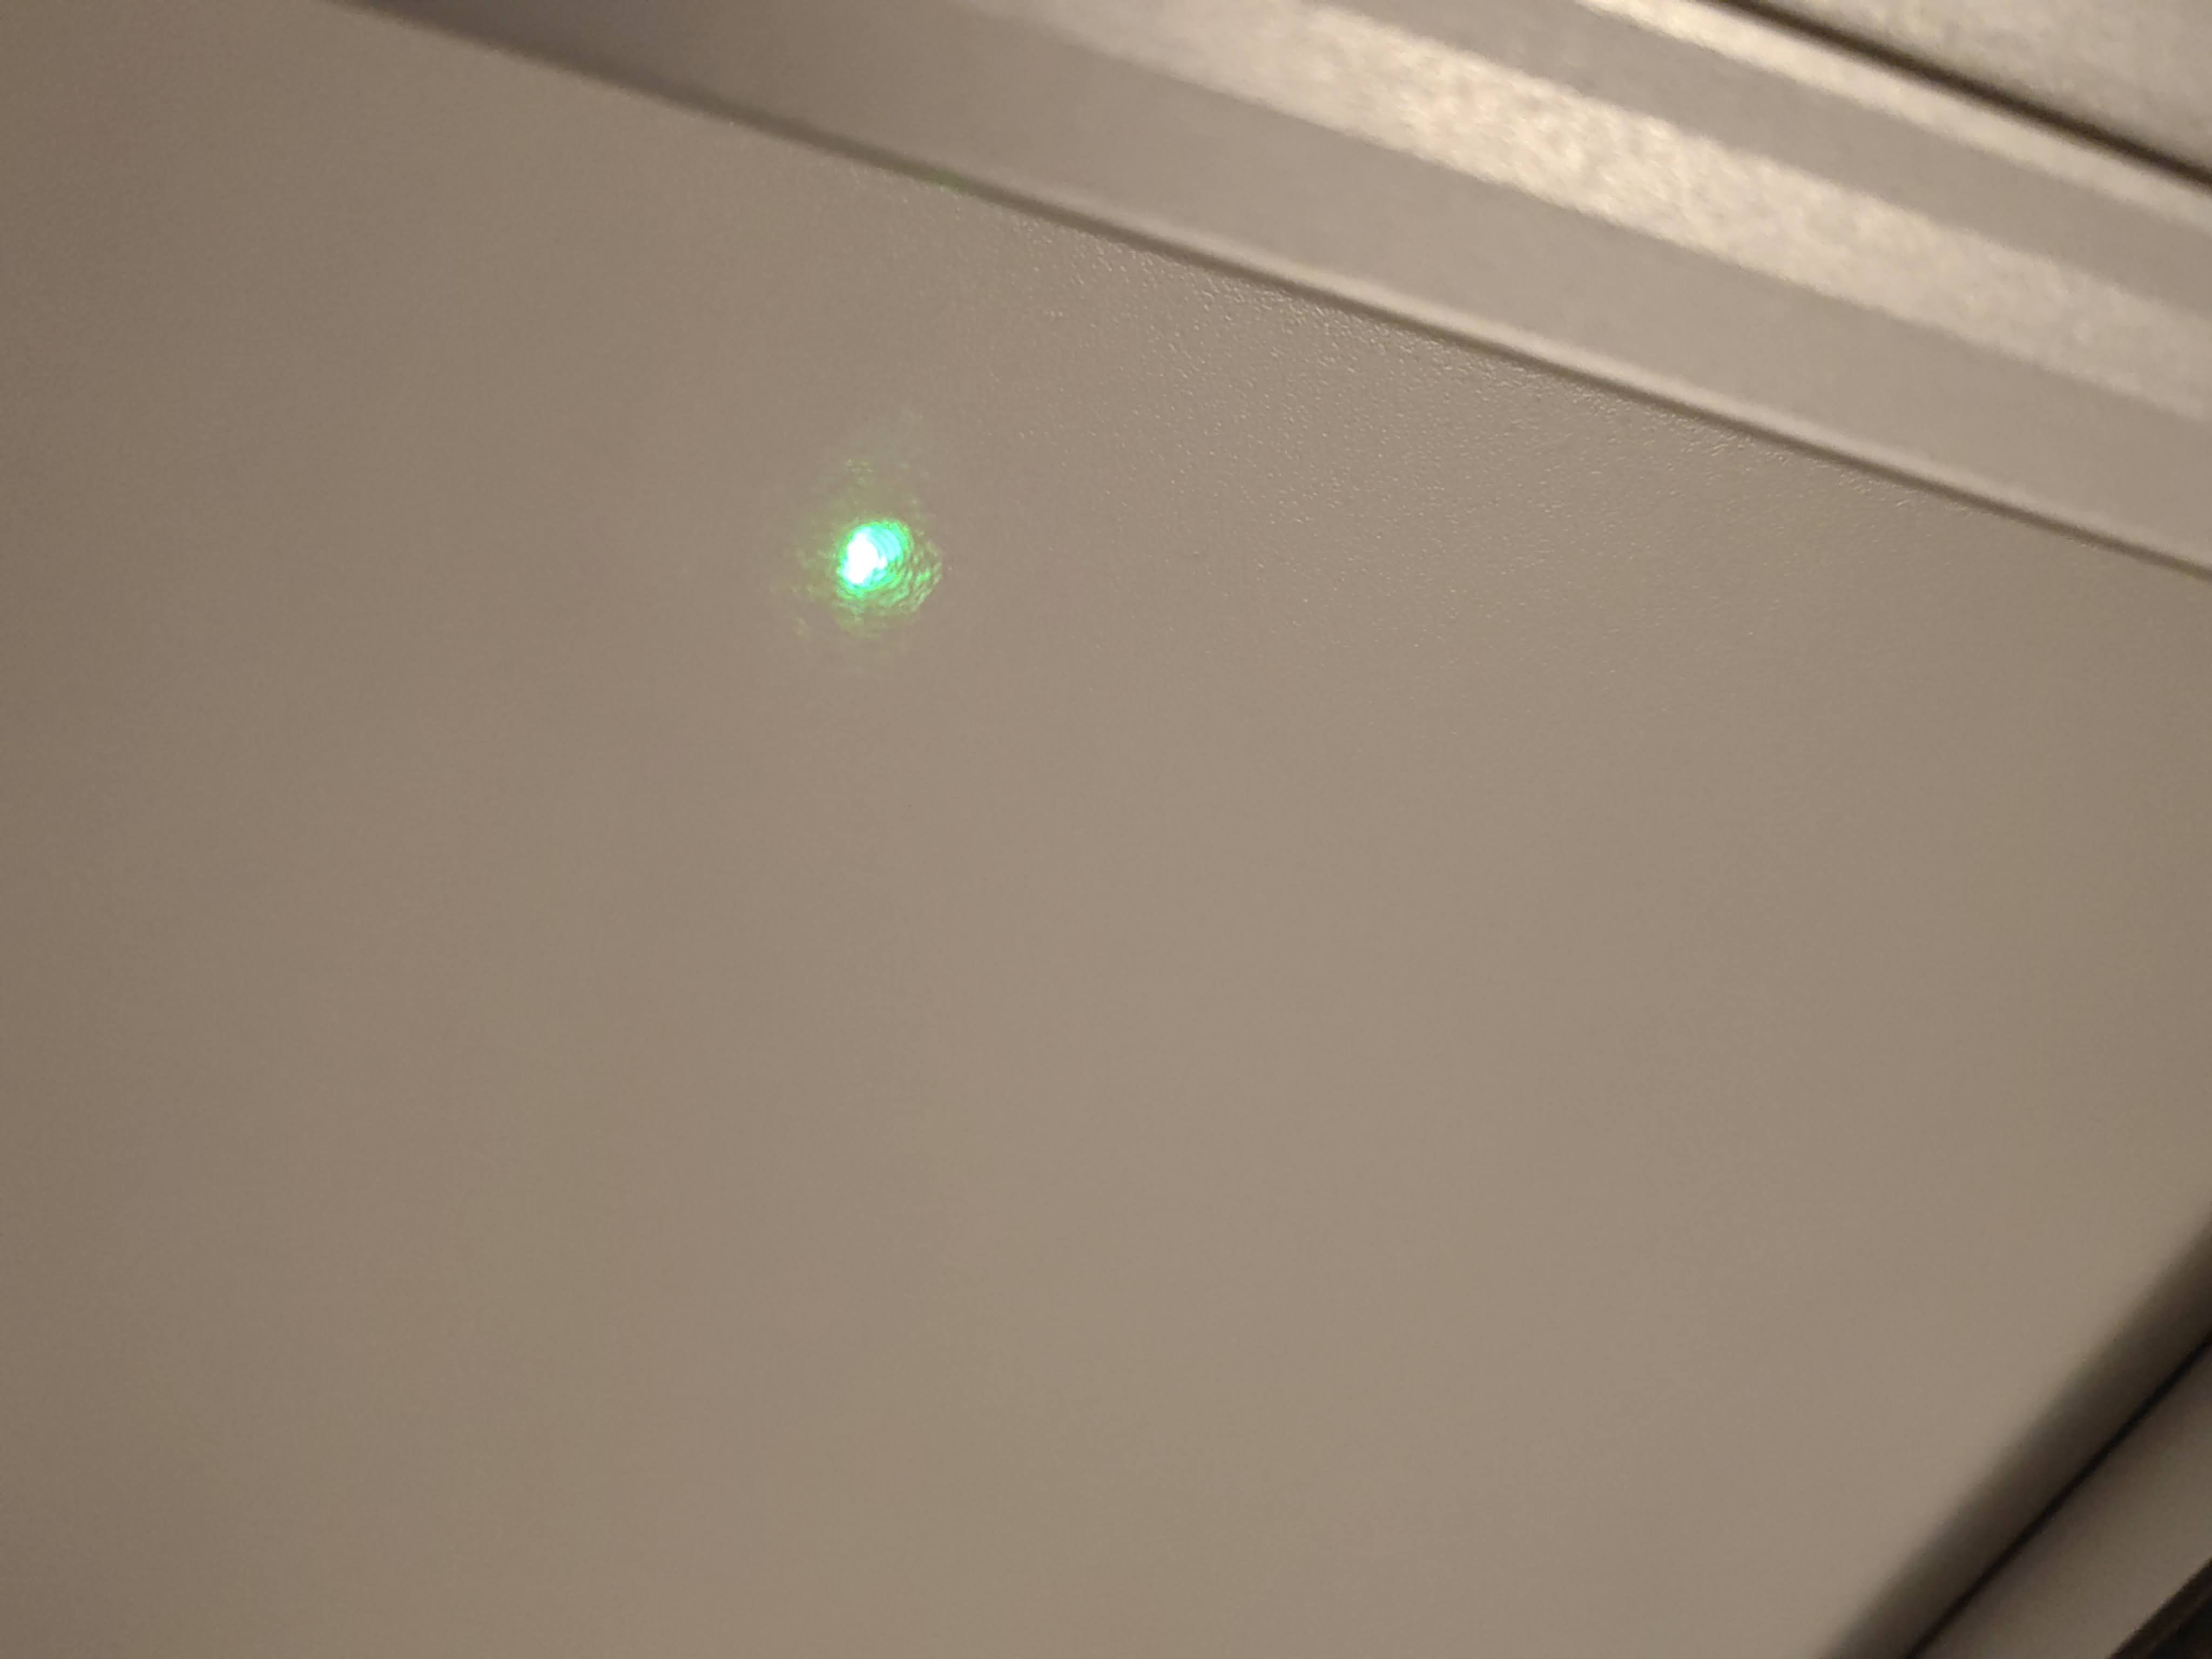
The DMD-backscattered/diffracted/reflected will produce a diffraction pattern. The hole telescope assembly has to be moved w.r.t. the DMD in such a way that the spots reflected by the DMD are smallest.

Aligning the two excitation lasers
The goal is to place both laser lines (488, 635nm) in the center of the DMD and ensure the SIM beam will be centered in the Fourier Mask and also enter the microscope in the center of the infinity port / be parallel of the optical axis.
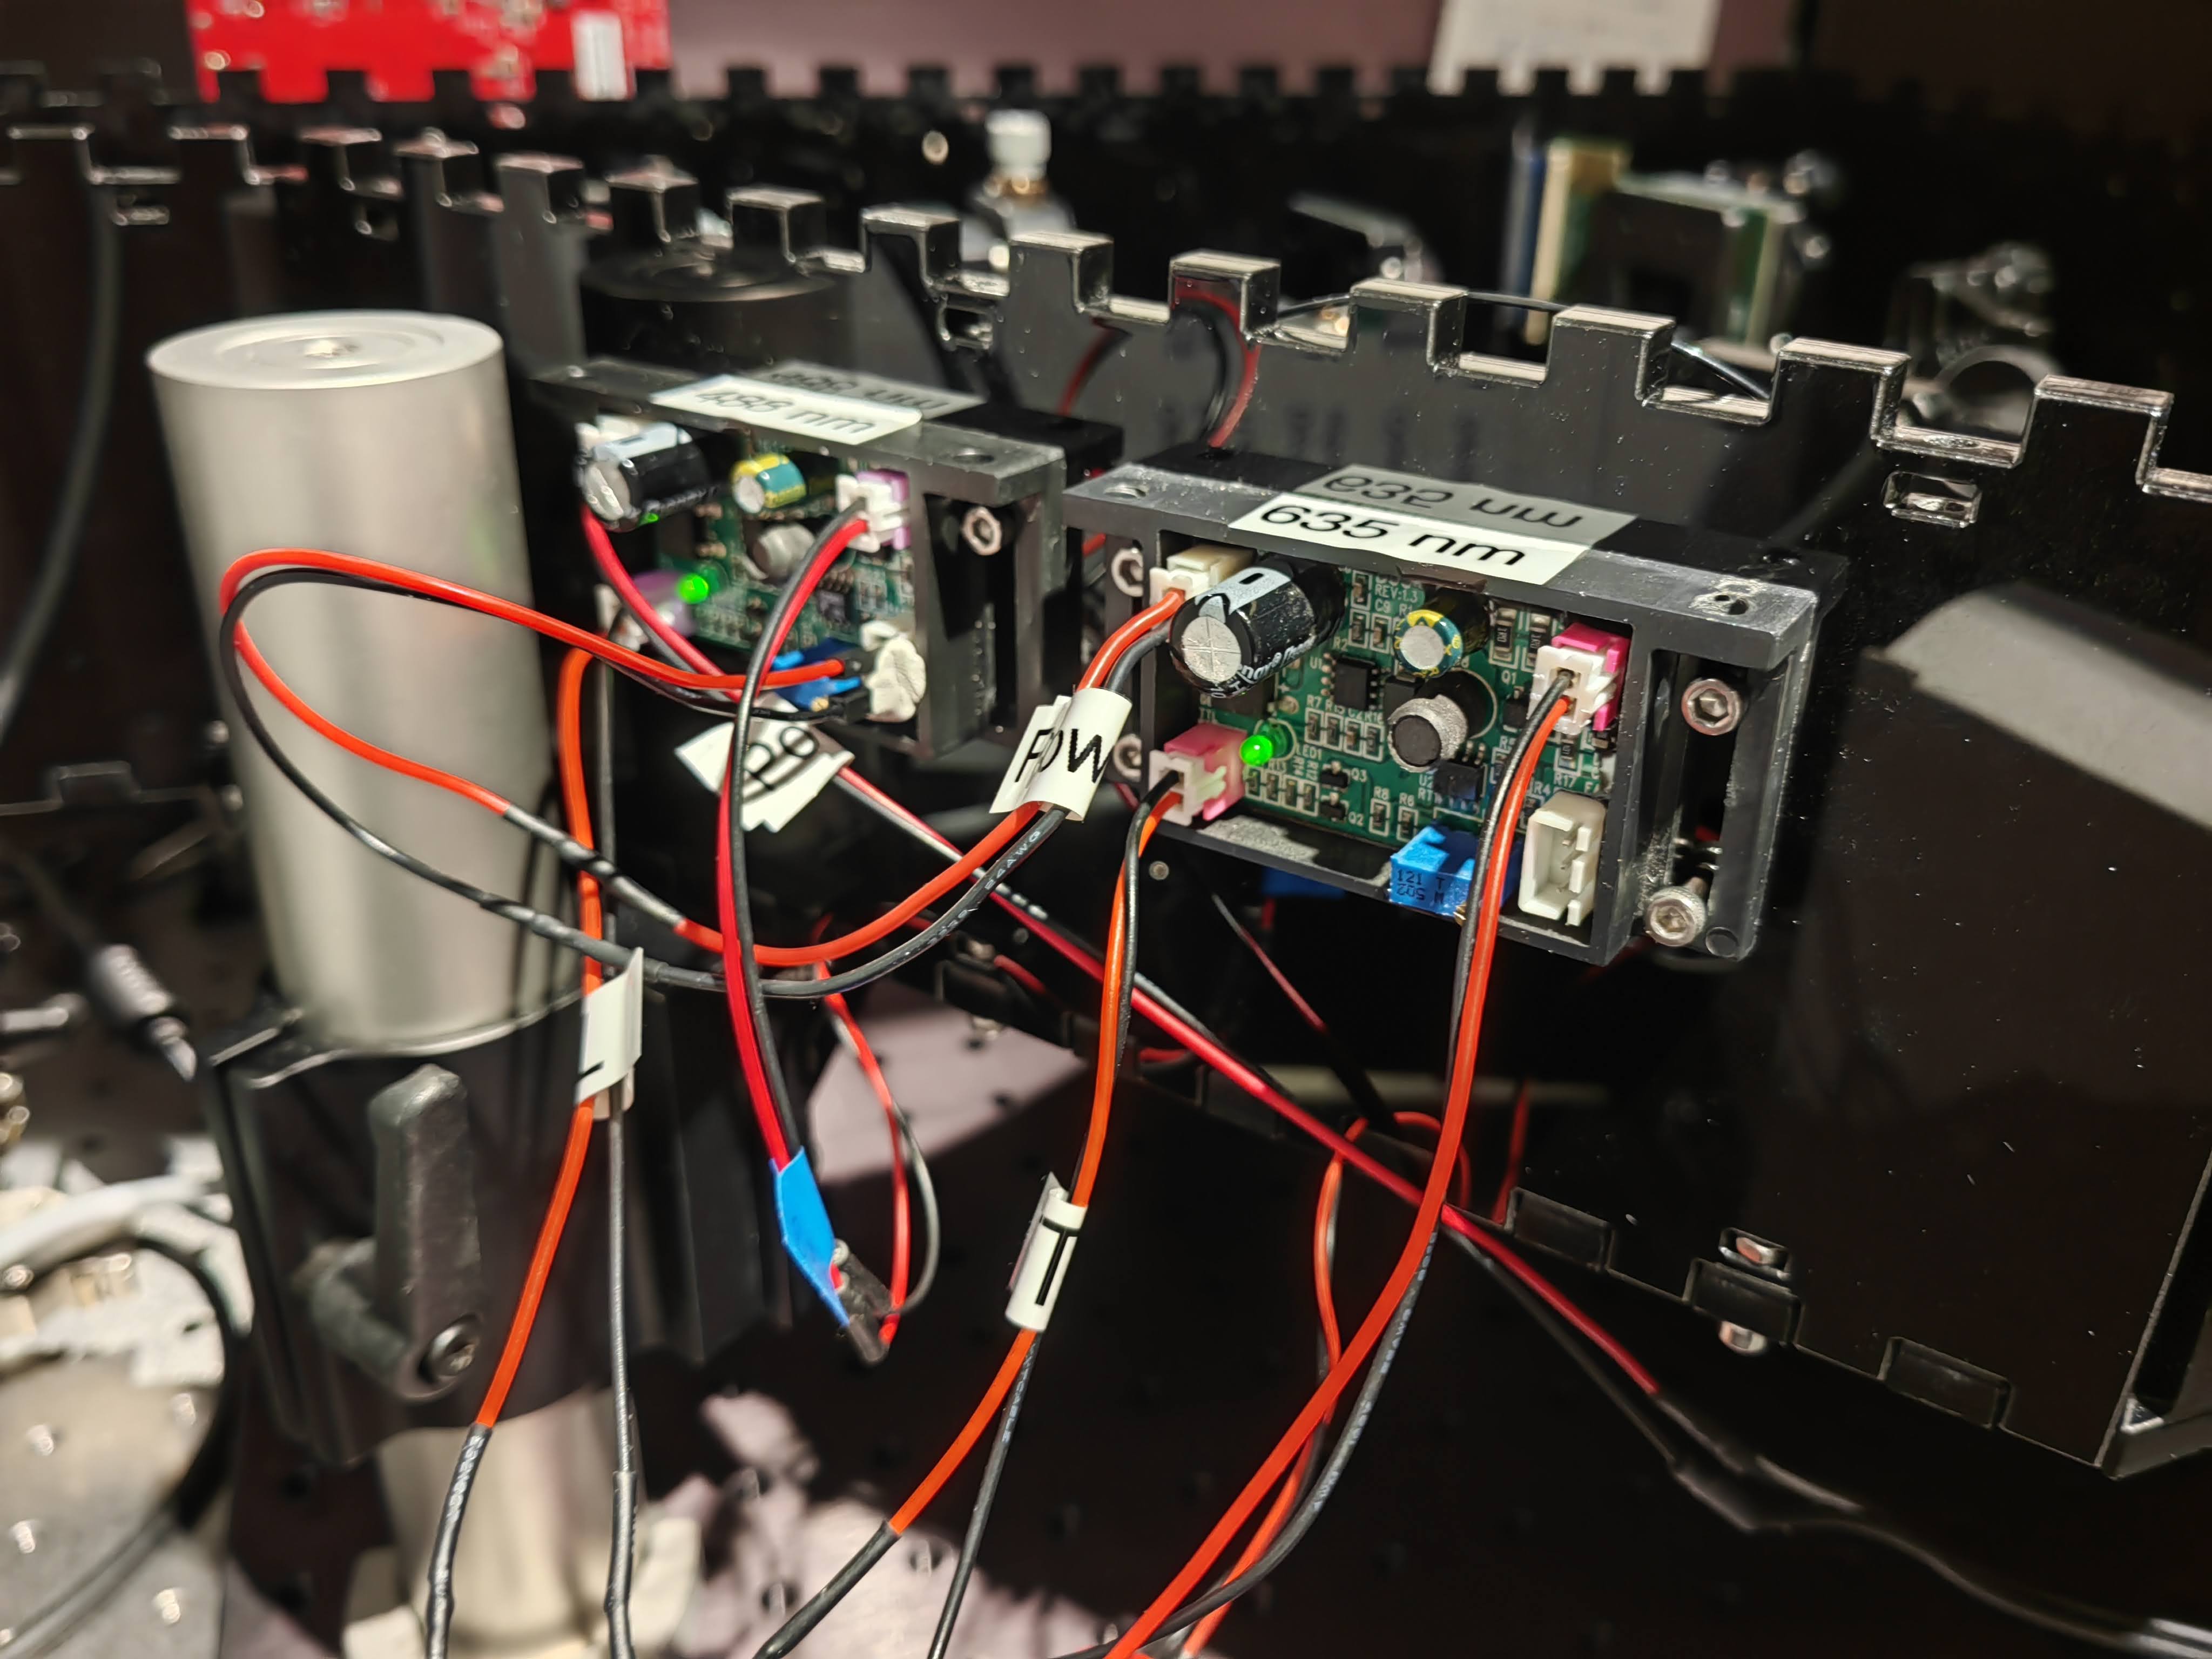
For this we first ensure that the laser drivers are properly wired:
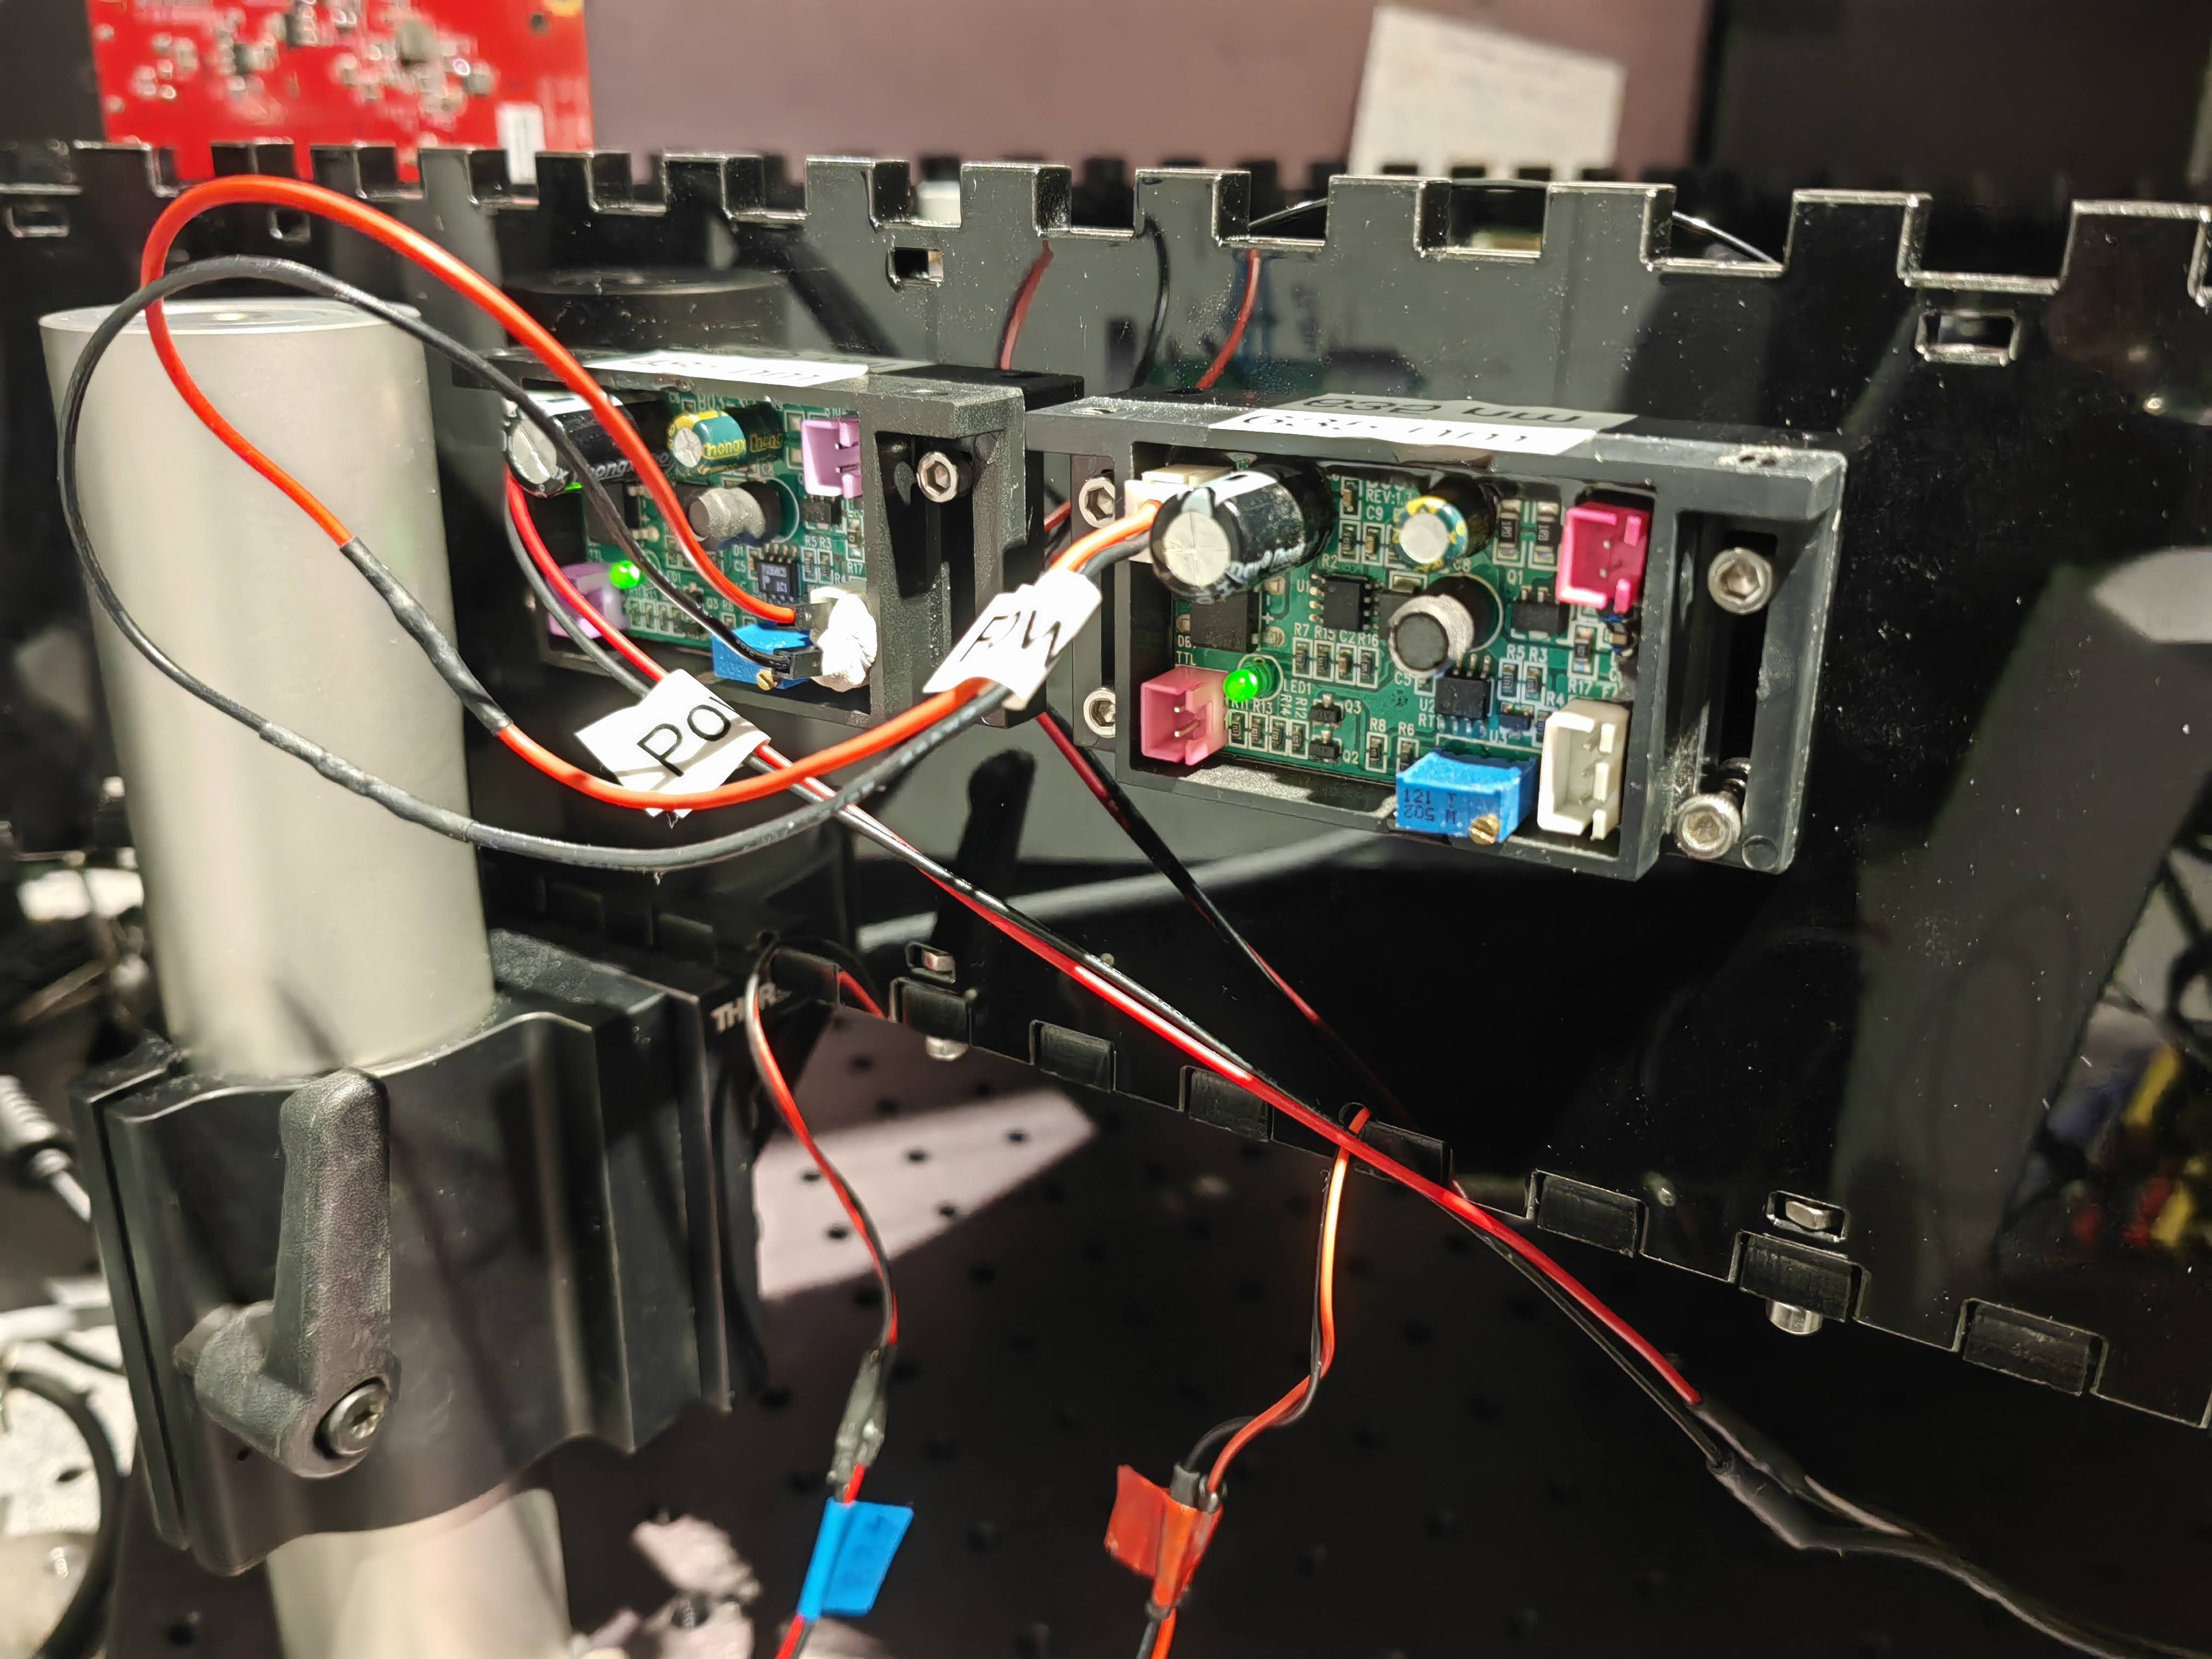
And the TTL inputs are wired to the ESP32 that runs the UC2-ESP firmware. You can find the firmware on the https://youseetoo.github.io/ website that enables you both: Flashing the firmware as well as controling their intensity via TTL signal
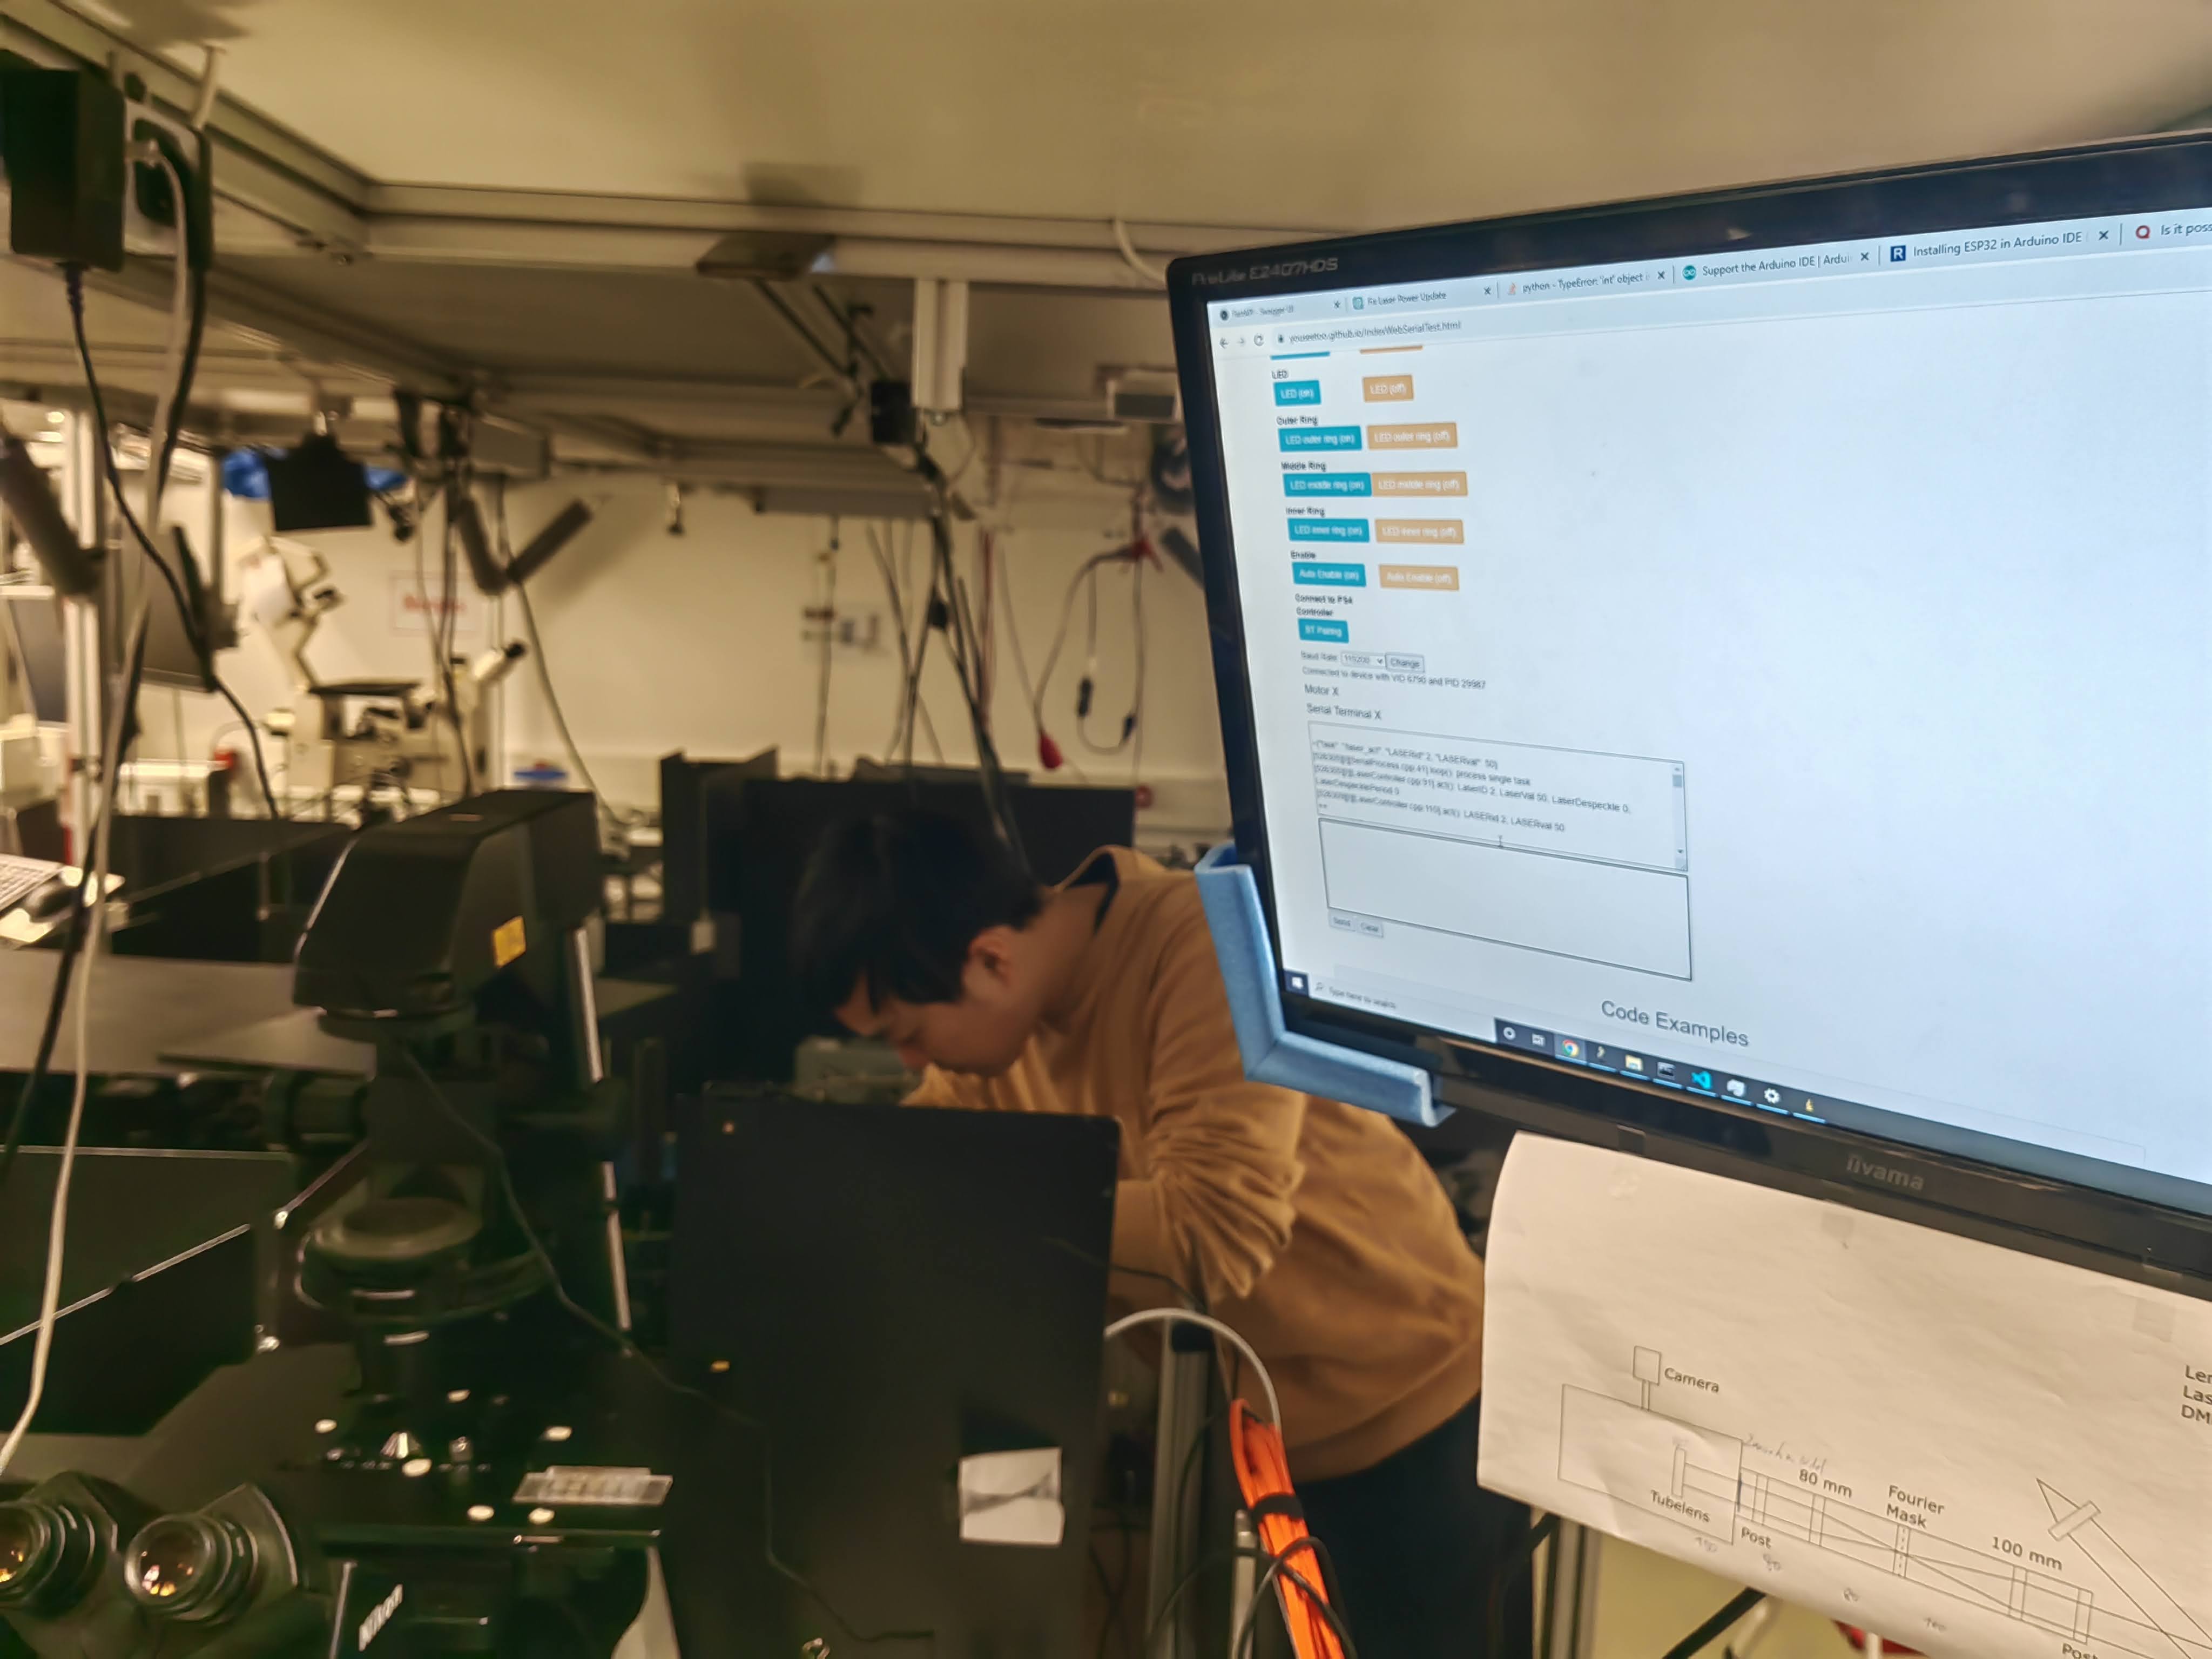
Going to the https://youseetoo.github.io/indexWebSerialTest.html website and connecting to the ESP32 enables you to selectively turn on the 488 and 635nm laser for aligning them w.r.t. the optical pathways. Ensure you have the correct configuration. For the UC2_3, the two lasers attach to:
          int8_t LASER_1 = GPIO_NUM_12;
          int8_t LASER_2 = GPIO_NUM_4;
Then control the lasers:
We start by first collimating the lasers by tweaking the distance between the fiber launcher and the collimation lens. For this we use a shearing plate. This has to be done for both beams individually.
⚠️ Ensure you do not turn on laser power too high to keep laser saftey maintaned ⚠️
Same for the red laser:
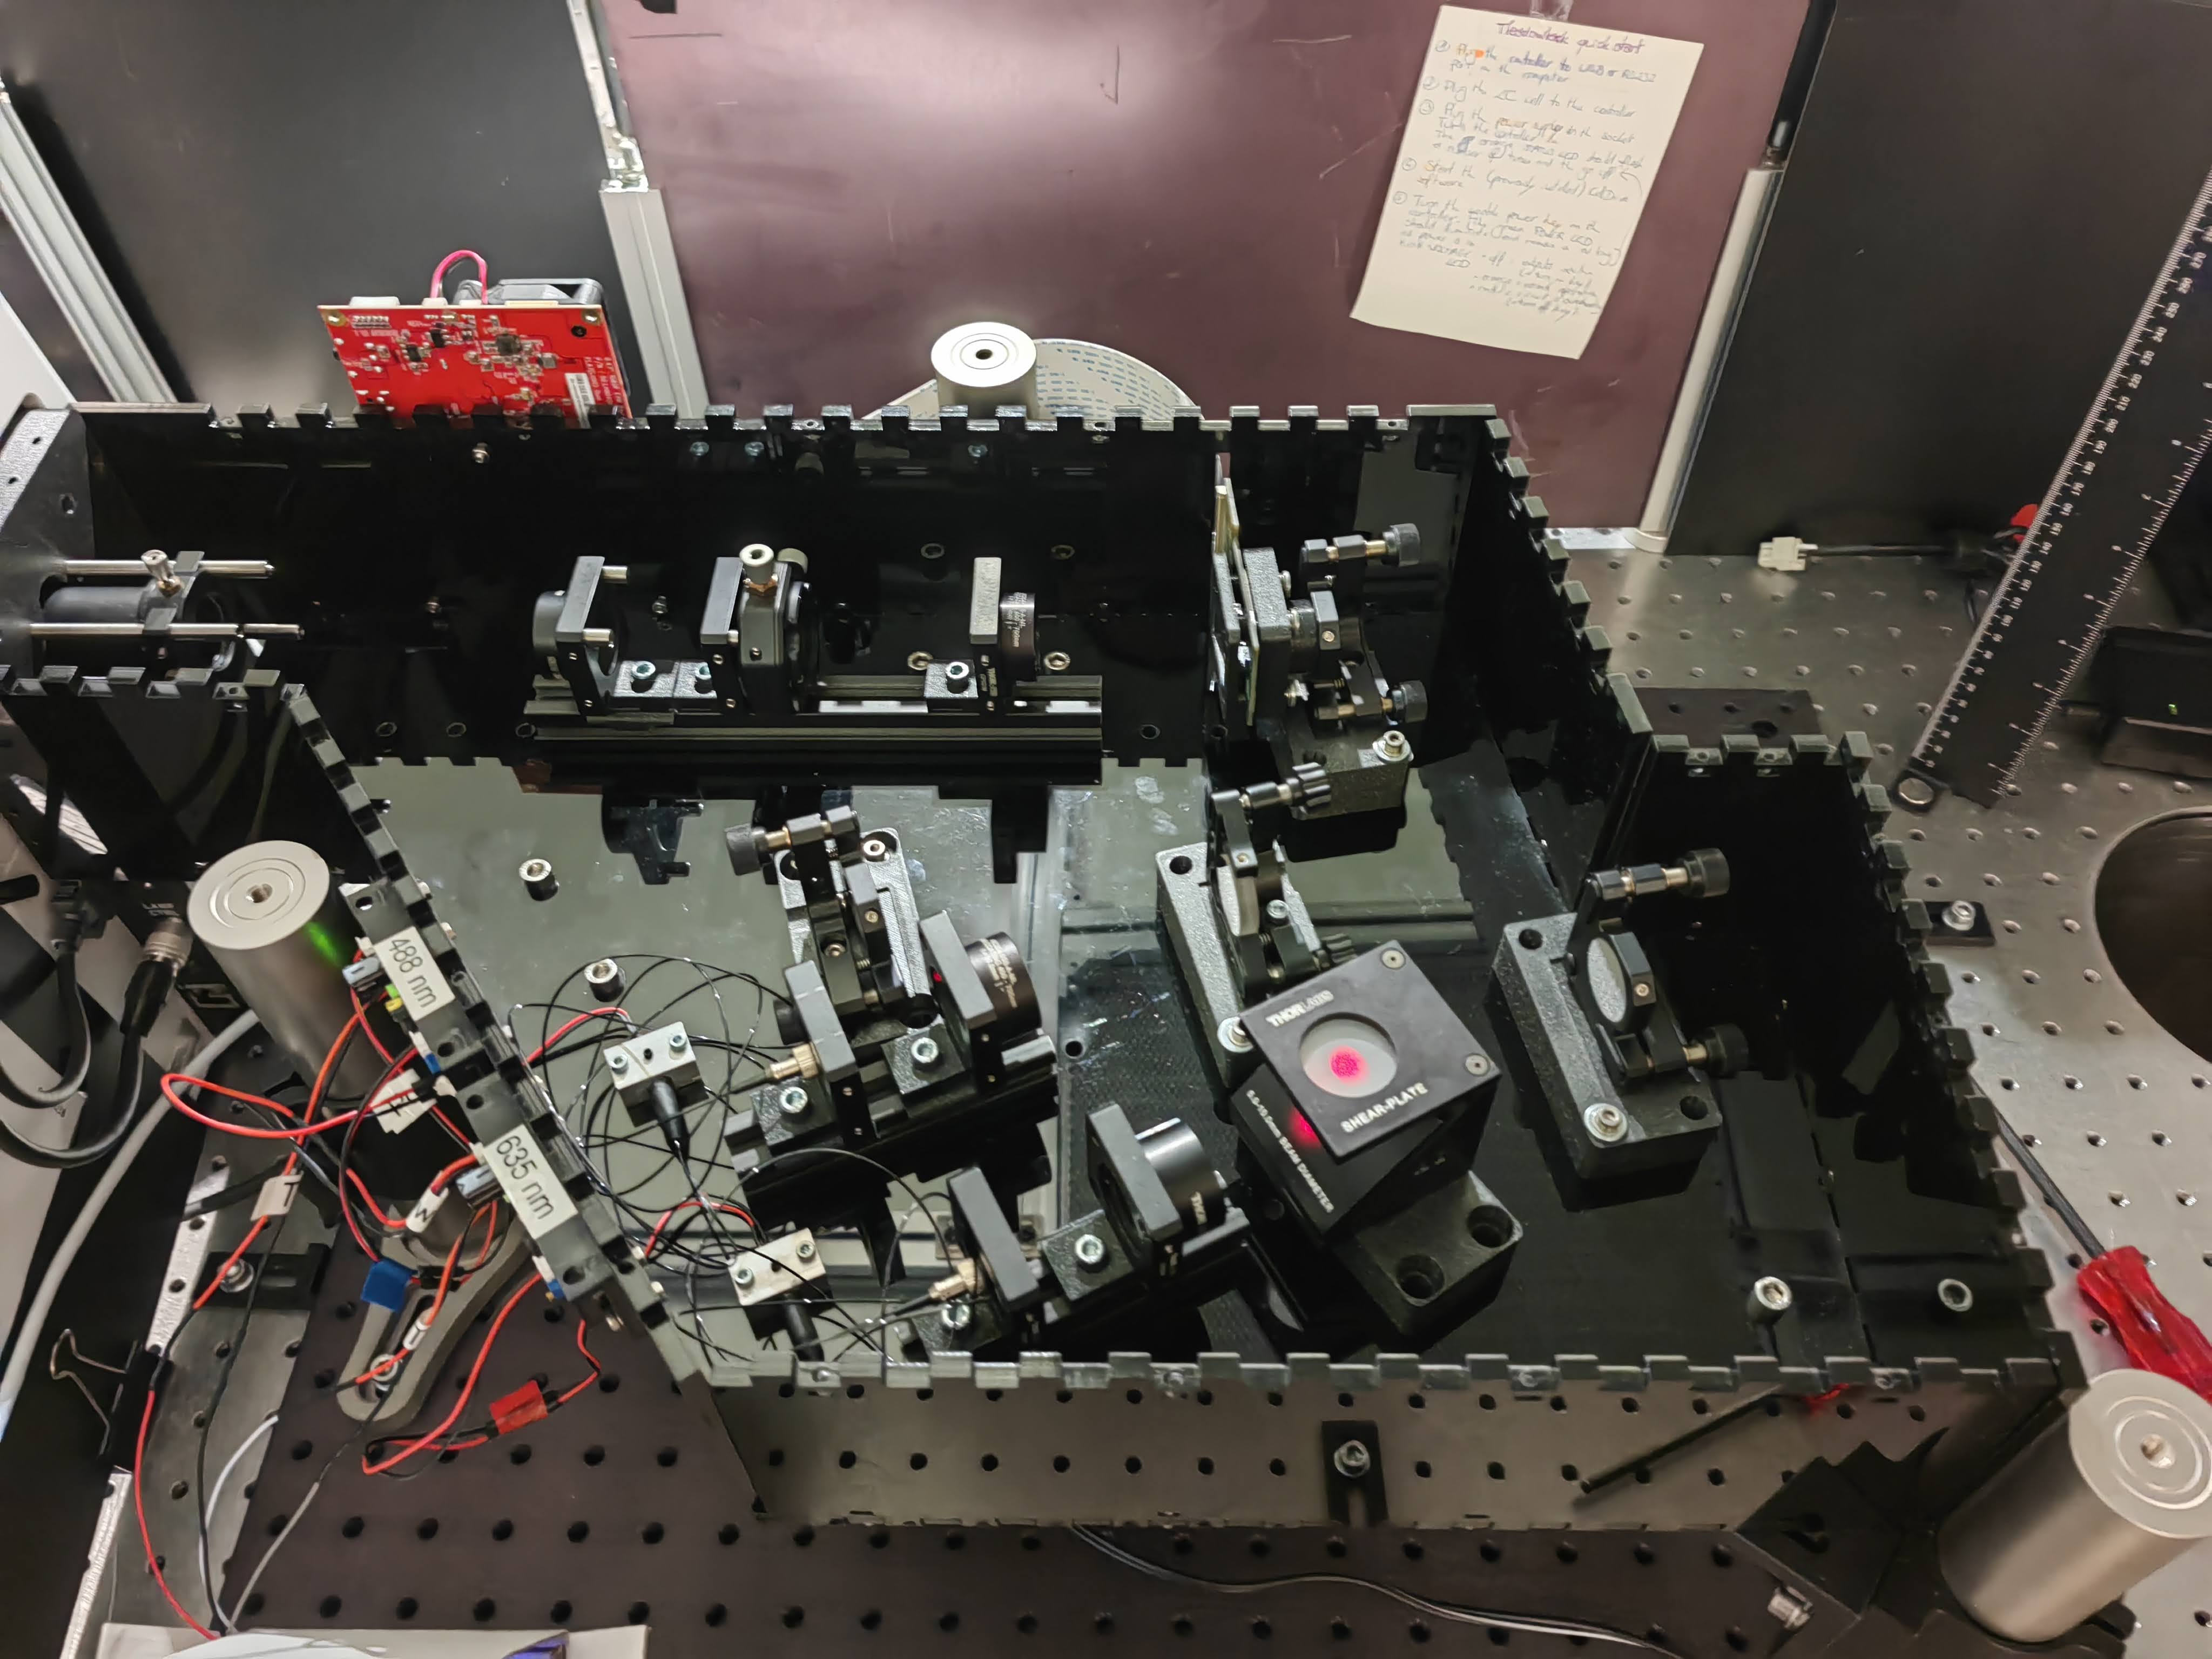
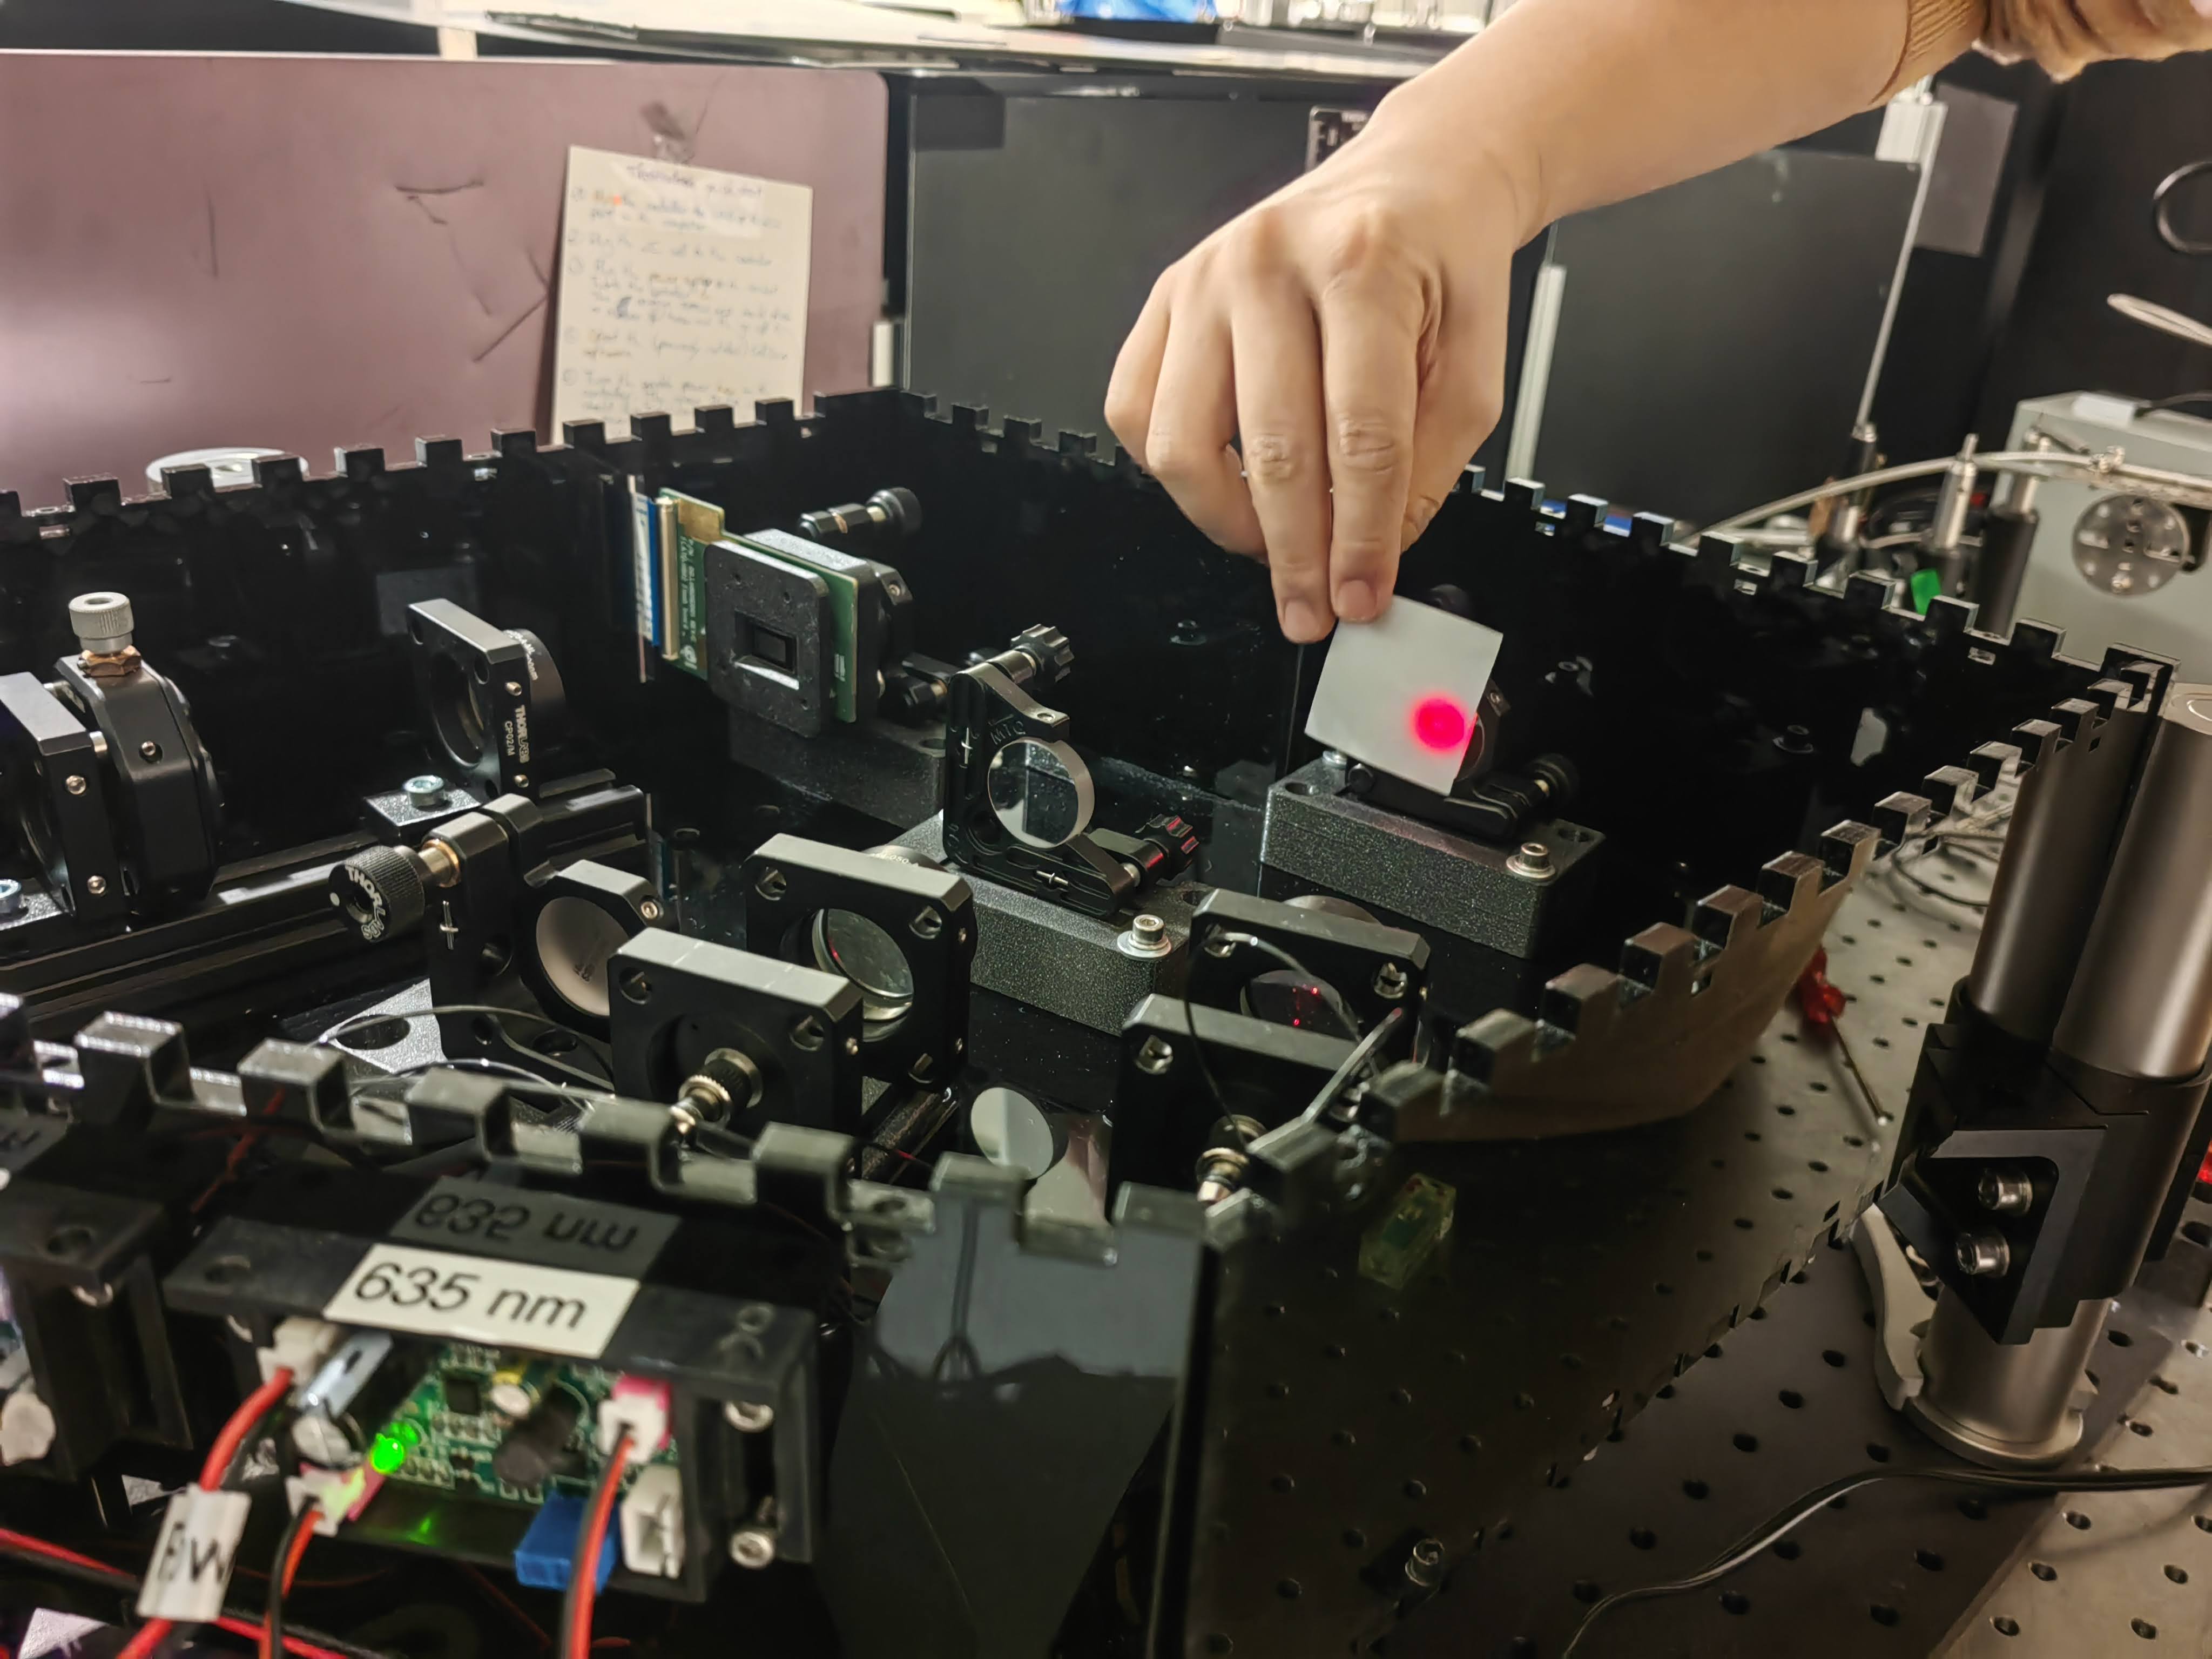
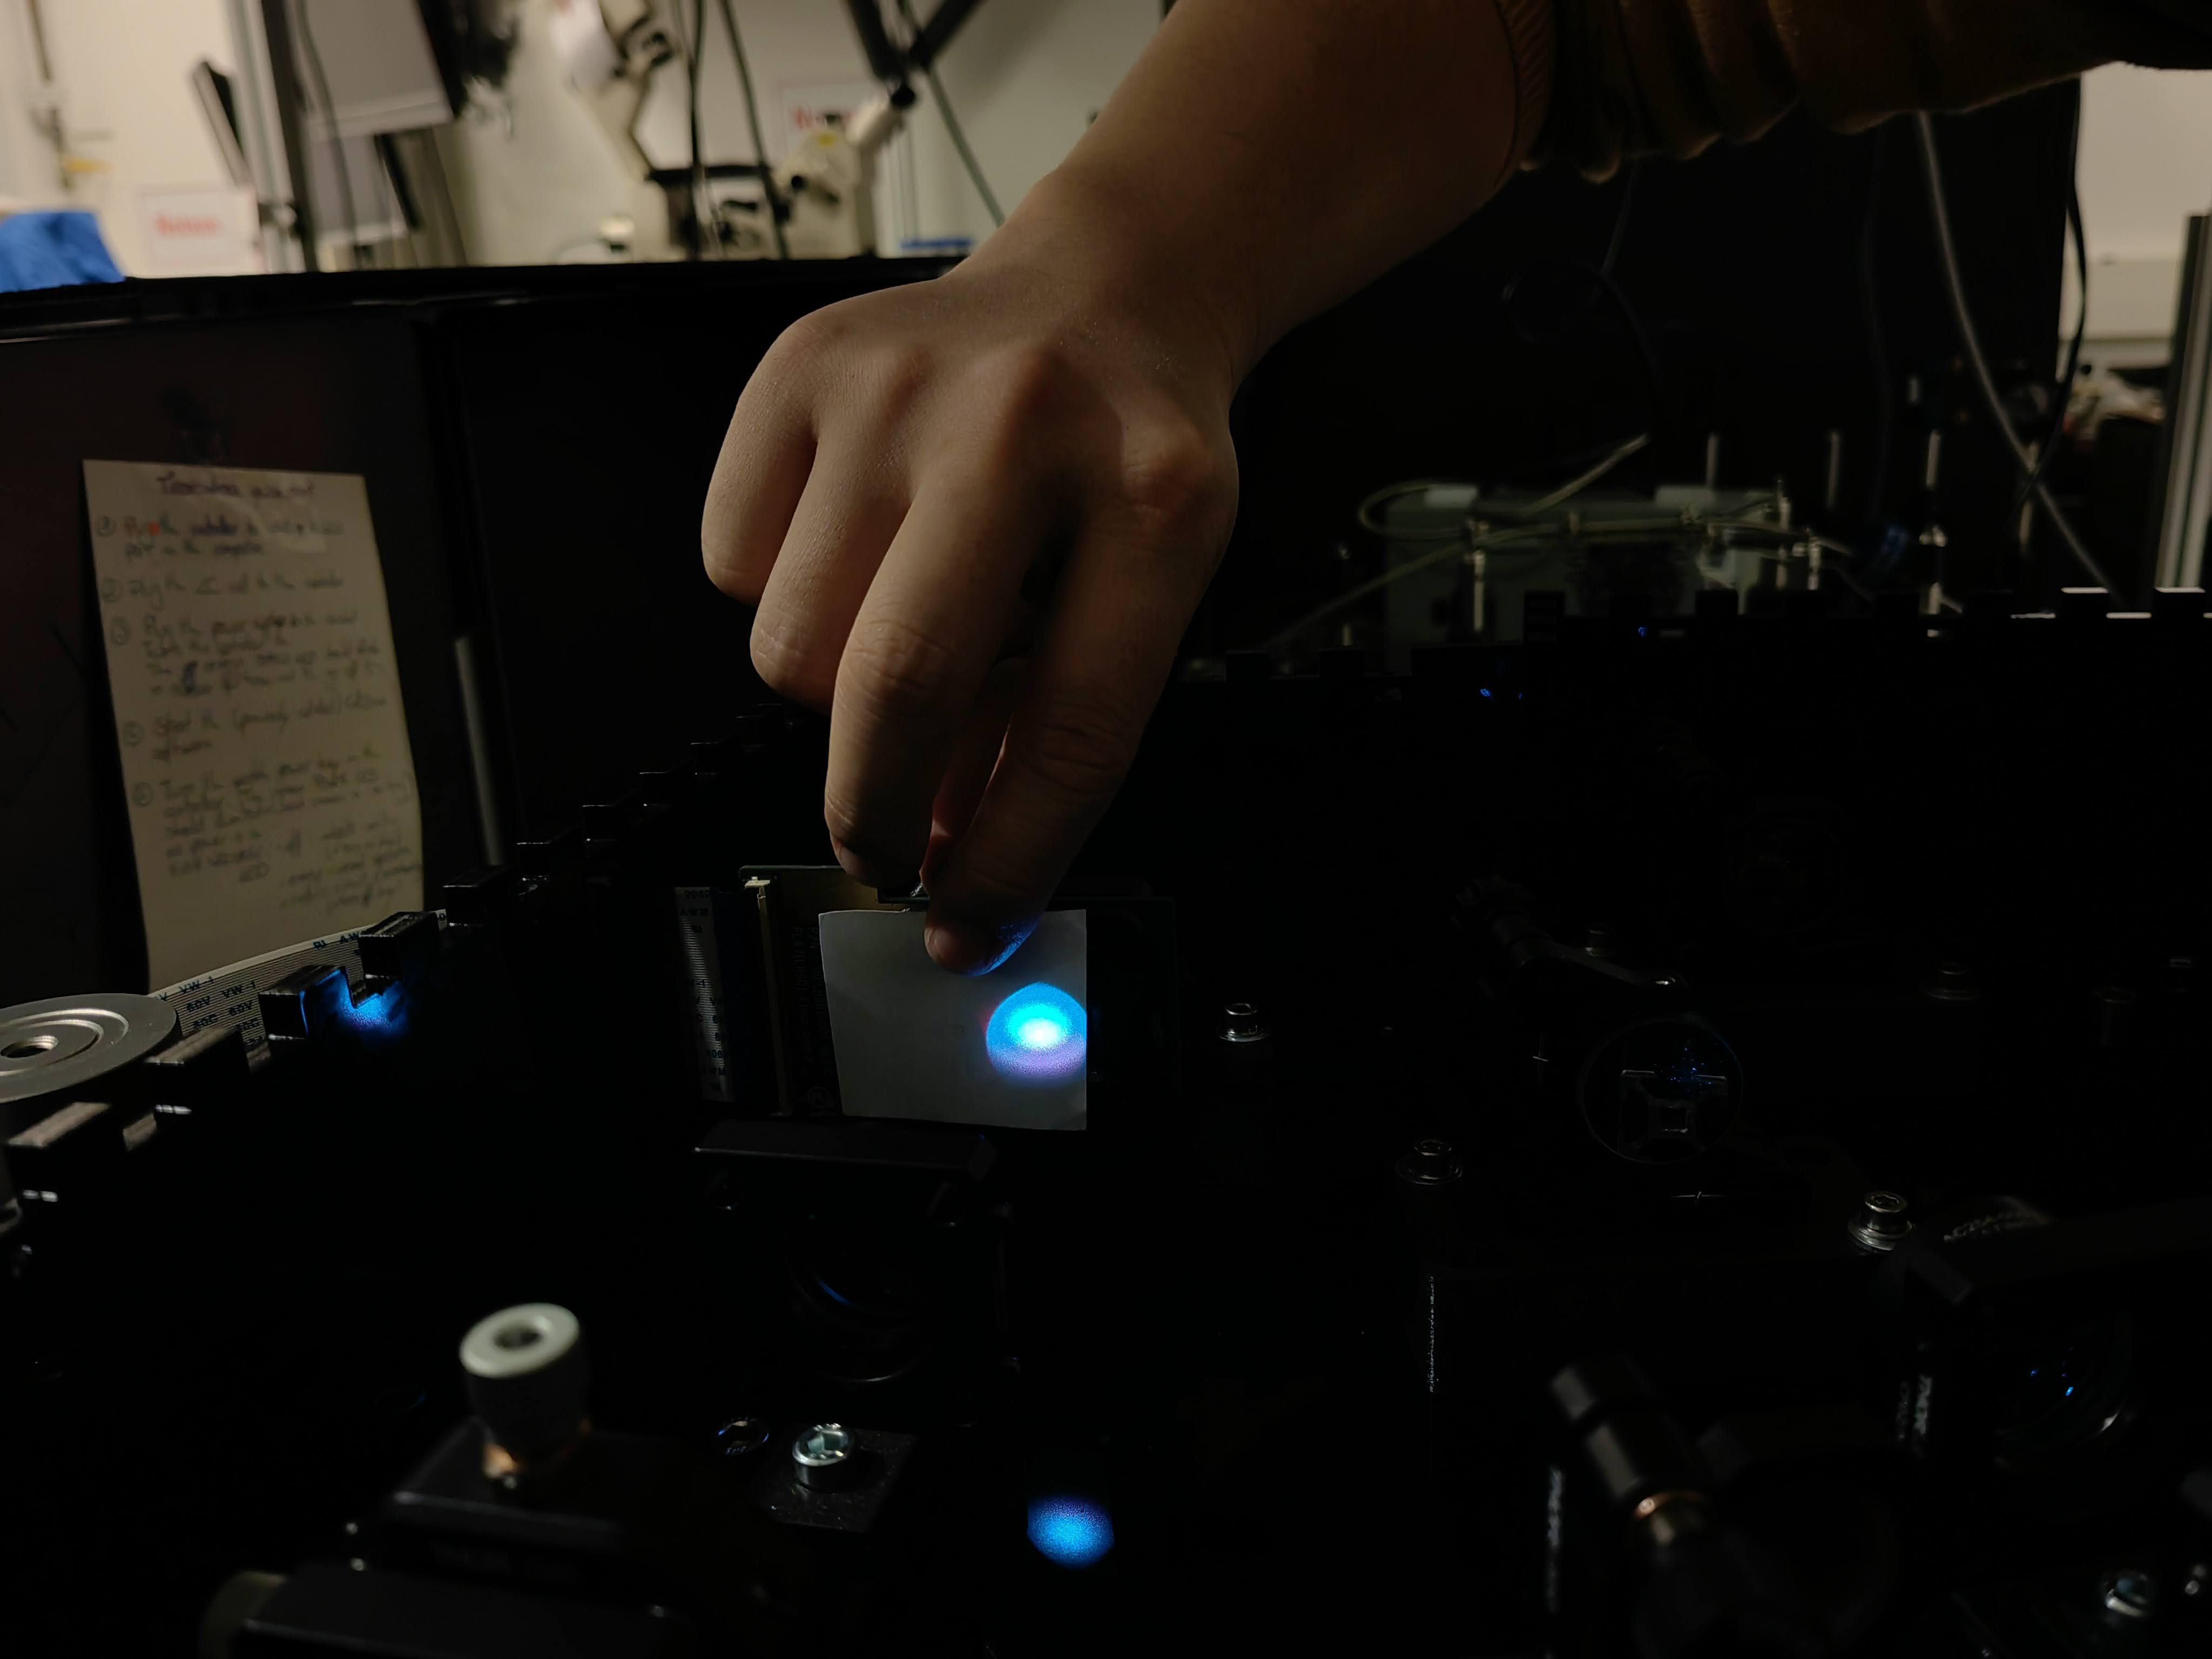
Now we will follow the beam paths and ensure both are hitting the DMD in the center. We have to make sure that the beam is not cut by optical element sin the way.
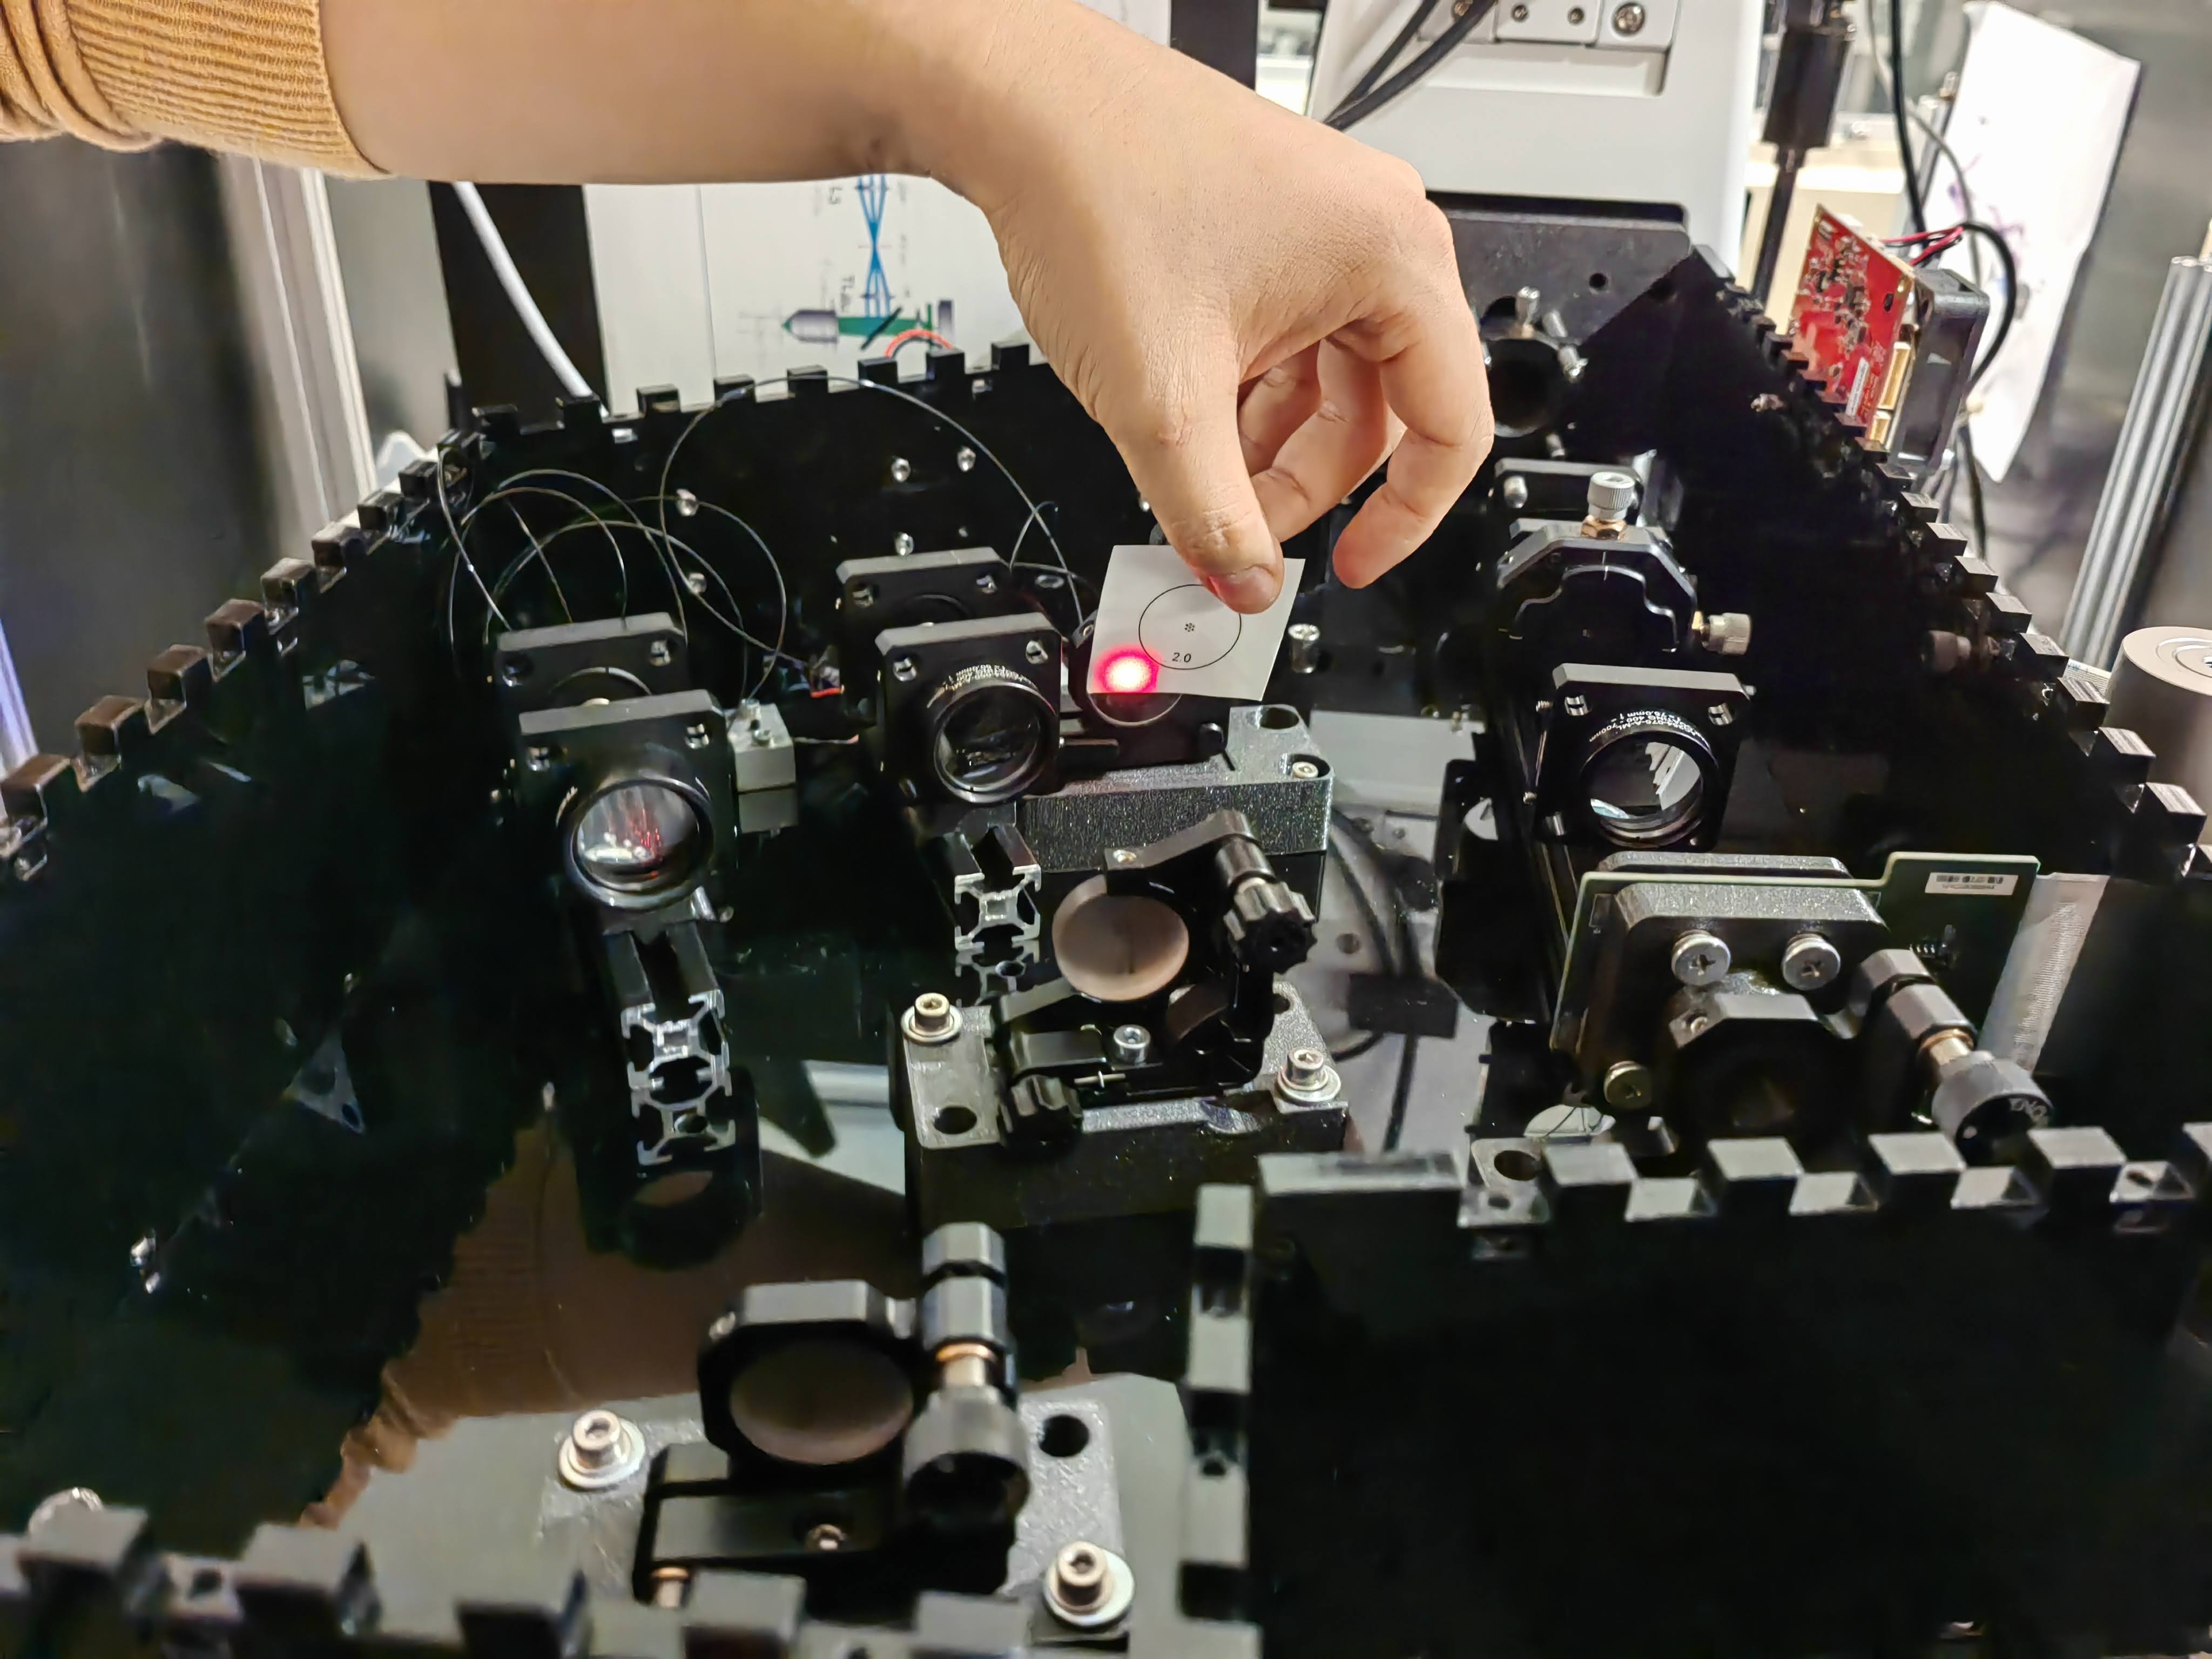
Starting with the red laser, we have to hit the first kinematic mirror in its center:

Here make sure the kinematic mirror from the 488 nm laser is not obscuring the beam:
The kinematic mirror that steers the beam jointly has to be hit in the center too:
The 488nm laser has to hit the first kinematic mirror in the center, too:
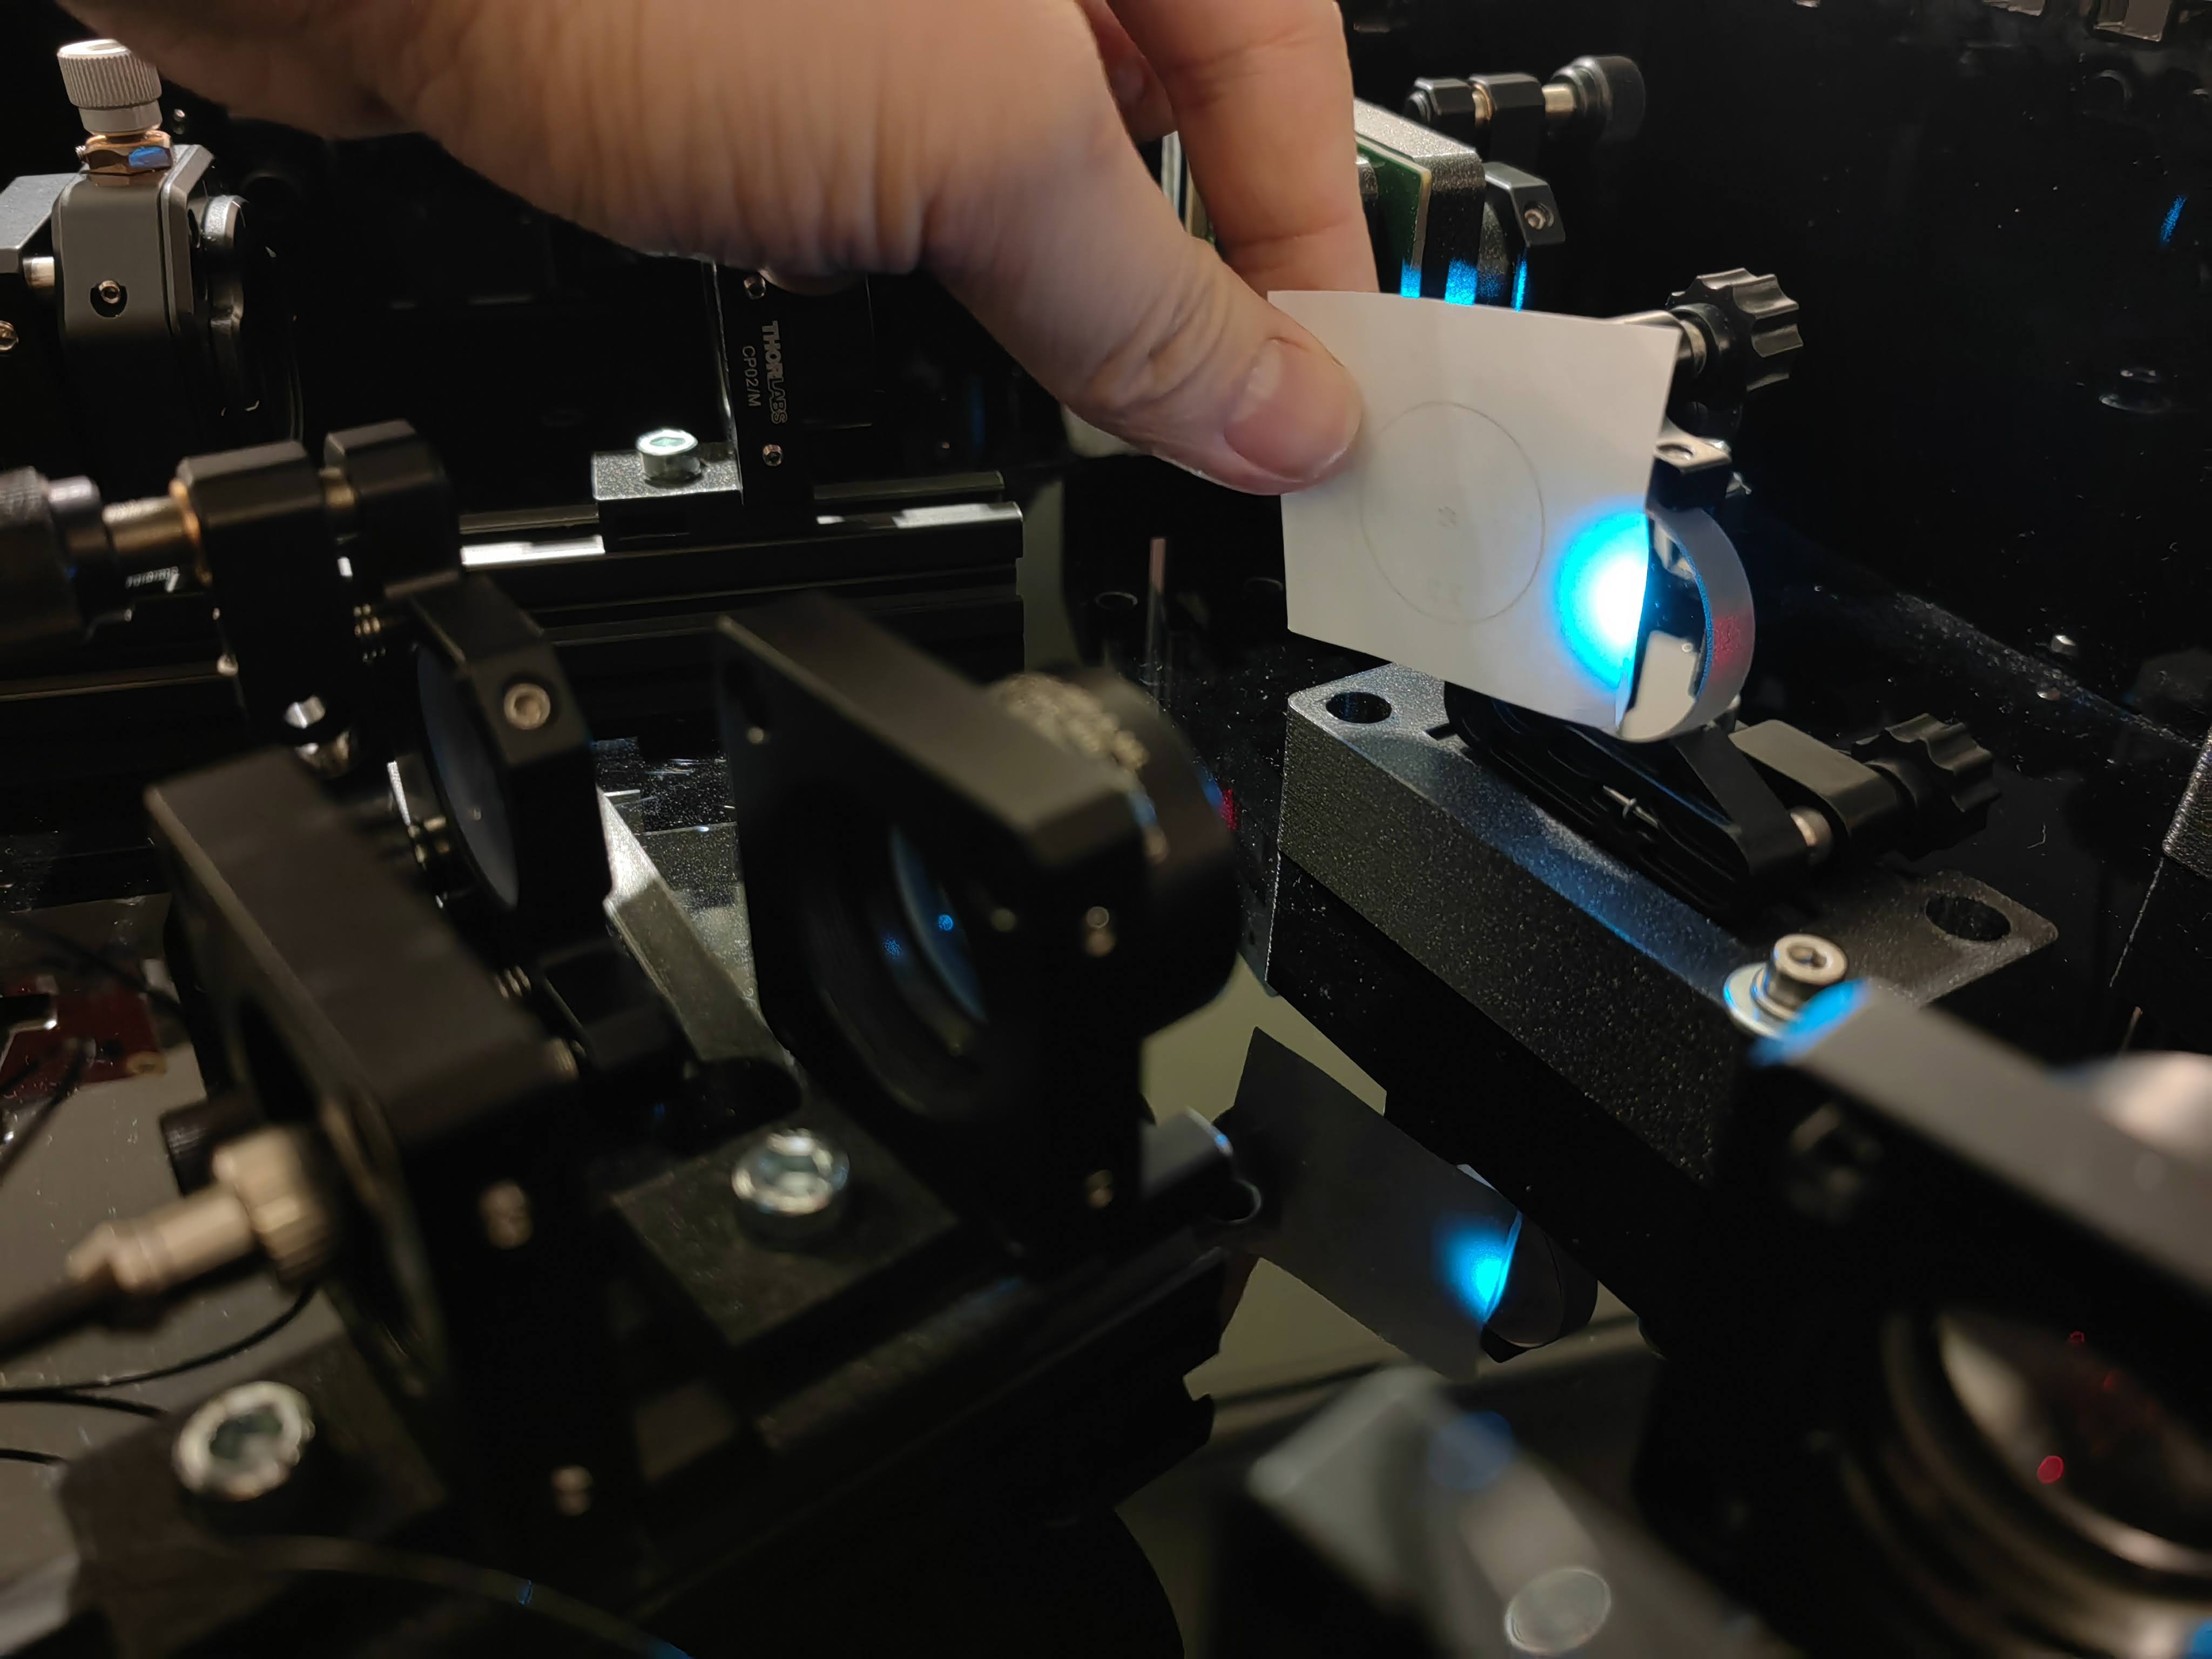
and be deflected onto the joint kinematic mirror in the center,too:
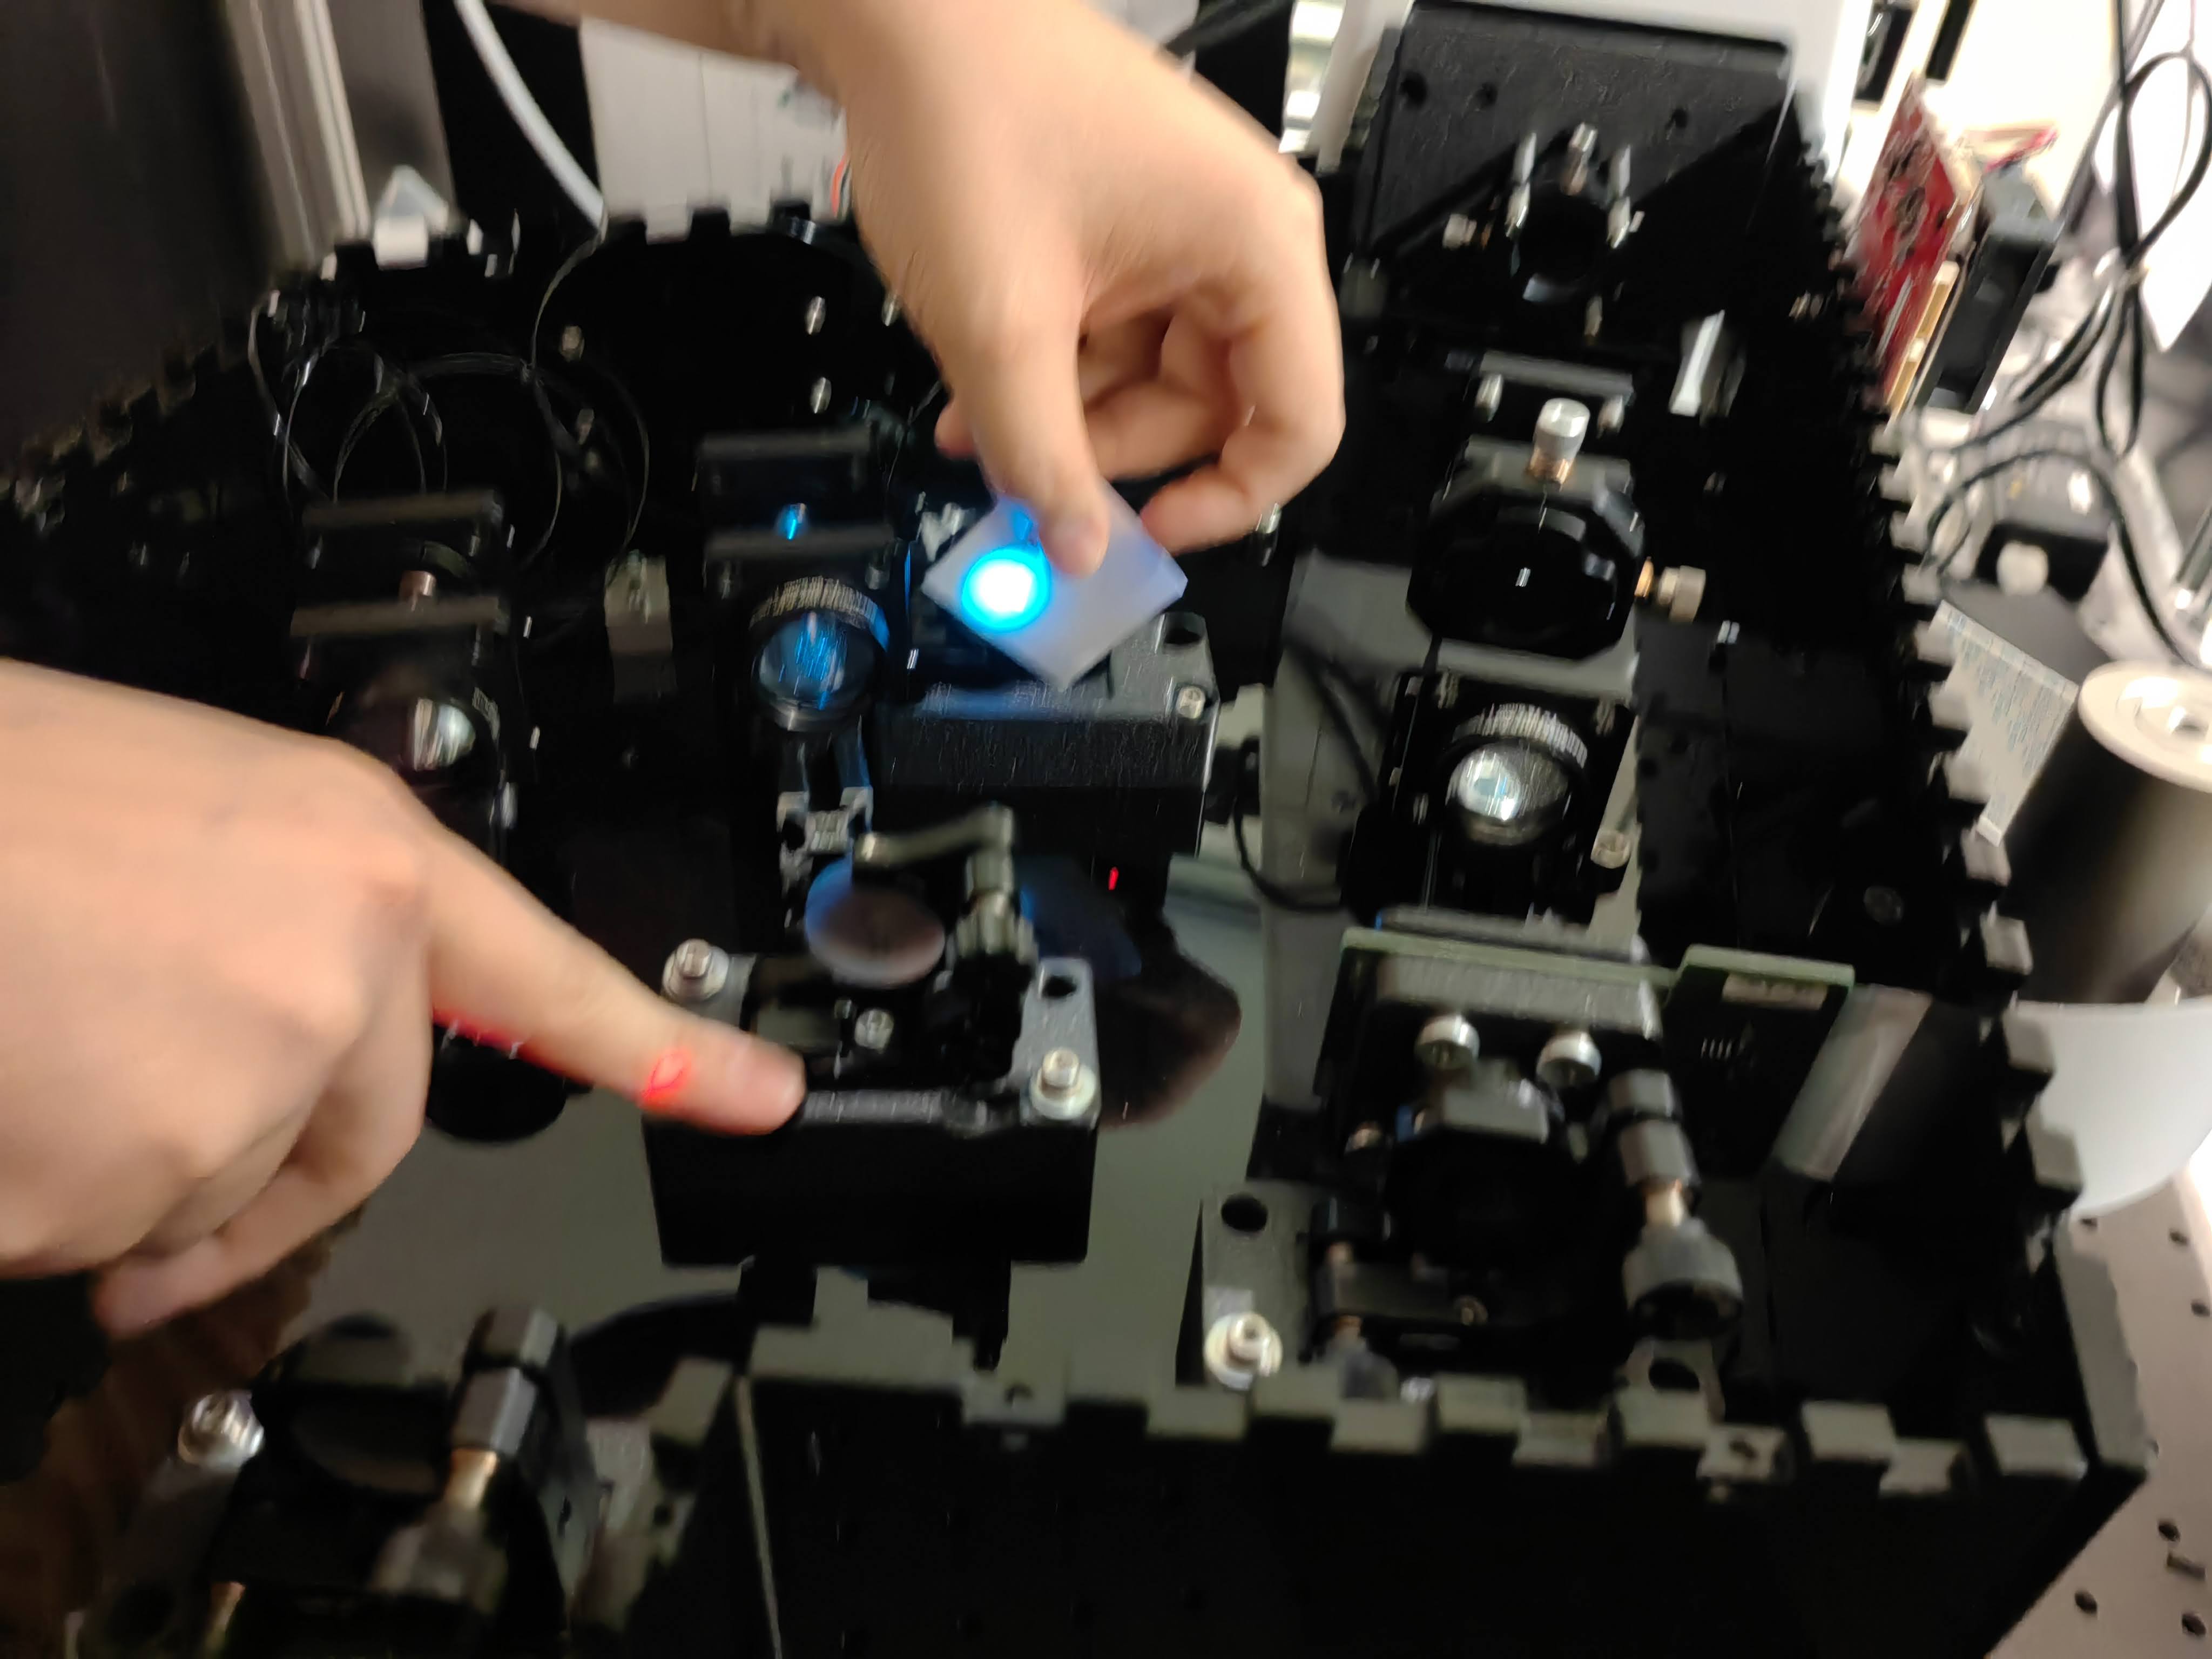
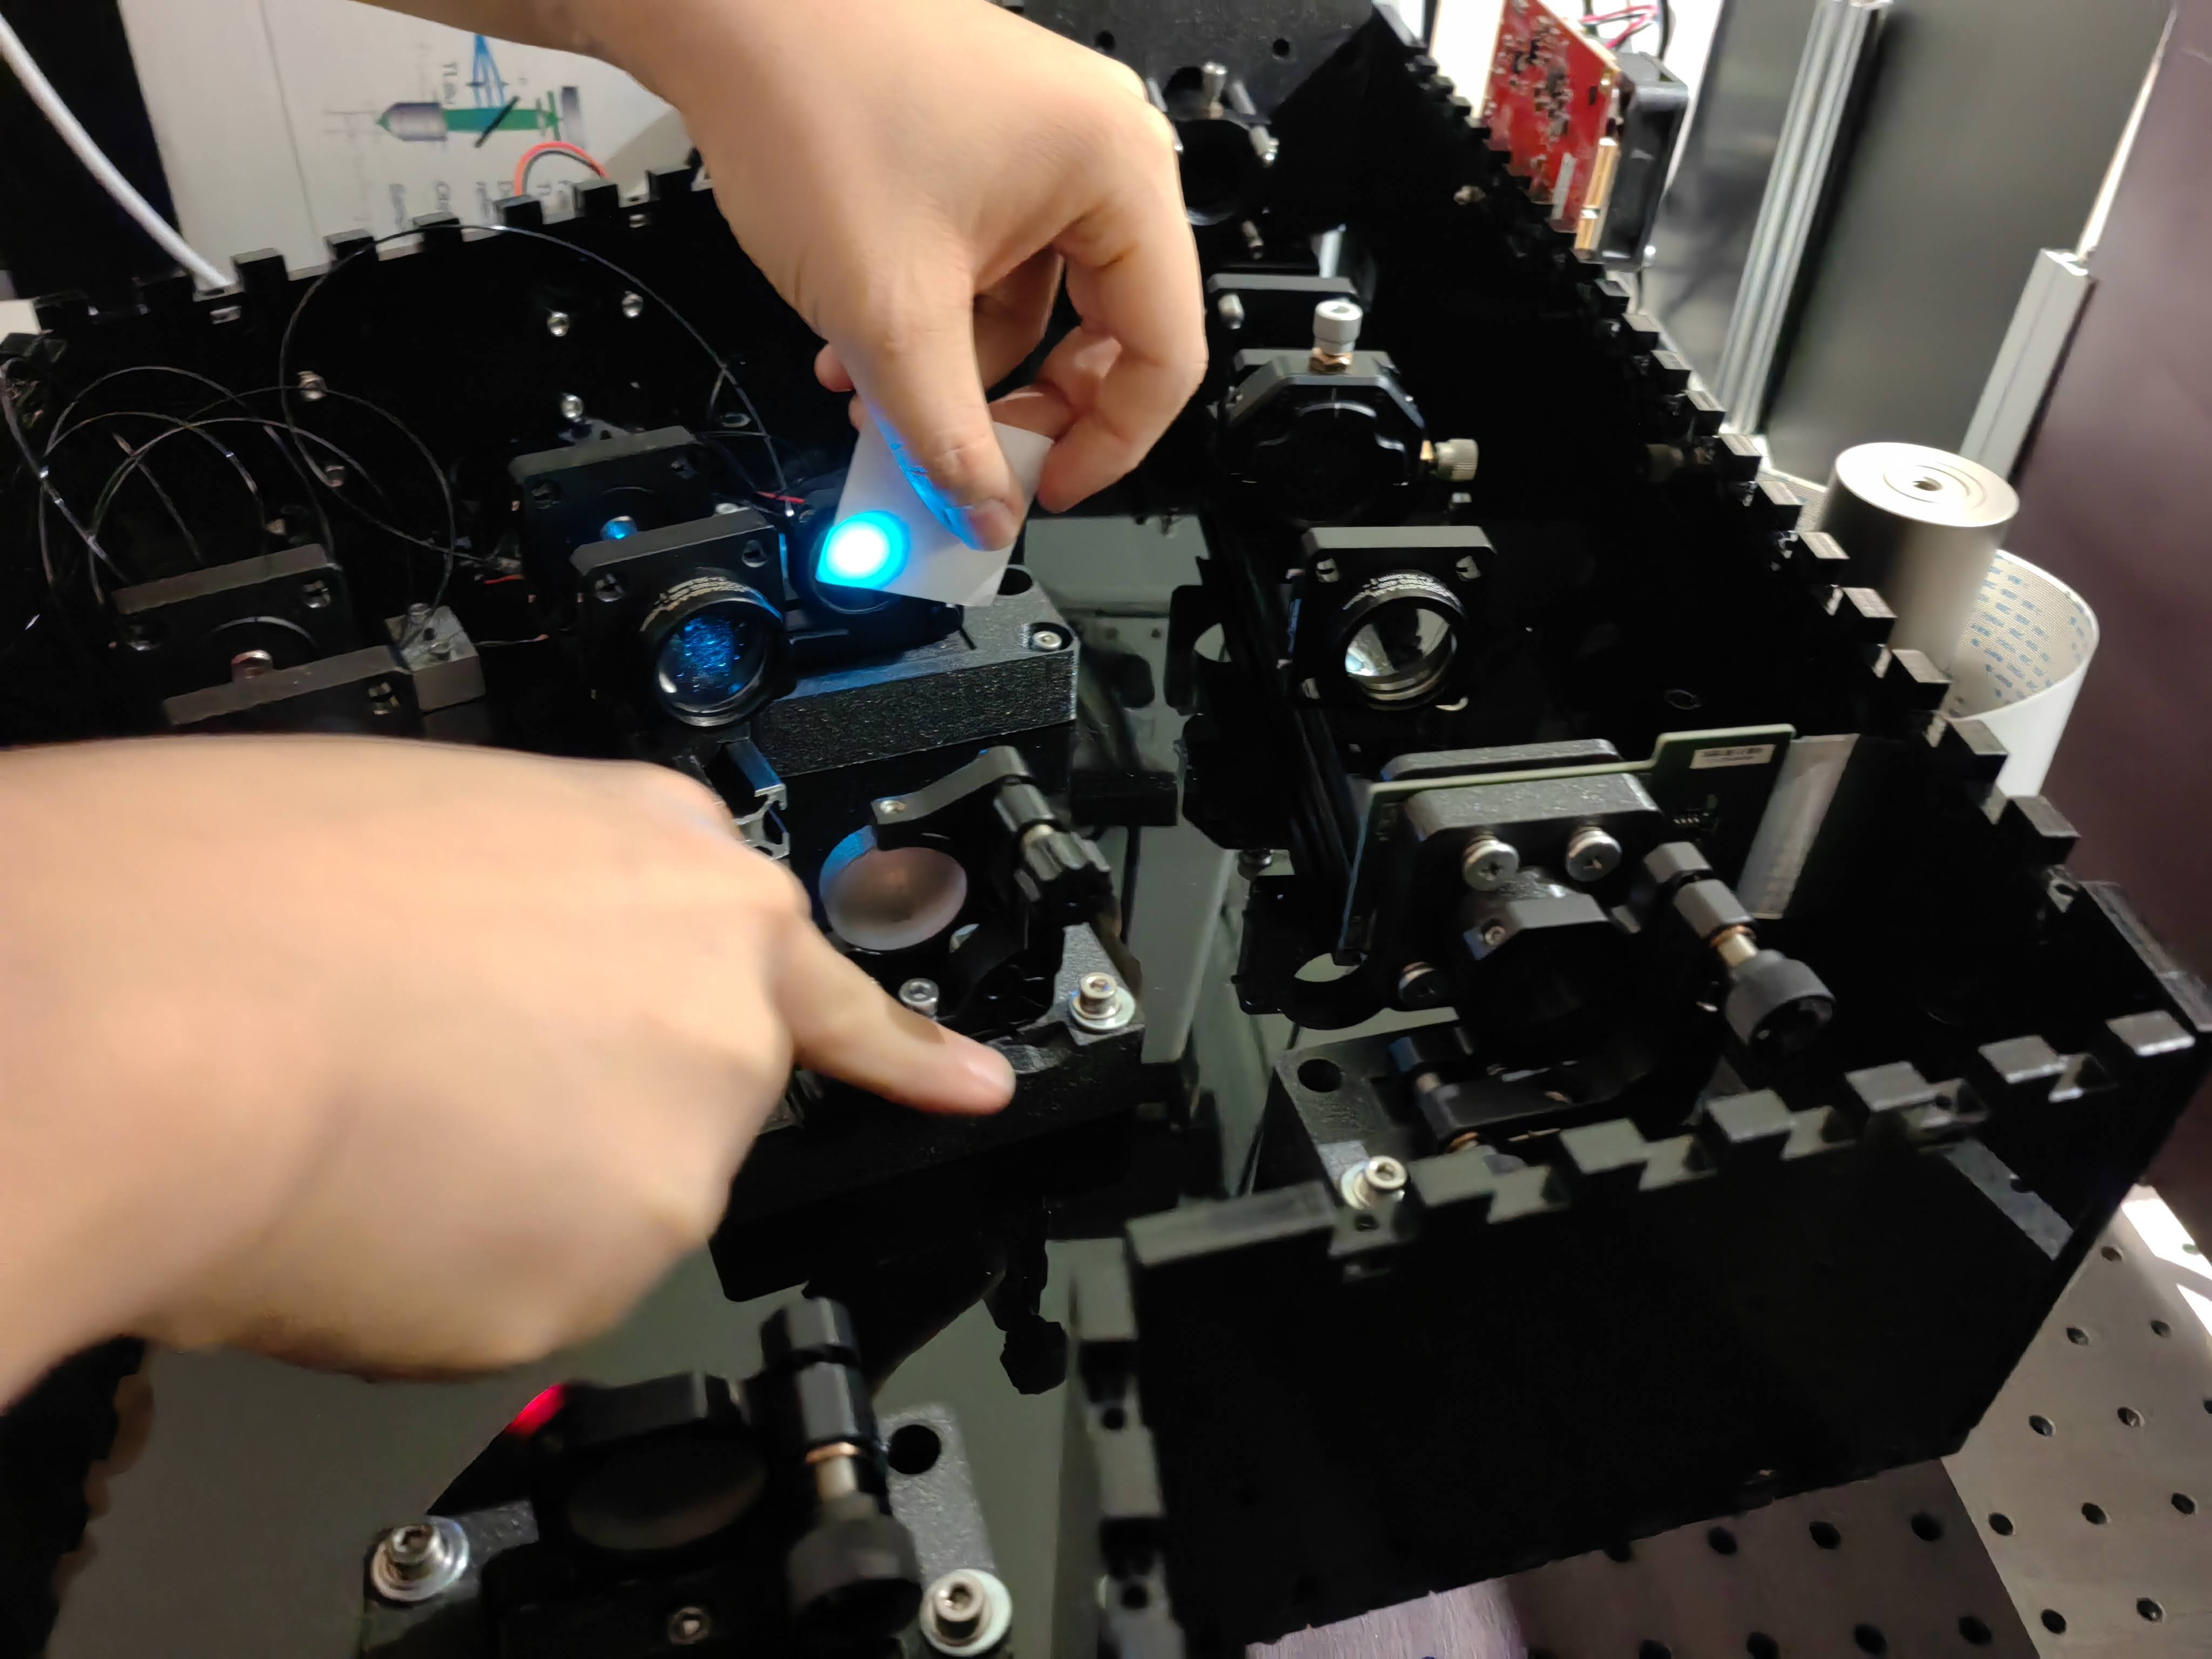
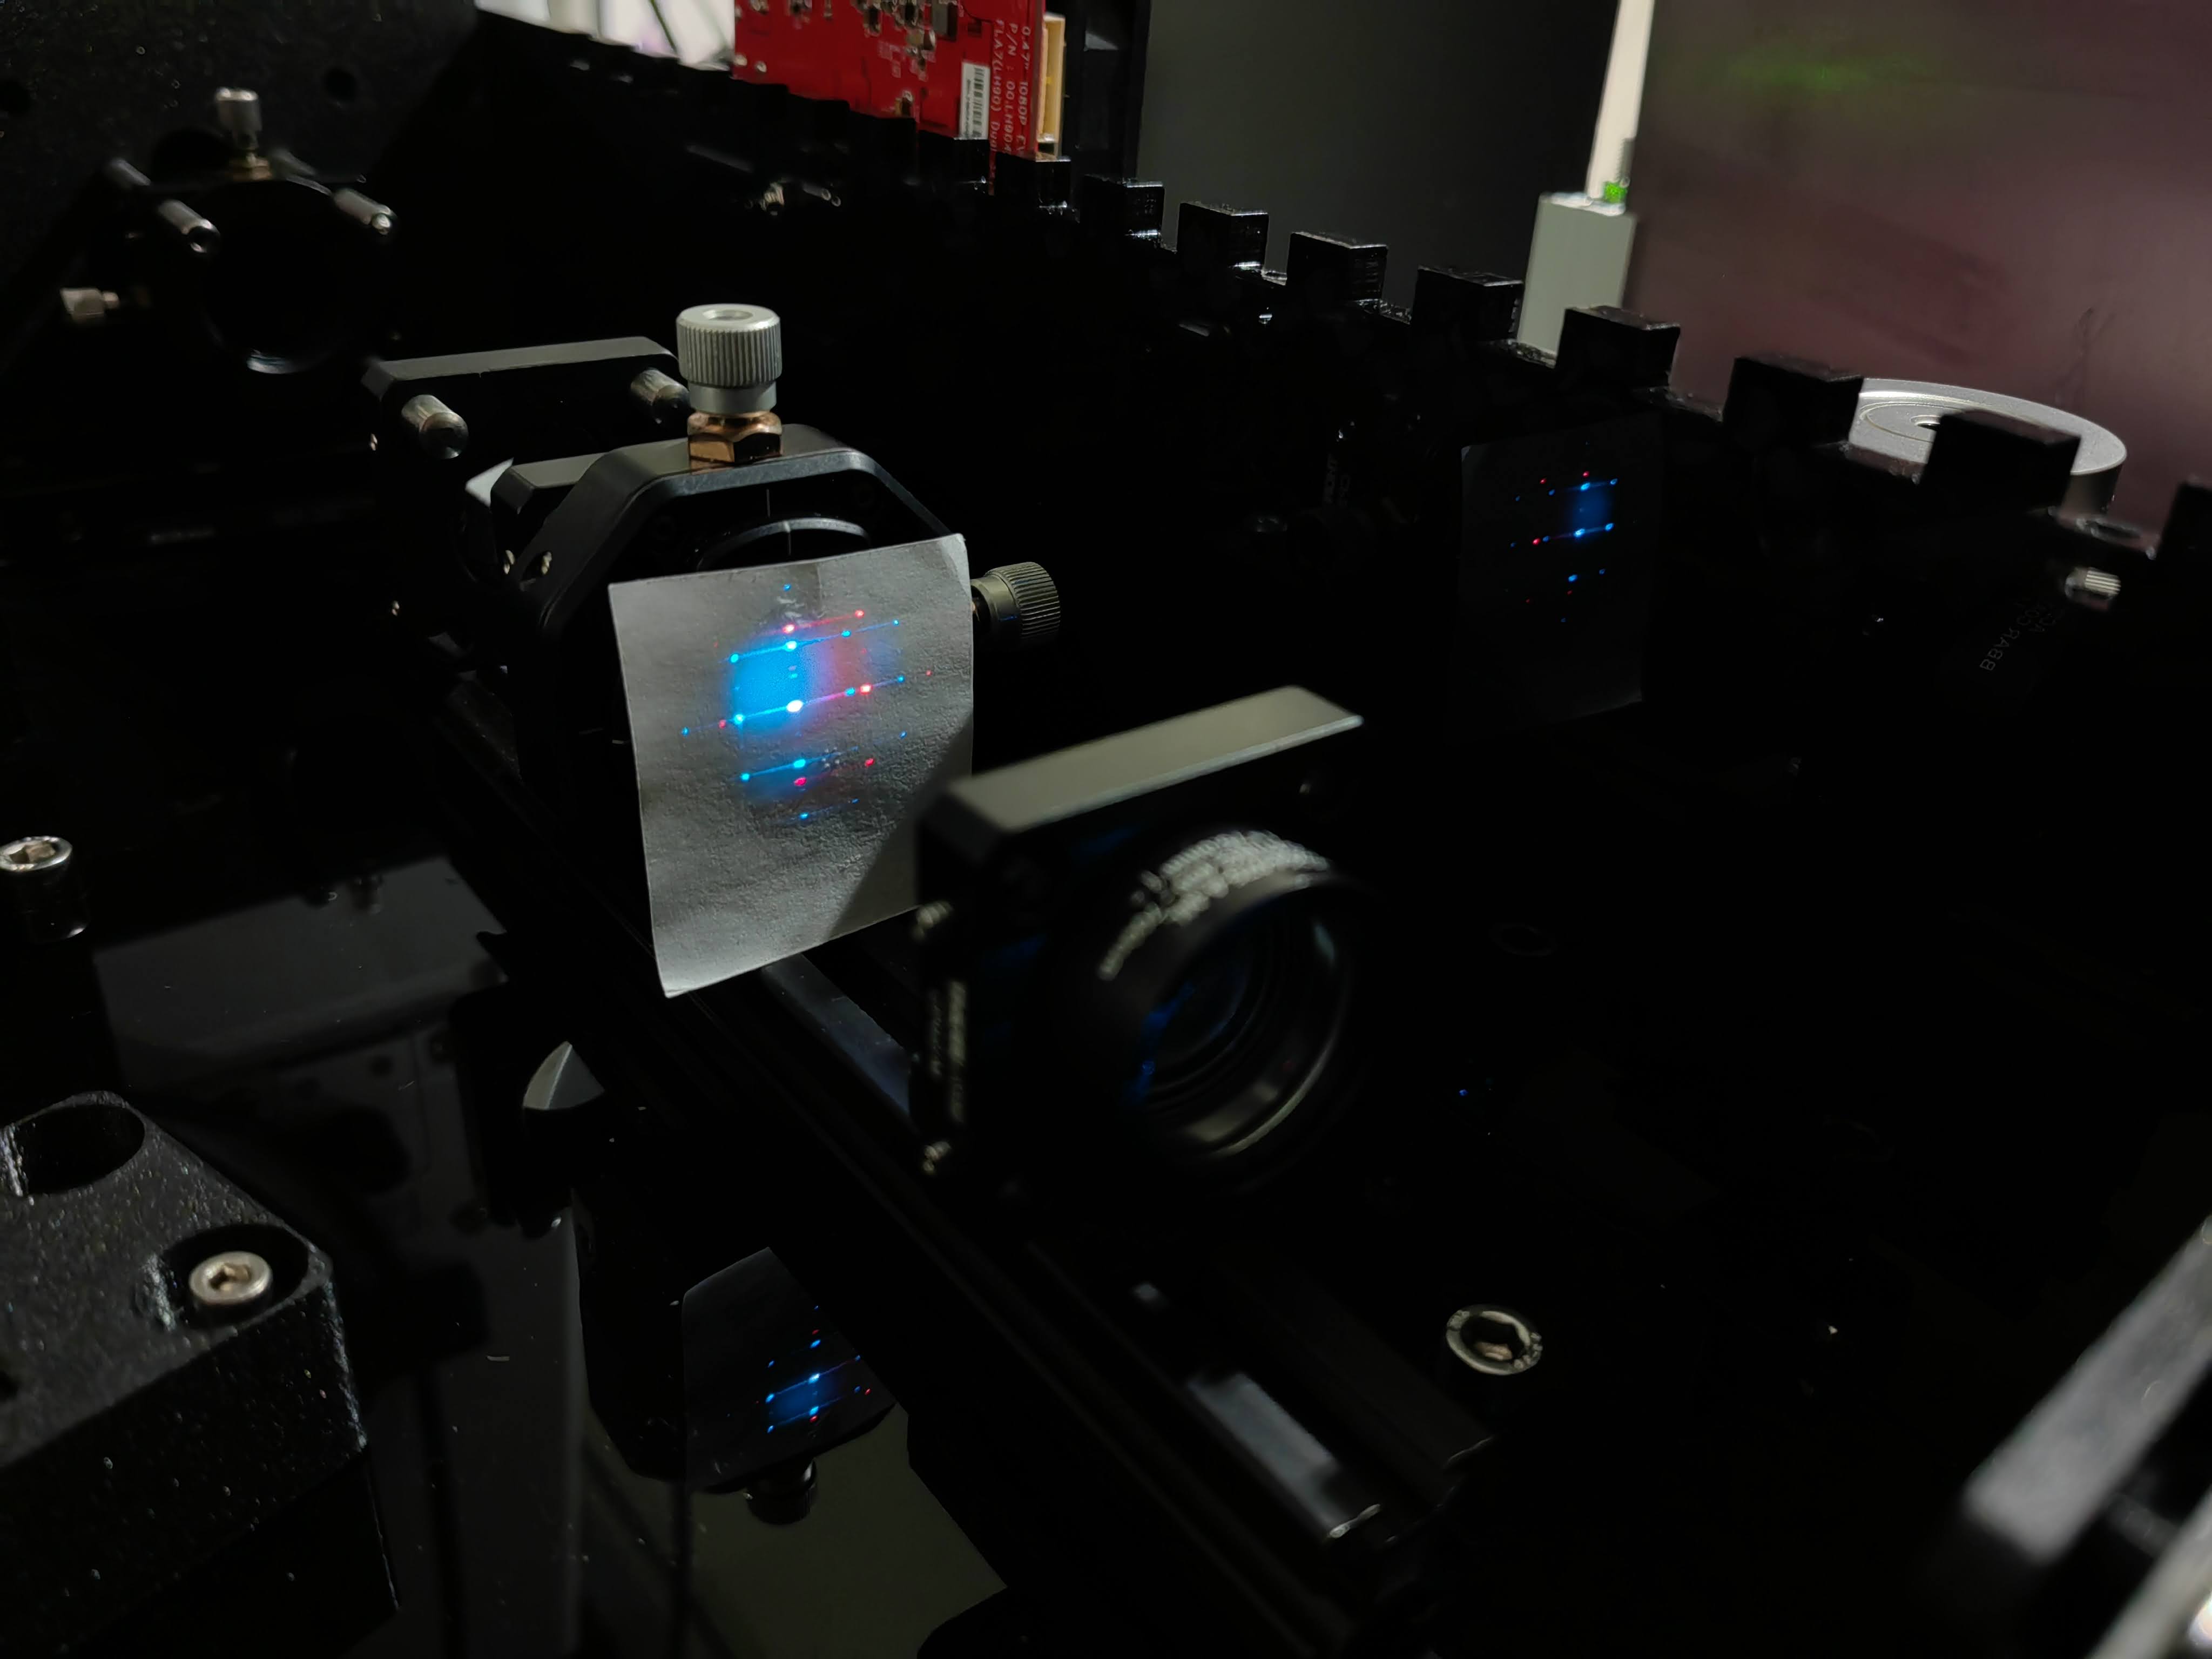
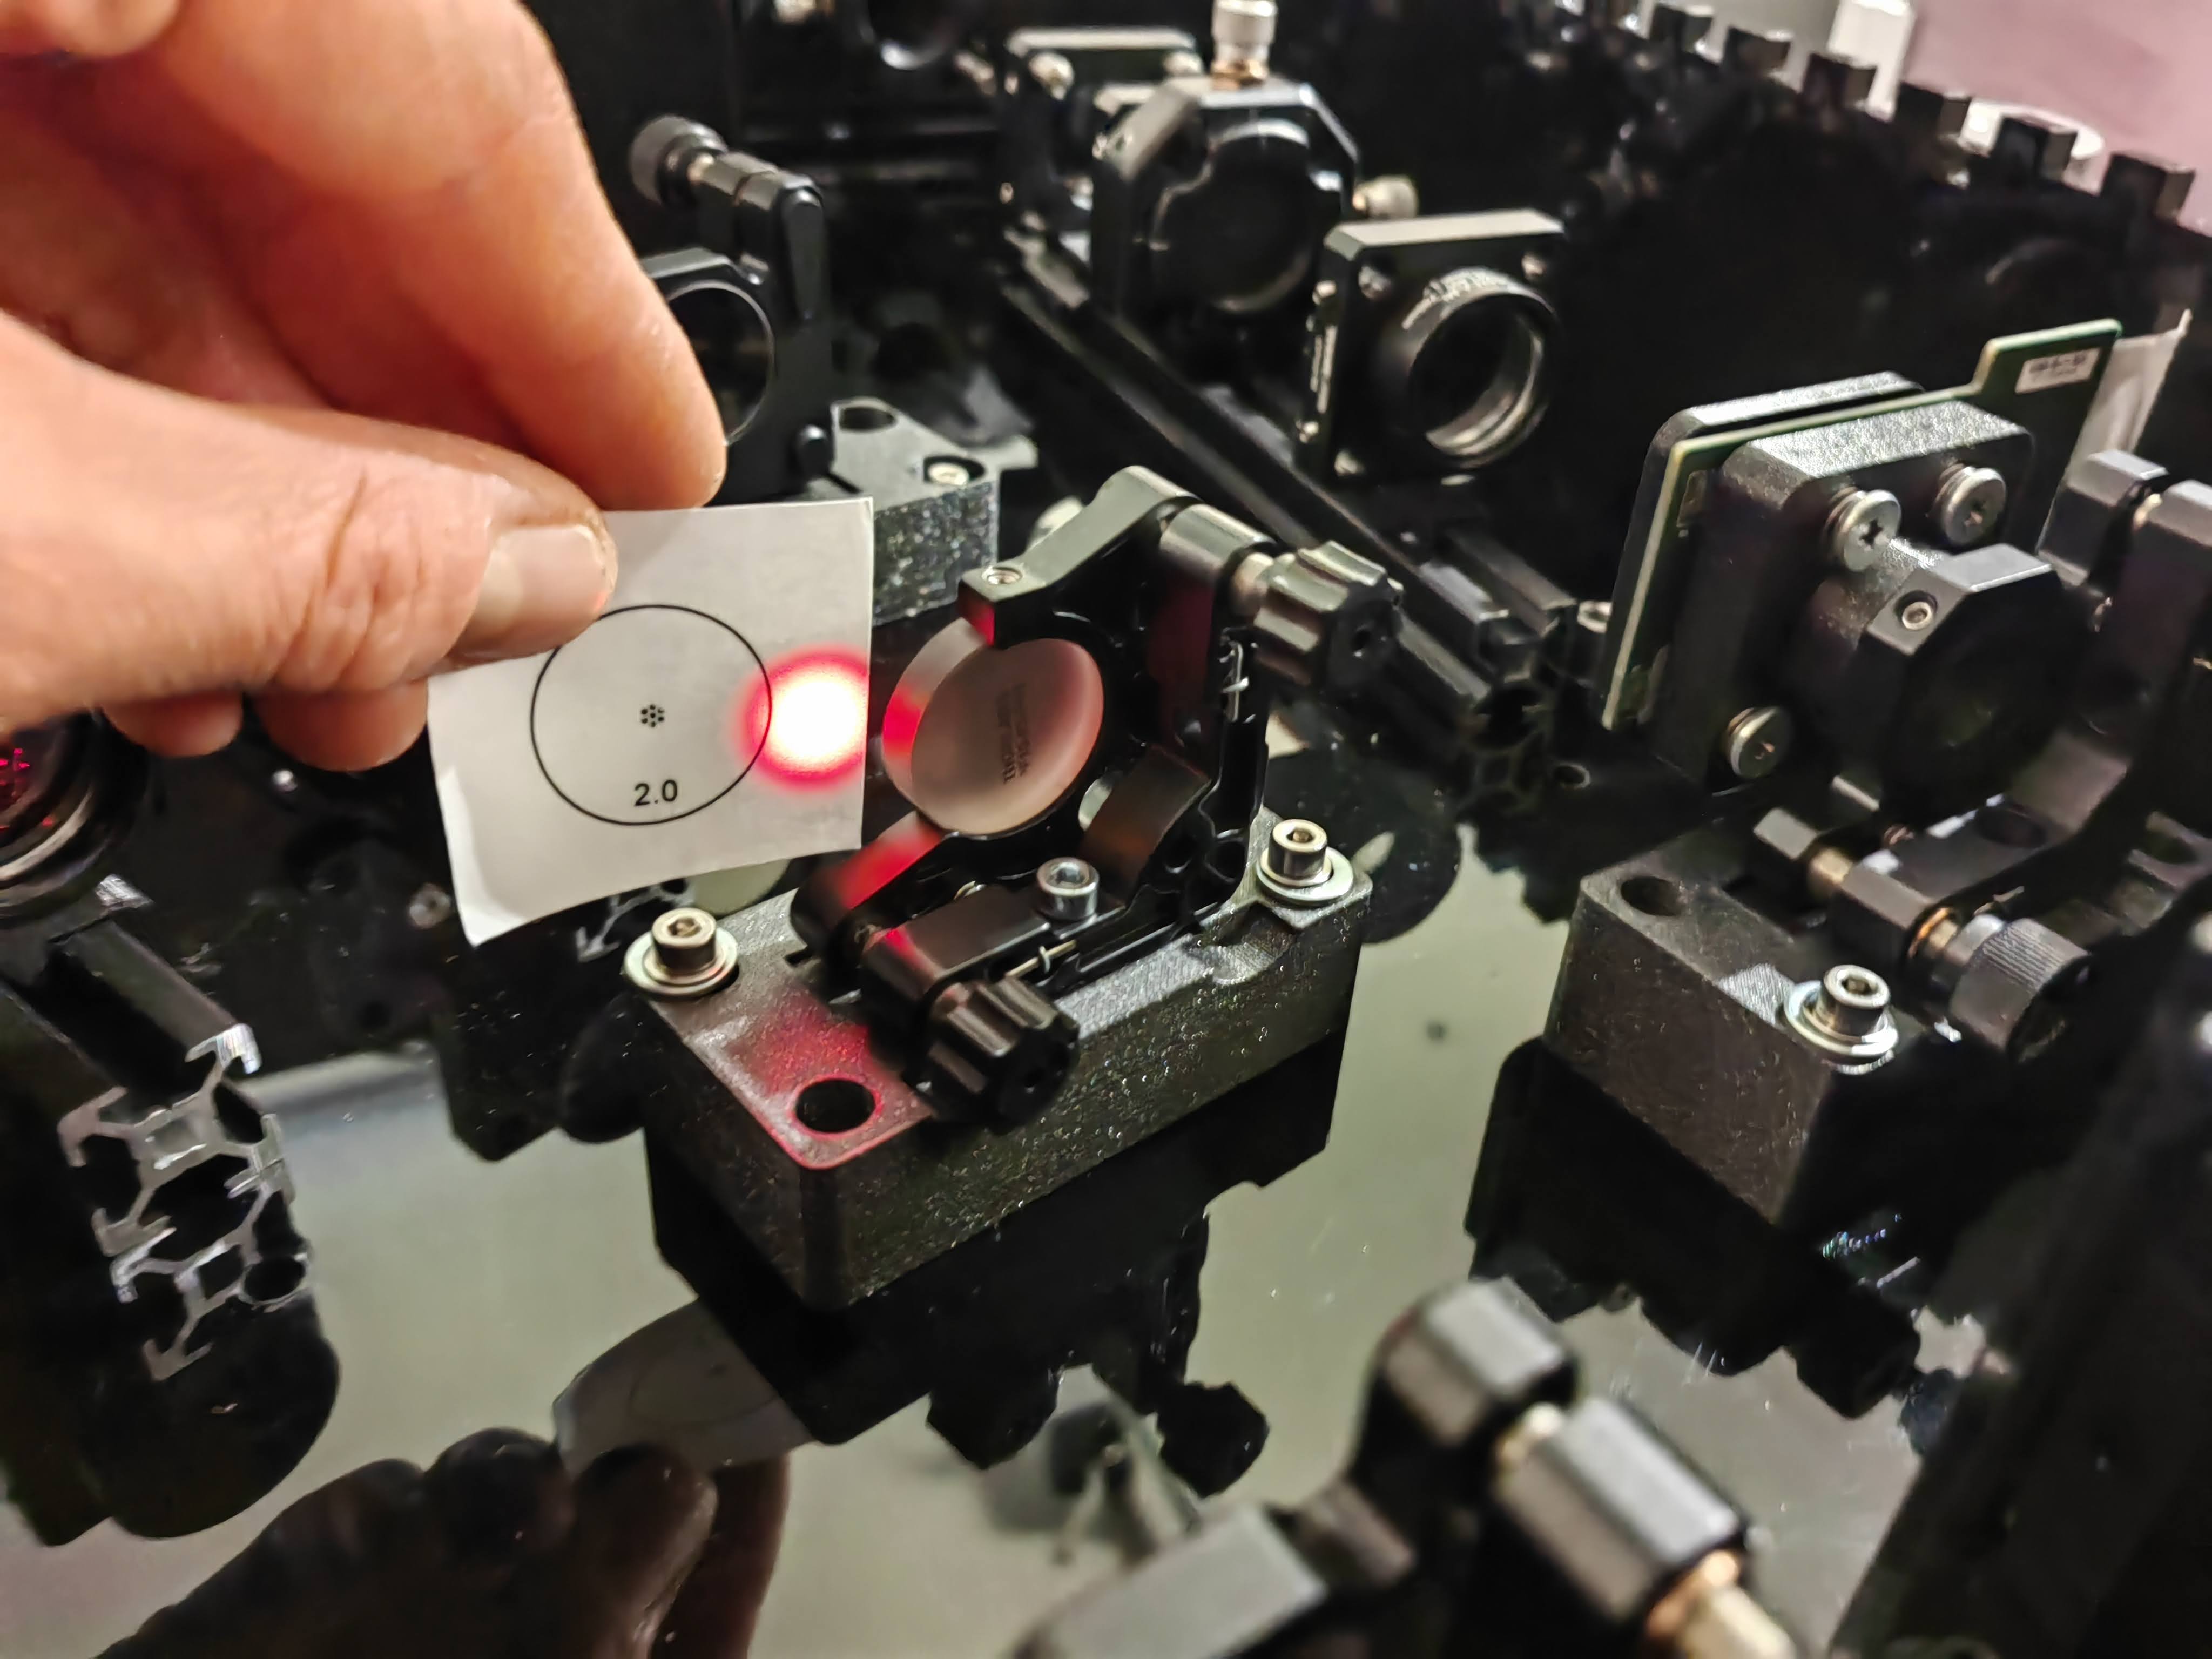
With both beams turned on, the two individual kinematic mirrors have to be tweaked in such a way, that the beam is on the center of the DMD. The two beams have to be exactly overlay concentrically:
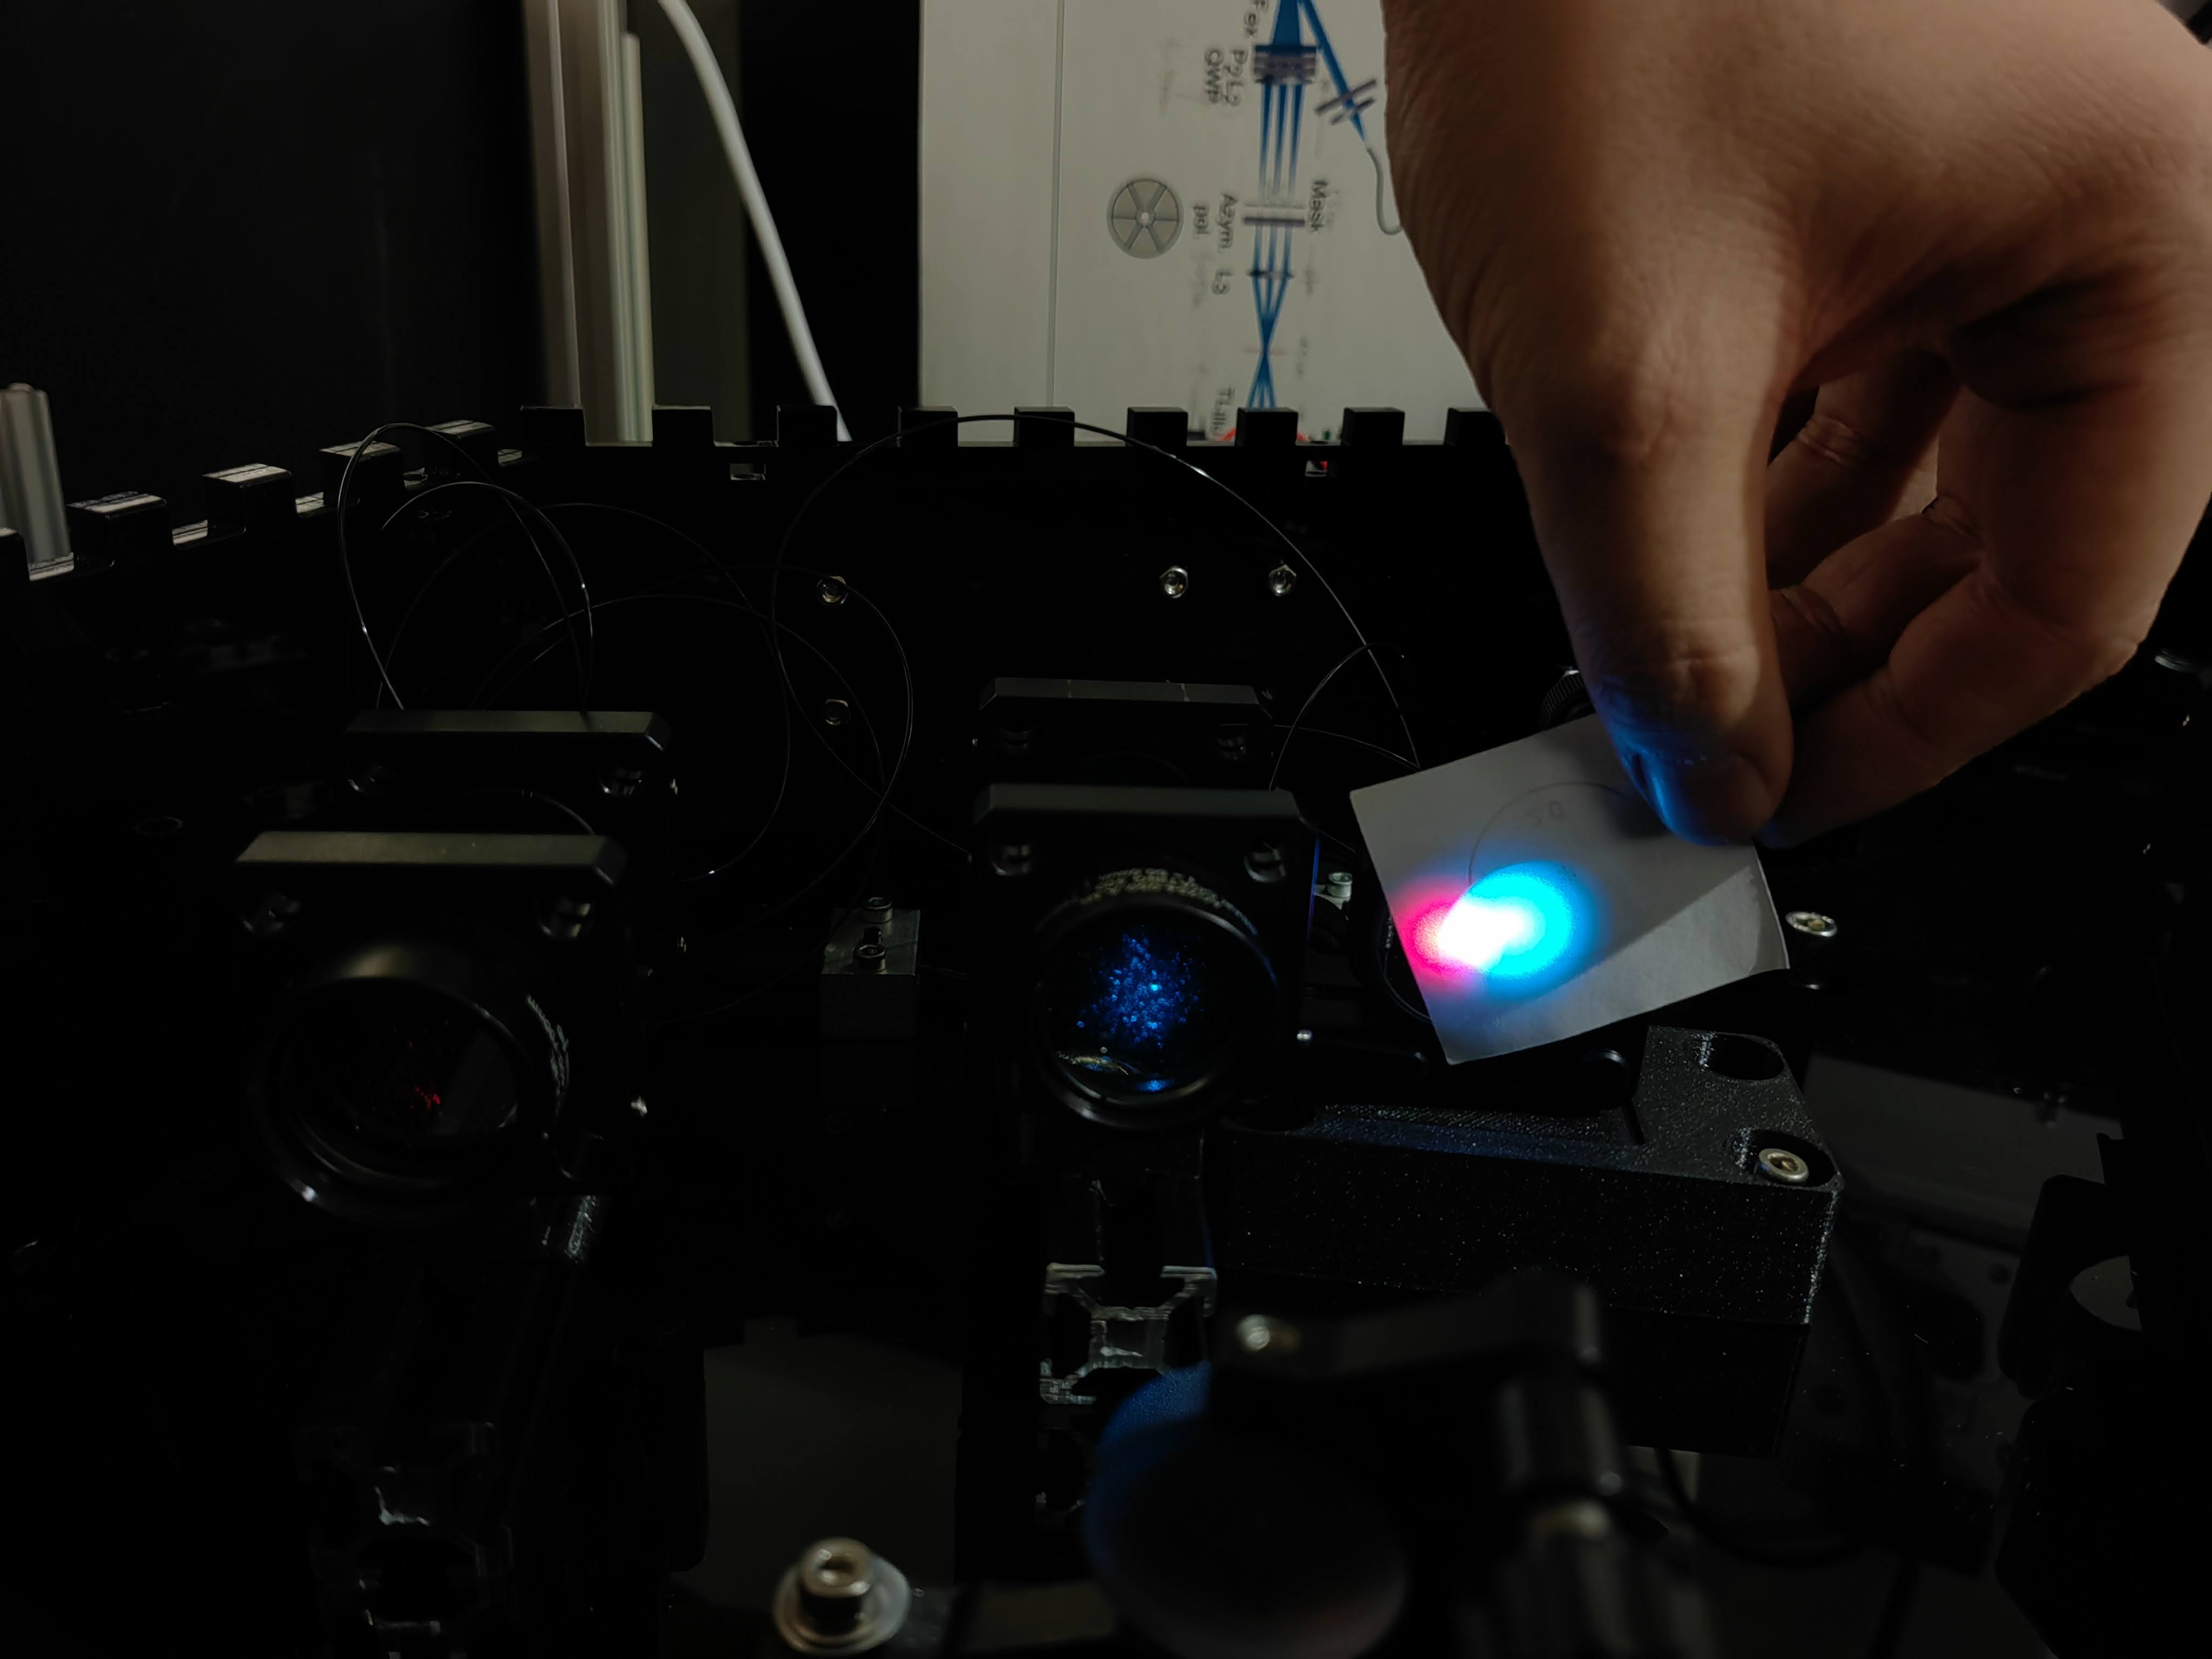
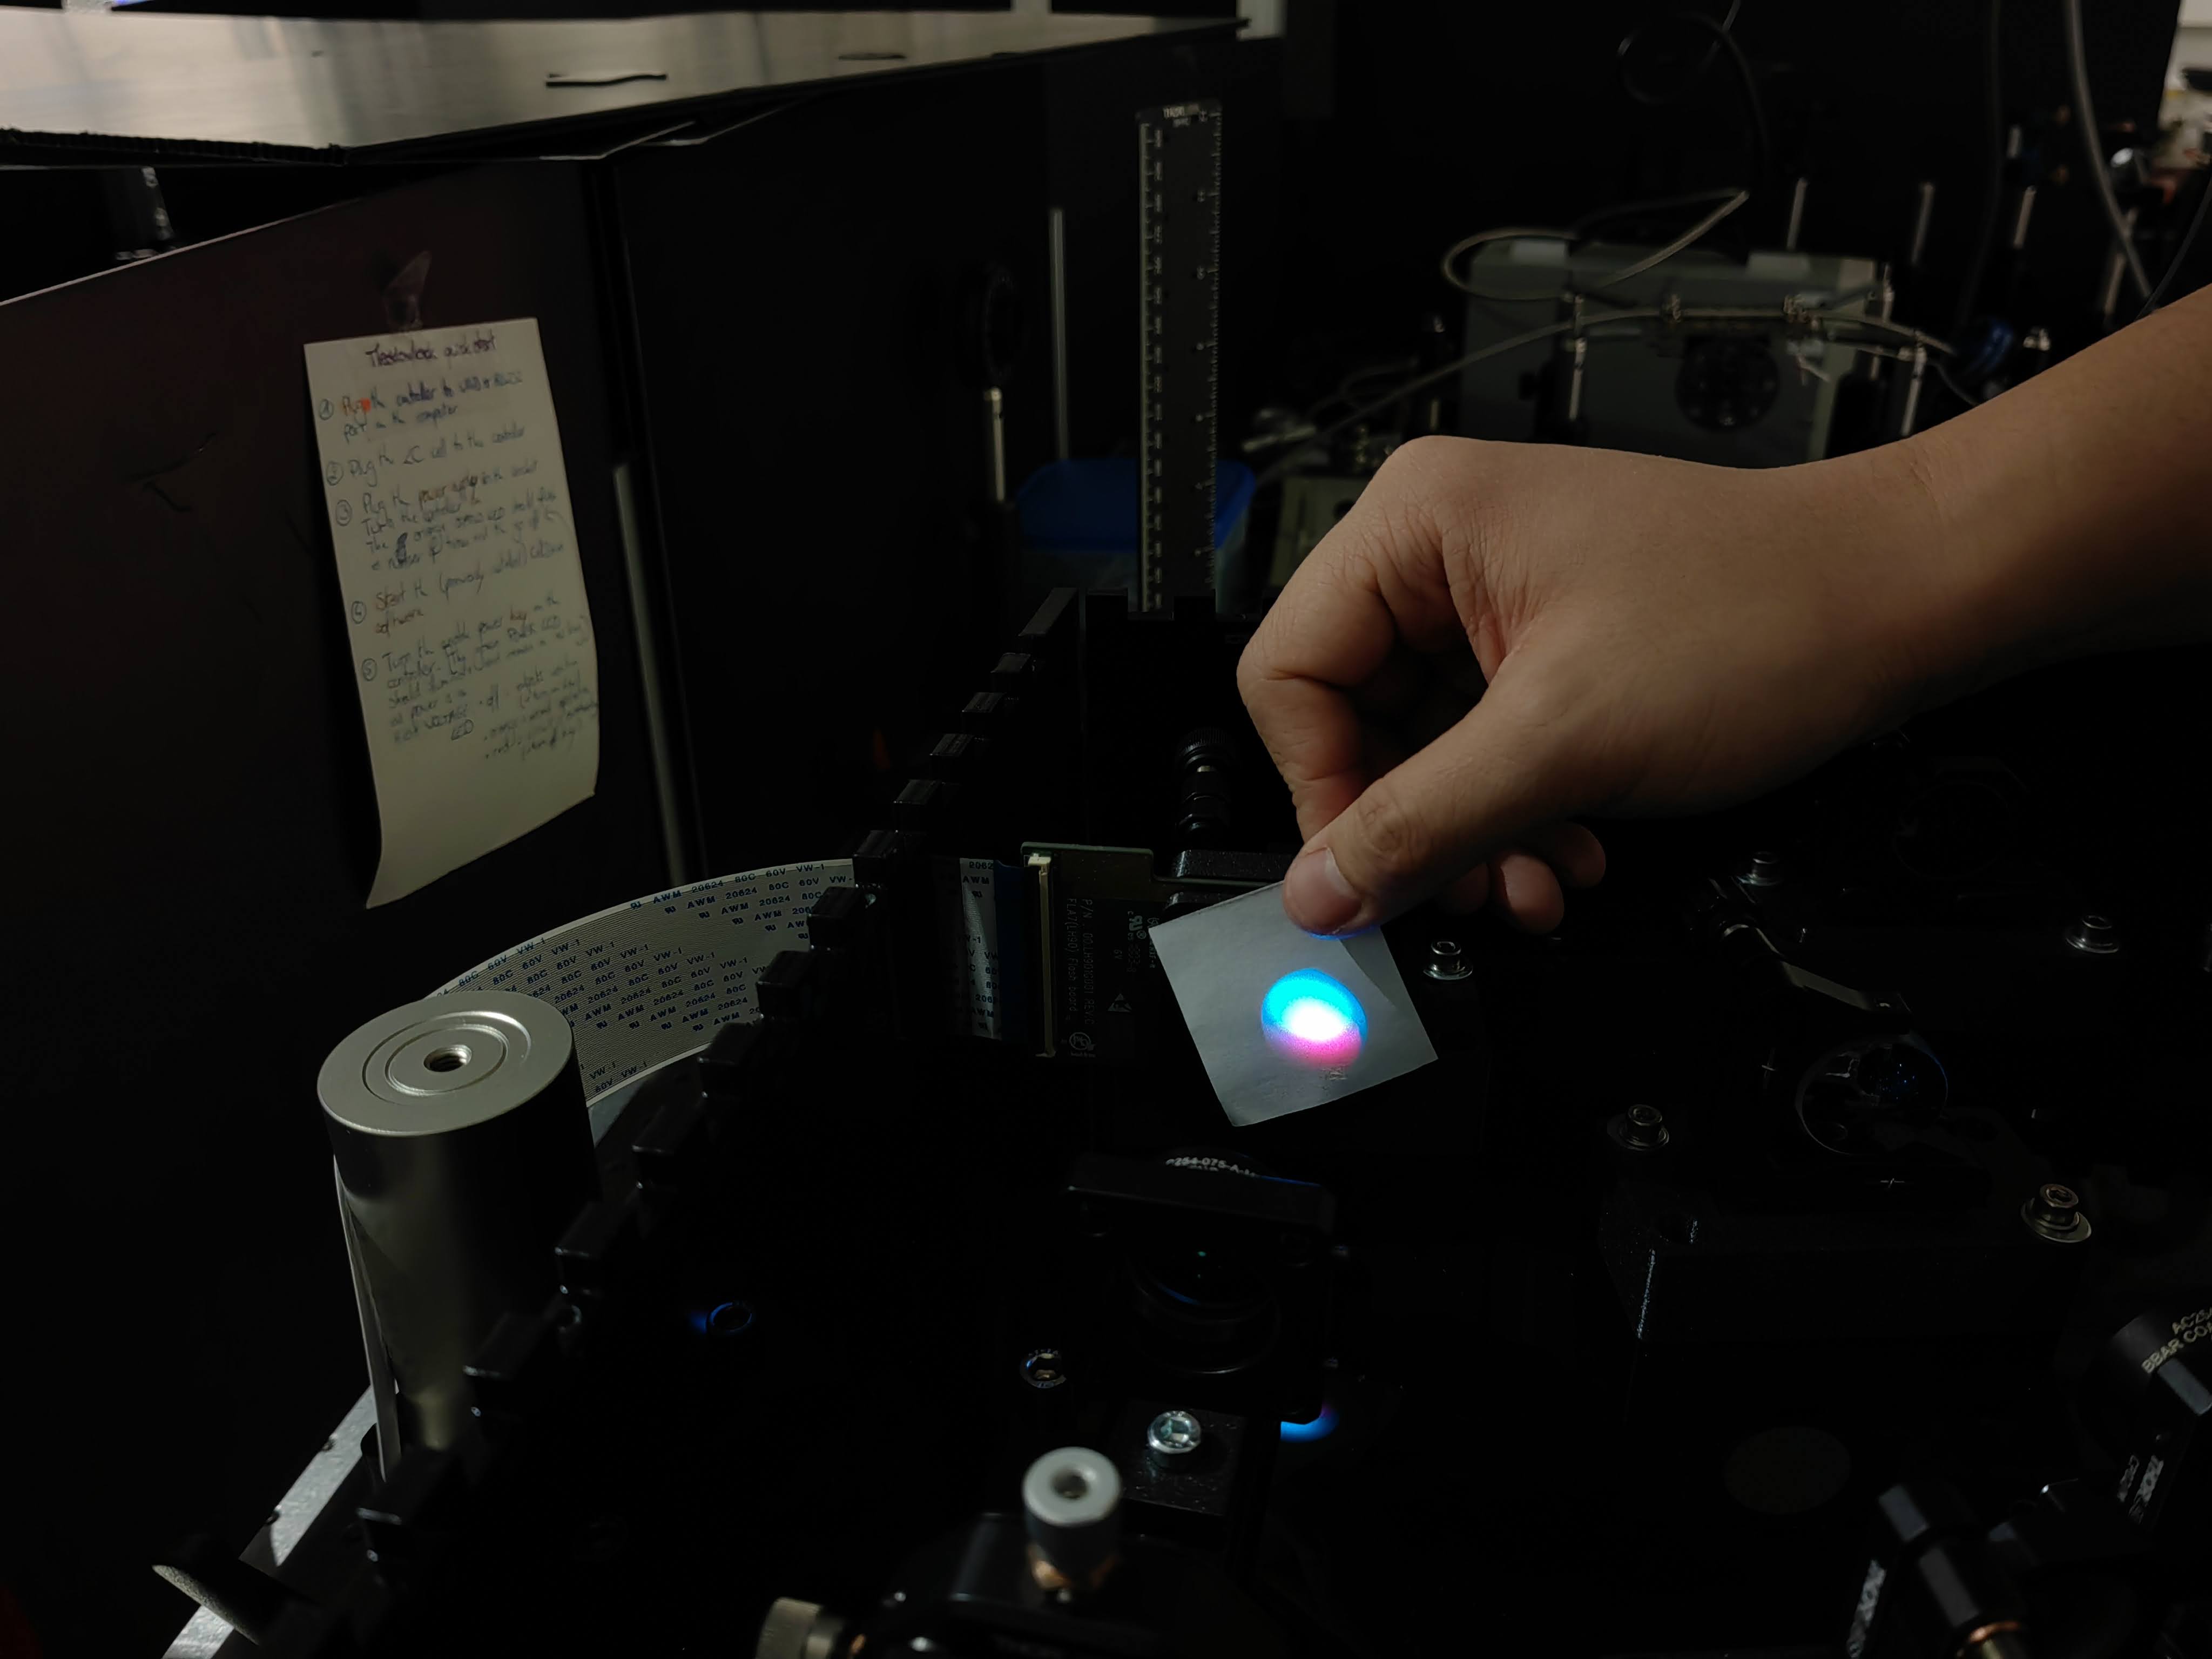
Turn on the DMD, such that the pixels are in the on state. This way you can monitor the diffraction pattern inside the Fourier telescope
Both wavelengths have to superpose concentrically: